Design
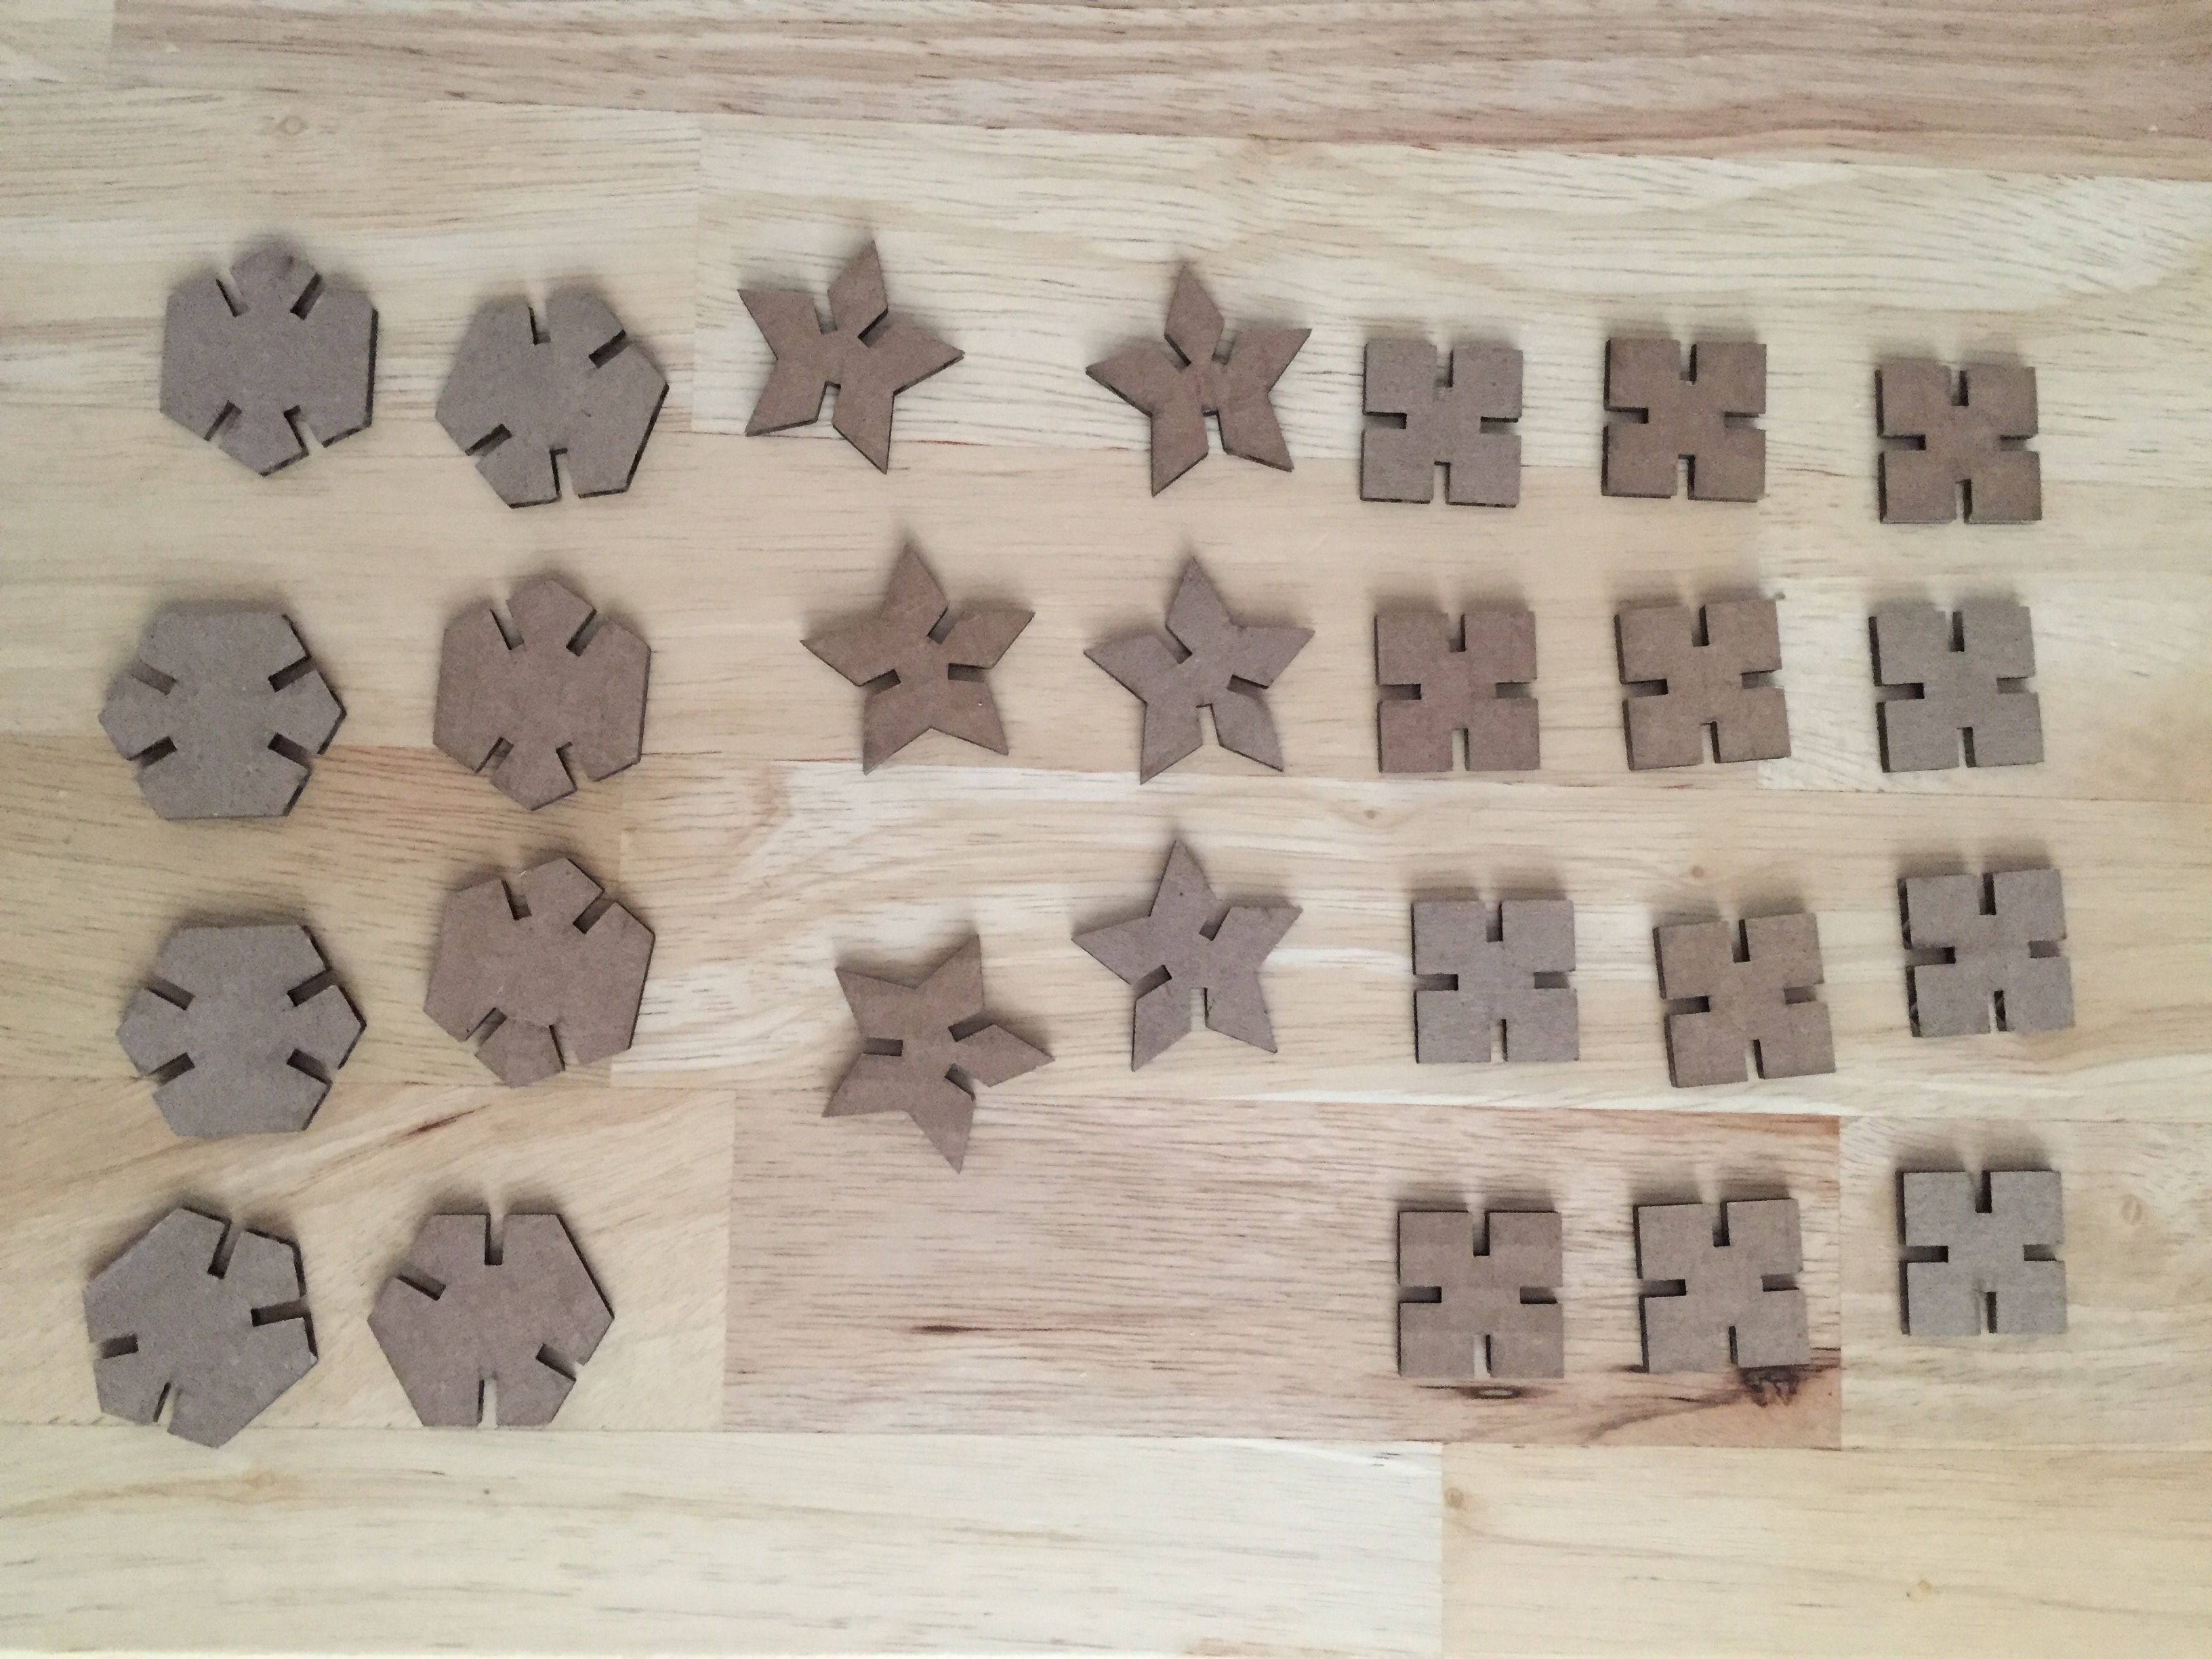
All you have to do is put them together any way you want to create your own little abstract piece. Just have fun with it!
Process
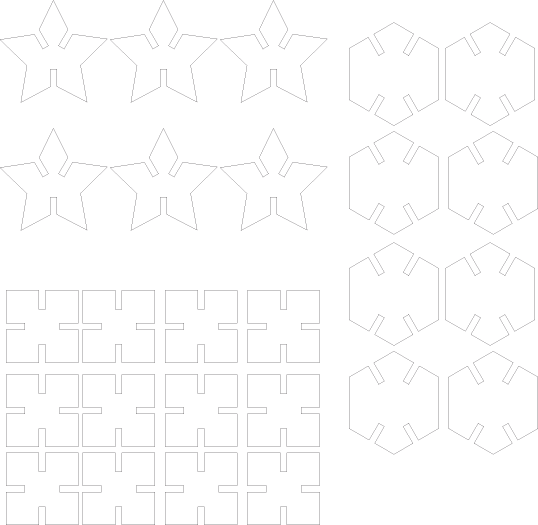
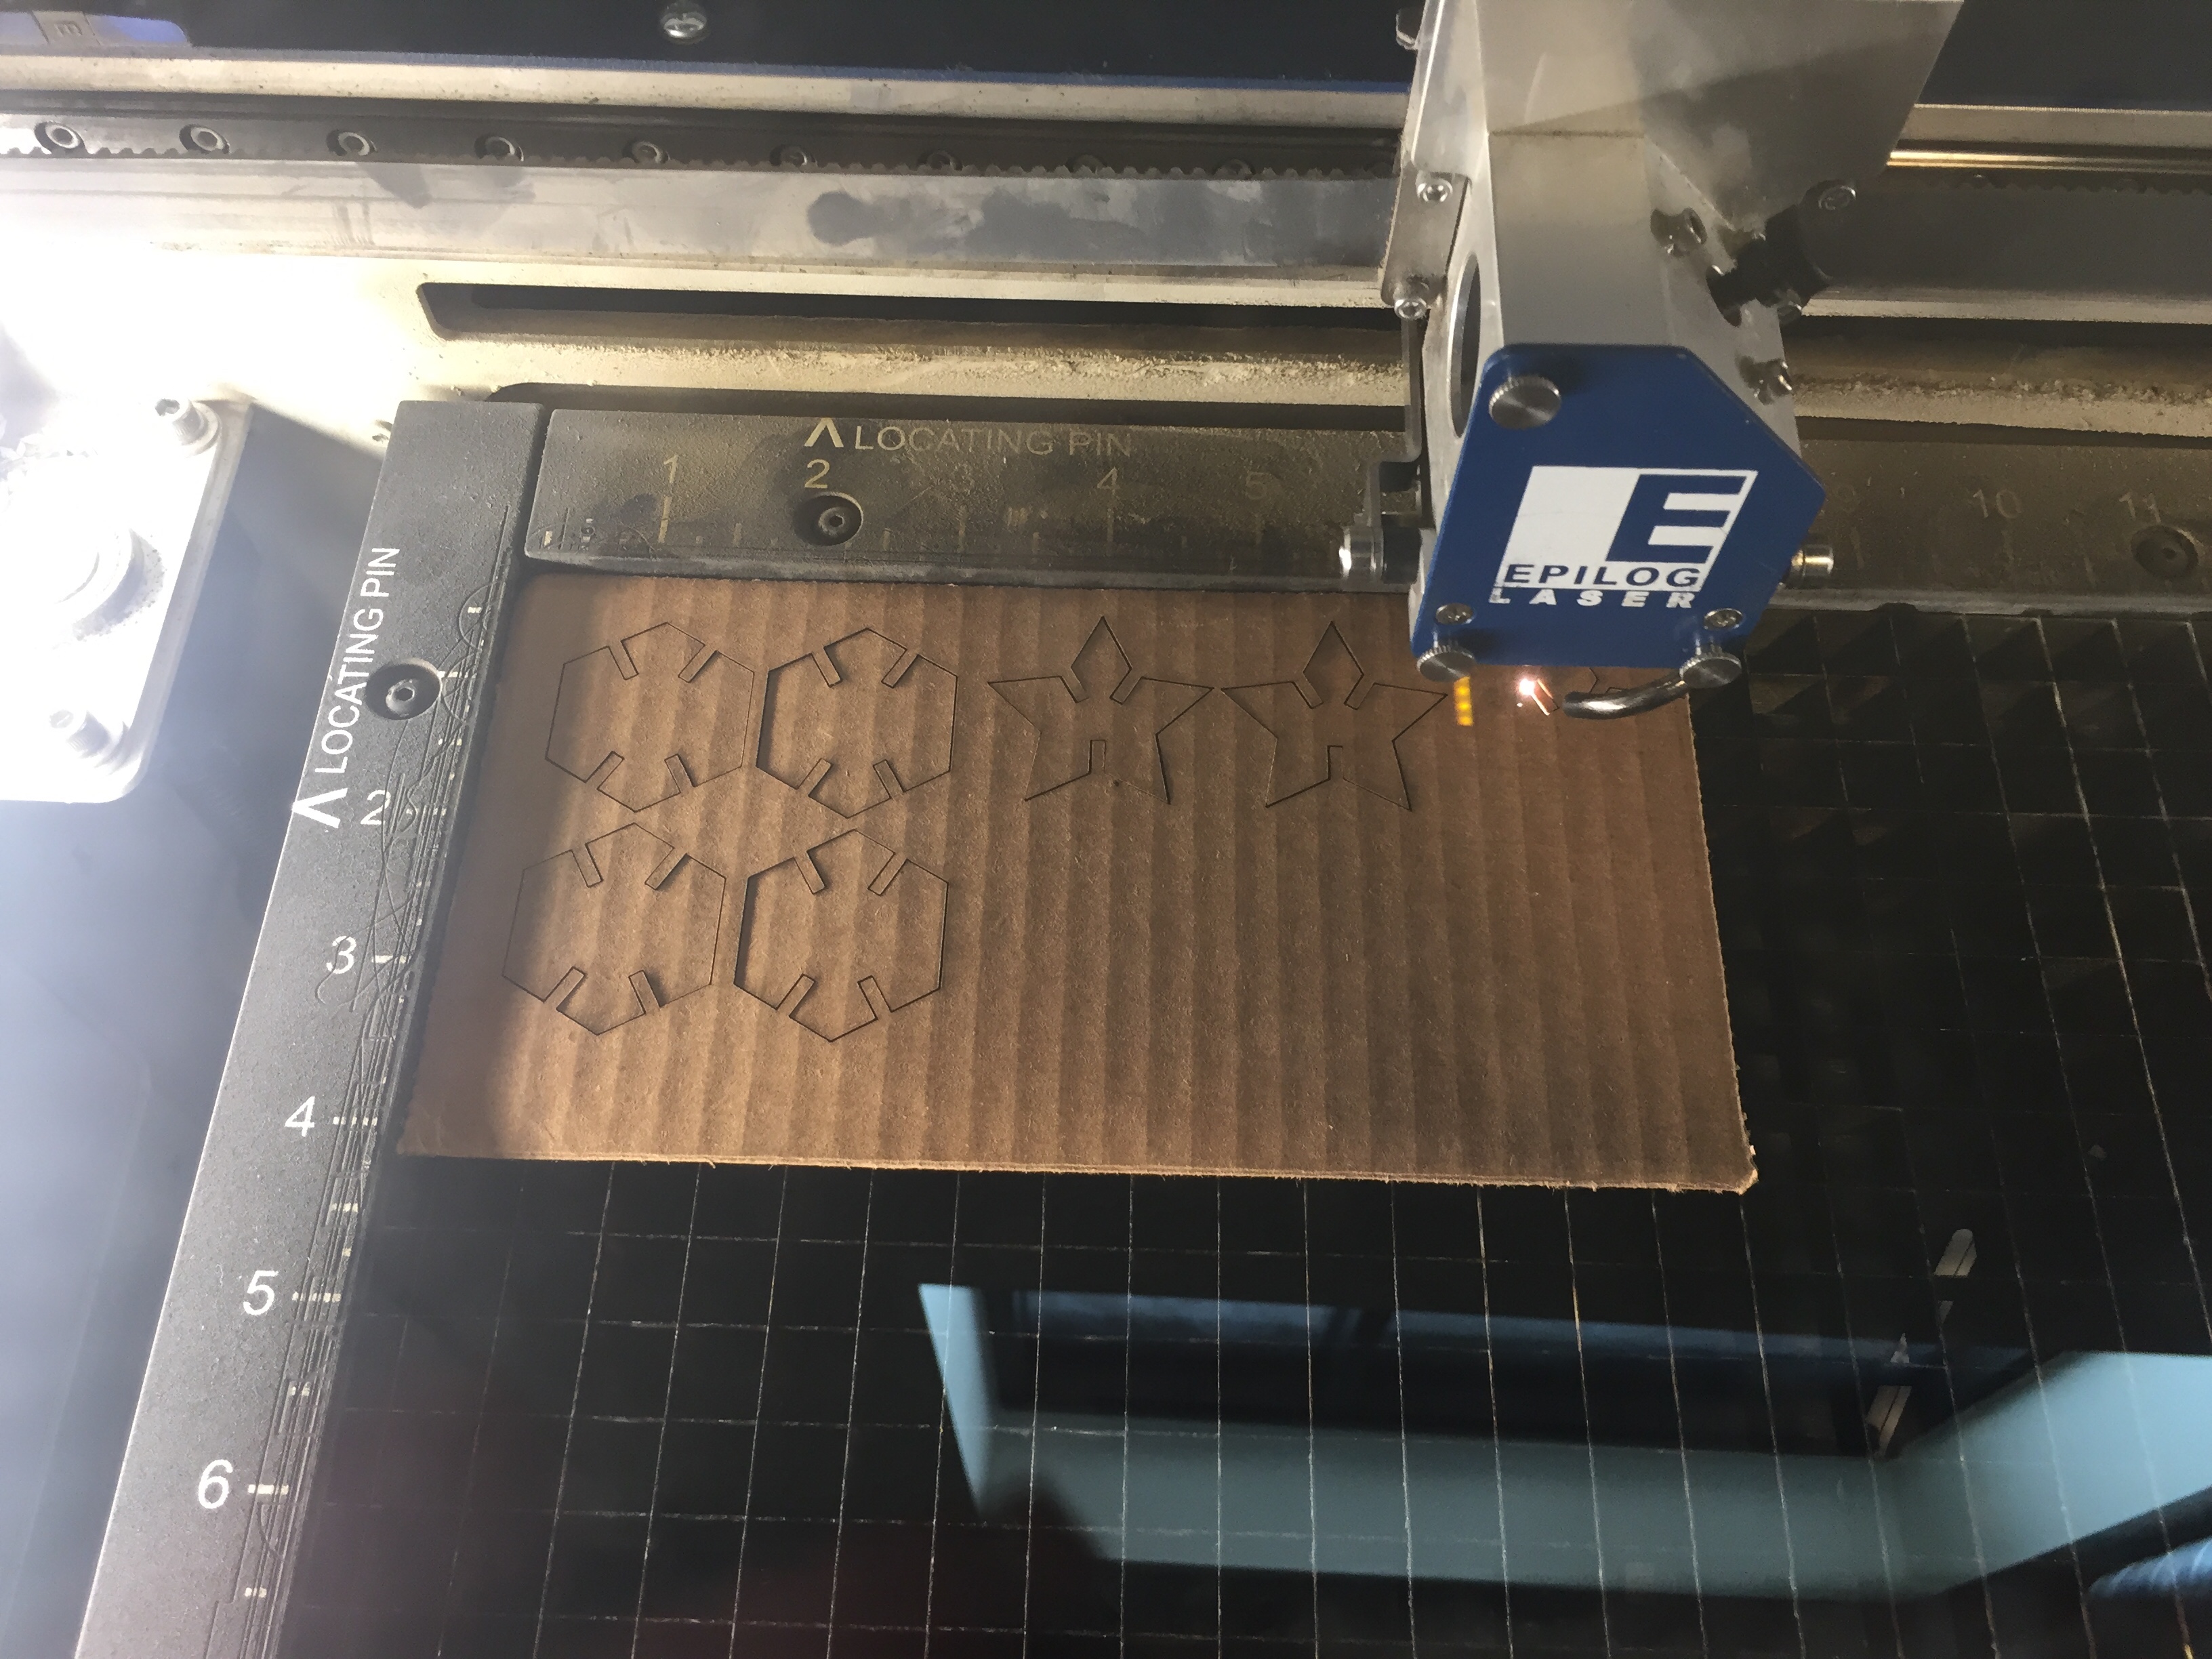
Step 2: Once my file was ready with the shapes I wanted, I went to the laser cutter to do a test run. Using one of the MacBooks from the MILL, I opened my file on Illustrator and started the cutting process. I turned on the exhaust, air compressor, and the laser cutter itself. I adjusted the focus so that the focusing "key" was just touching the material. After that, I went to Print and adjusted the Setup and Preferences. I made sure to choose the right laser cutter, then in the Preferences I adjusted Place Size and the Vector settings. I used 25% speed, 100% power and 100% frequency. I did have issues with my Illustrator file in that the laser cutter didn't recognize my vectors. I had to create a new Illustrator file using the MILL's MacBook and recreated the test shape, and that file was recognized by the laser cutter.
Step 3: Iterate! After my test laser cut, I realized the slits on my shape didn't fit well together. That's when I realized the purpose of the calipers. I measured the thickness of my cardboard and used that number to determine the size of the slit. I went back to my Illustrator file and adjusted my shapes. I used 0.09in for my slit width to have the shapes fit together, so that when shaken it wouldn't come apart.
Step 4: Once I adjusted my shapes, I did another test cut with the laser cutter. I did the same process as step 2. This time my shapes fit together! So I went ahead and cut out the remaining shapes I had on my document, and my kit was completed.
I did figure out what my initial Illustrator file problem was. When I created my shapes and used pathfinder, the stroke was automatically aligned inside instead of center. When I fixed the stroke alignment, the stroke weight of 0.001pt looked how it was supposed to versus how it looked at 0.000pt when aligned to inside.
Peer Teacher: D'Marcus Butler - IllustratorHe taught me how to use pathfinder to create the shapes I wanted to cut.

 Press Fit Kit Photos:
