Design
Process
Once I knew what I wanted for my design, it was time to create the 2 parts. I first started by creating the stick. I created a new document and clicked on sketch. I used the line tool to create my rectangle shape. I used the dimension tool to adjust the size of the stick. I wanted it to be 7 inches long and half an inch wide. I then exit sketch to start a new sketch to make the hole in my shape. I added a circle to sketch 2 then tried to figure out how to subtract the circle shape from the rectangle. With Lukas' help, he told me to actually make the 2 shapes in one sketch. I deleted the circle sketch and re-opened the rectangle sketch. I added a circle on top of the rectangle. To make sure I had the right dimension for the hole, I opened up Joshua's plastic rivet OnShape file. I measured the widest dimension of the part of the rivet that would go in the stick. I used that dimension for the diameter of the circle. I adjusted the diameter of the circle using the dimensions tool. To achieve the curves on the stick, I used the fillet tool. Happy with the sketch, it was time to extrude the shape. I extruded the shape to be .5 in tall.
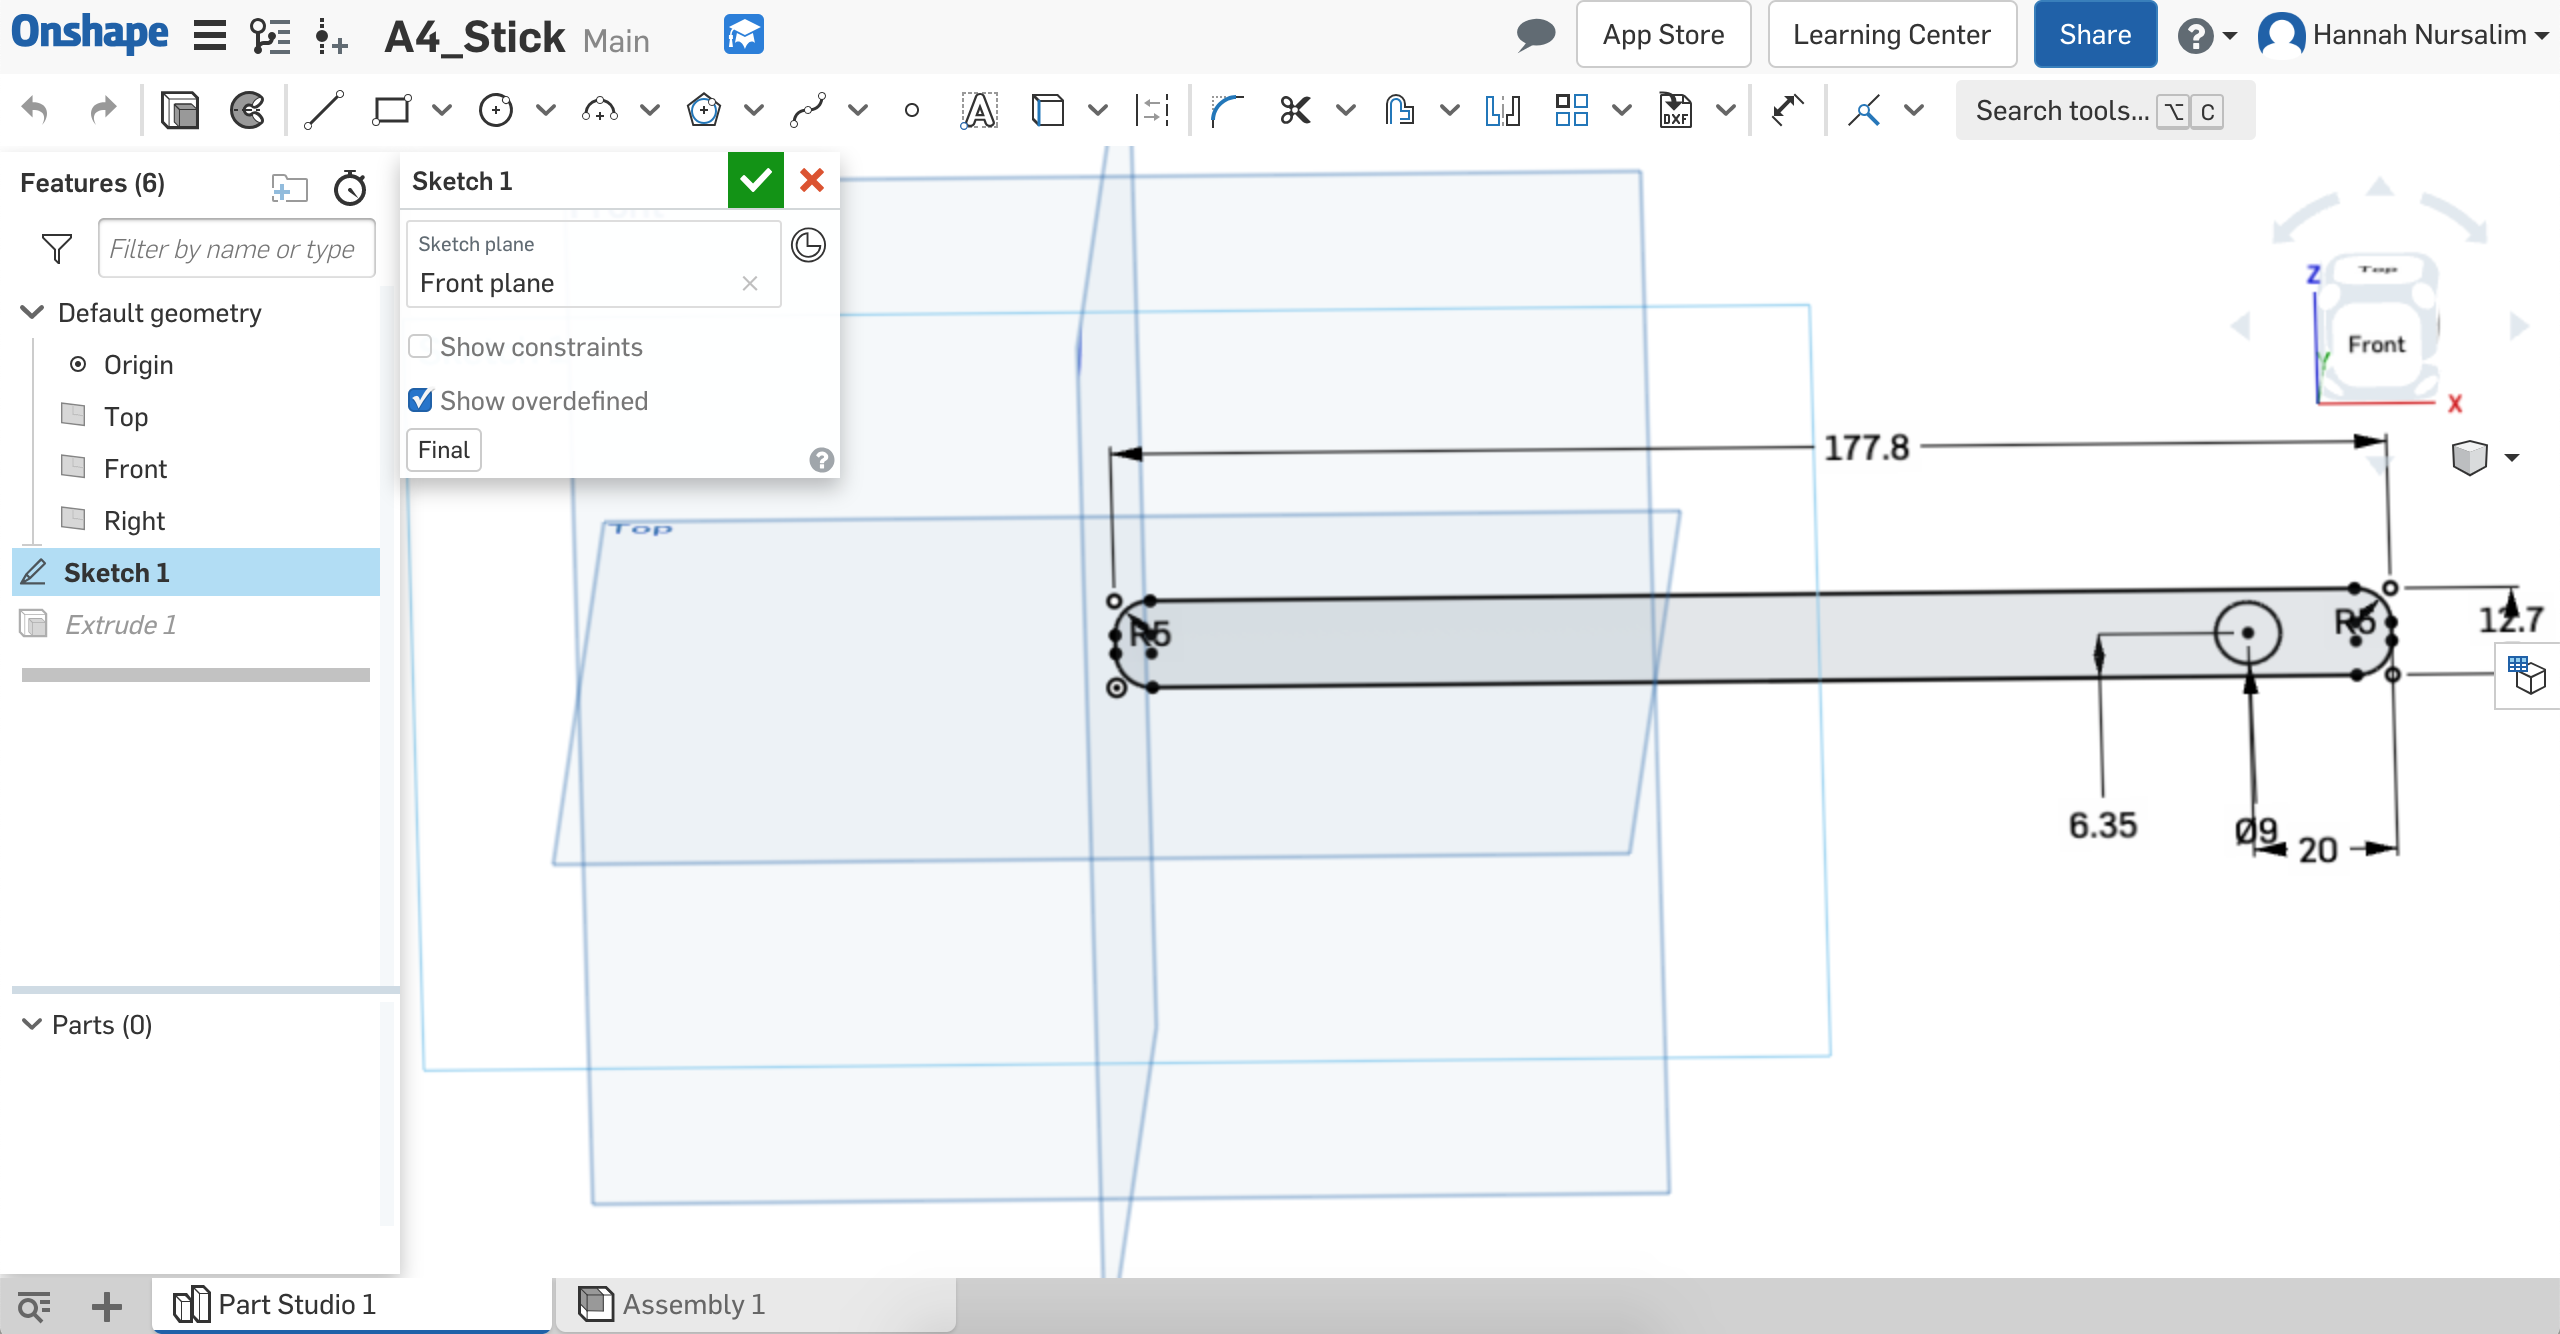
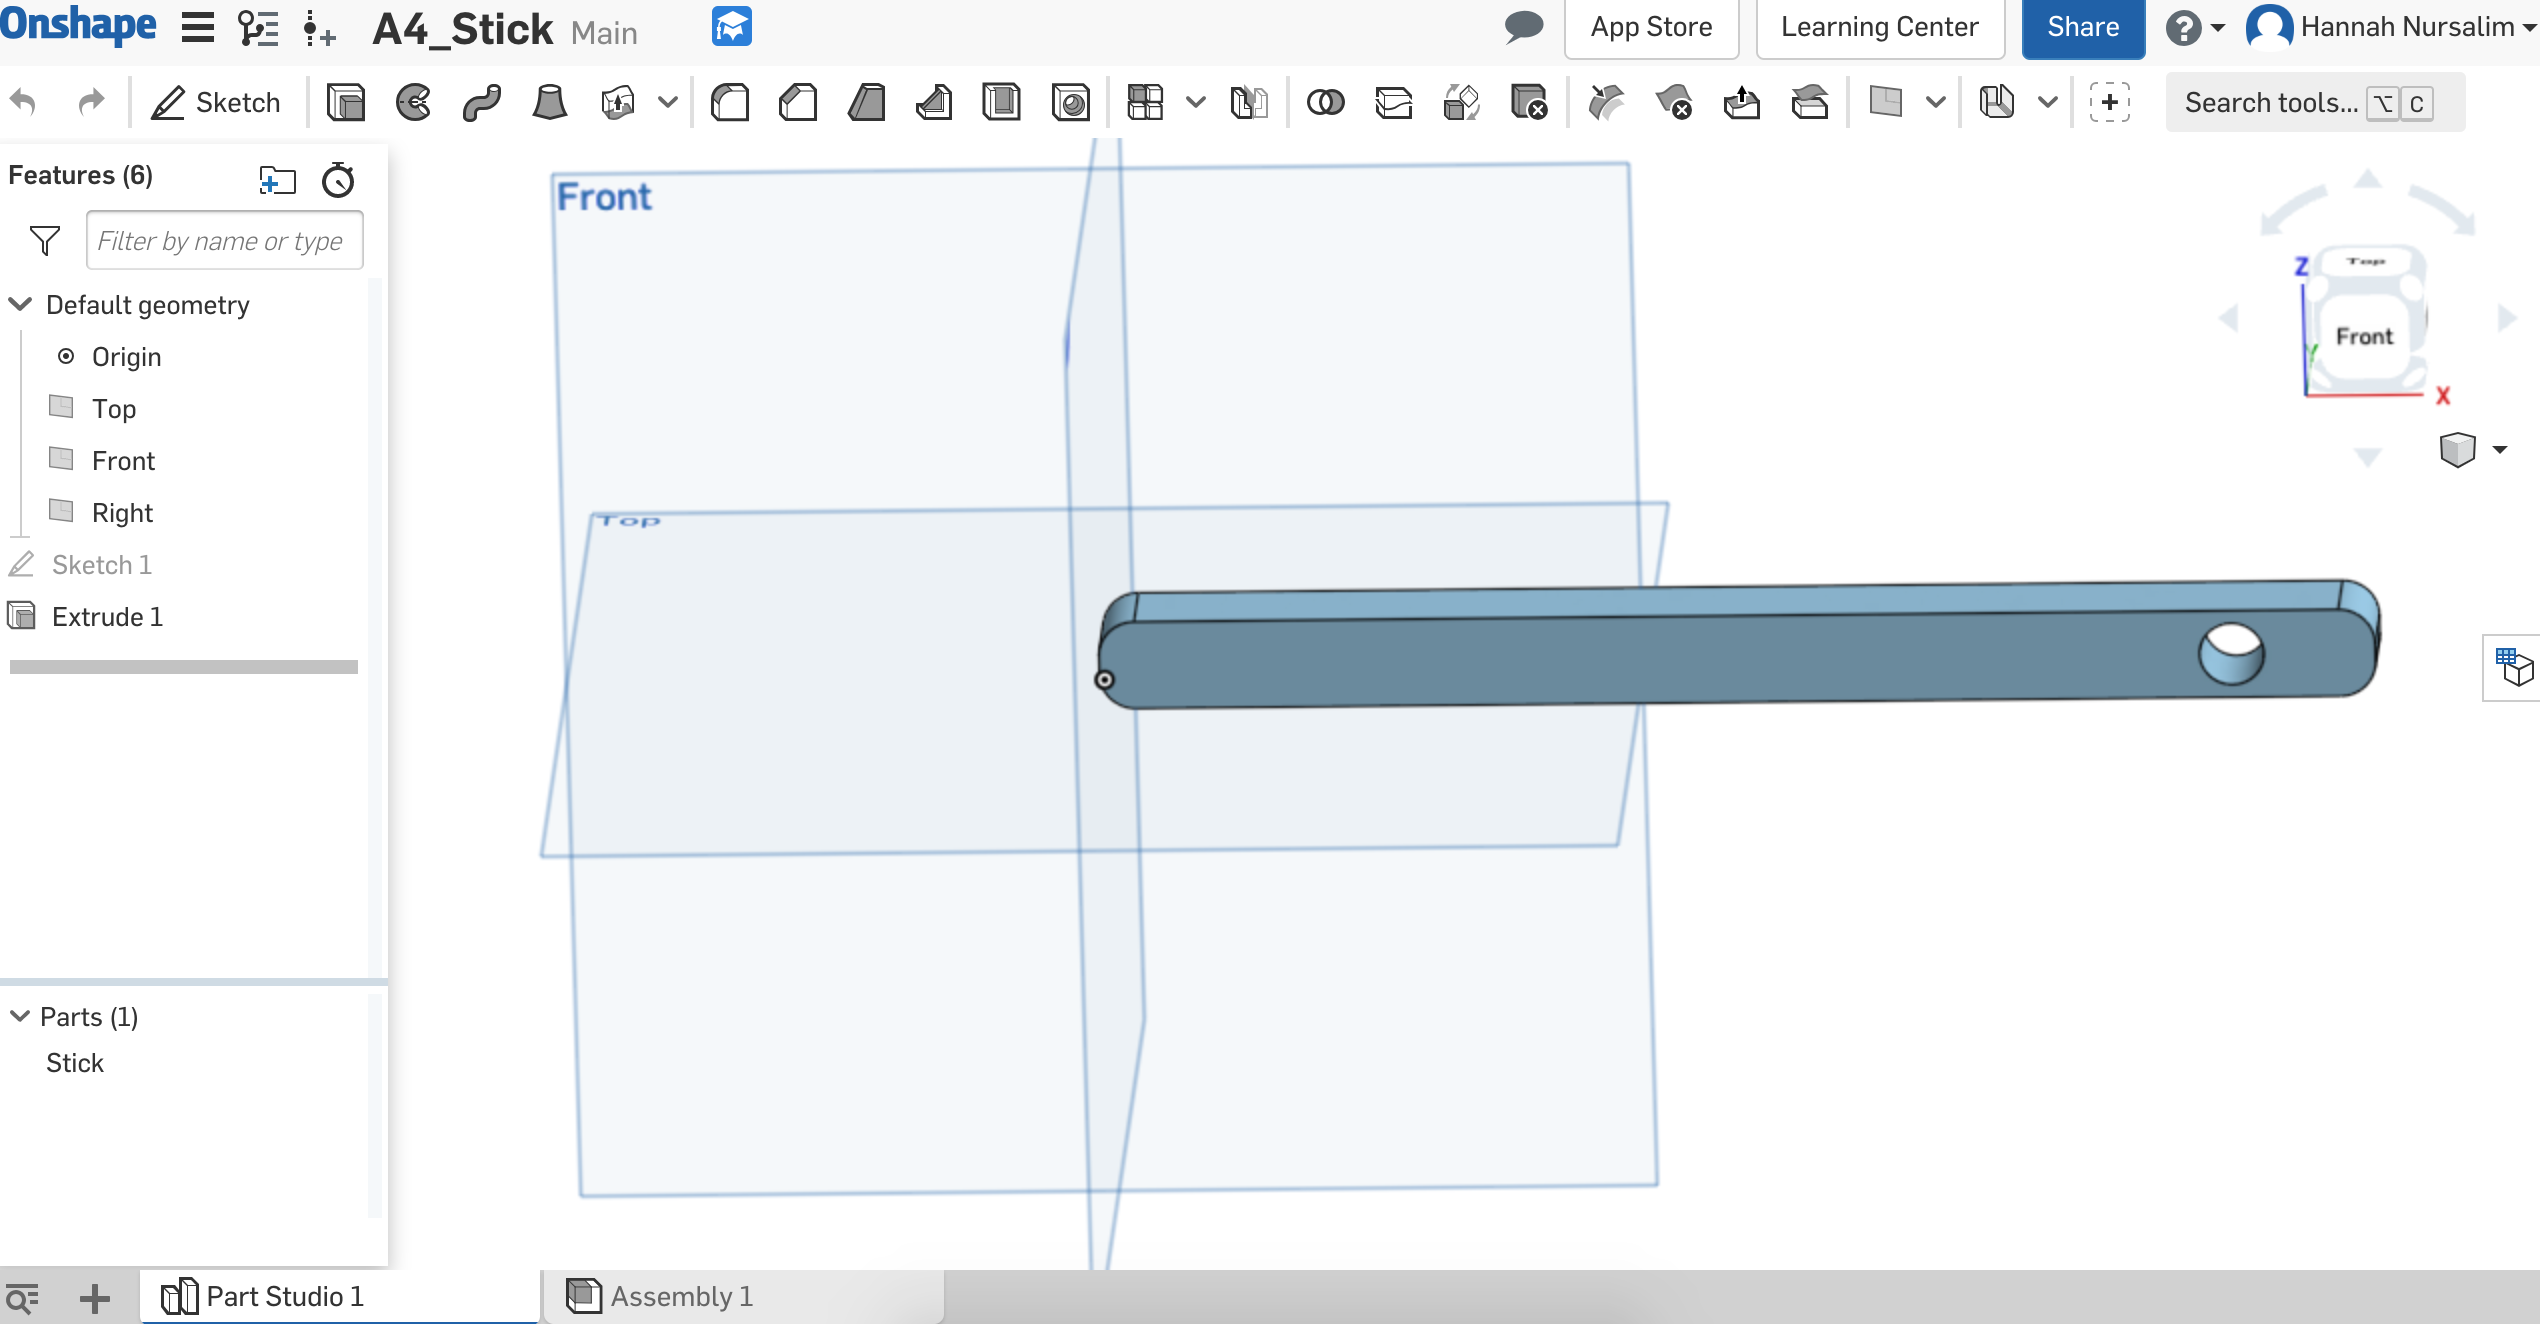
Stick part made on OnShape
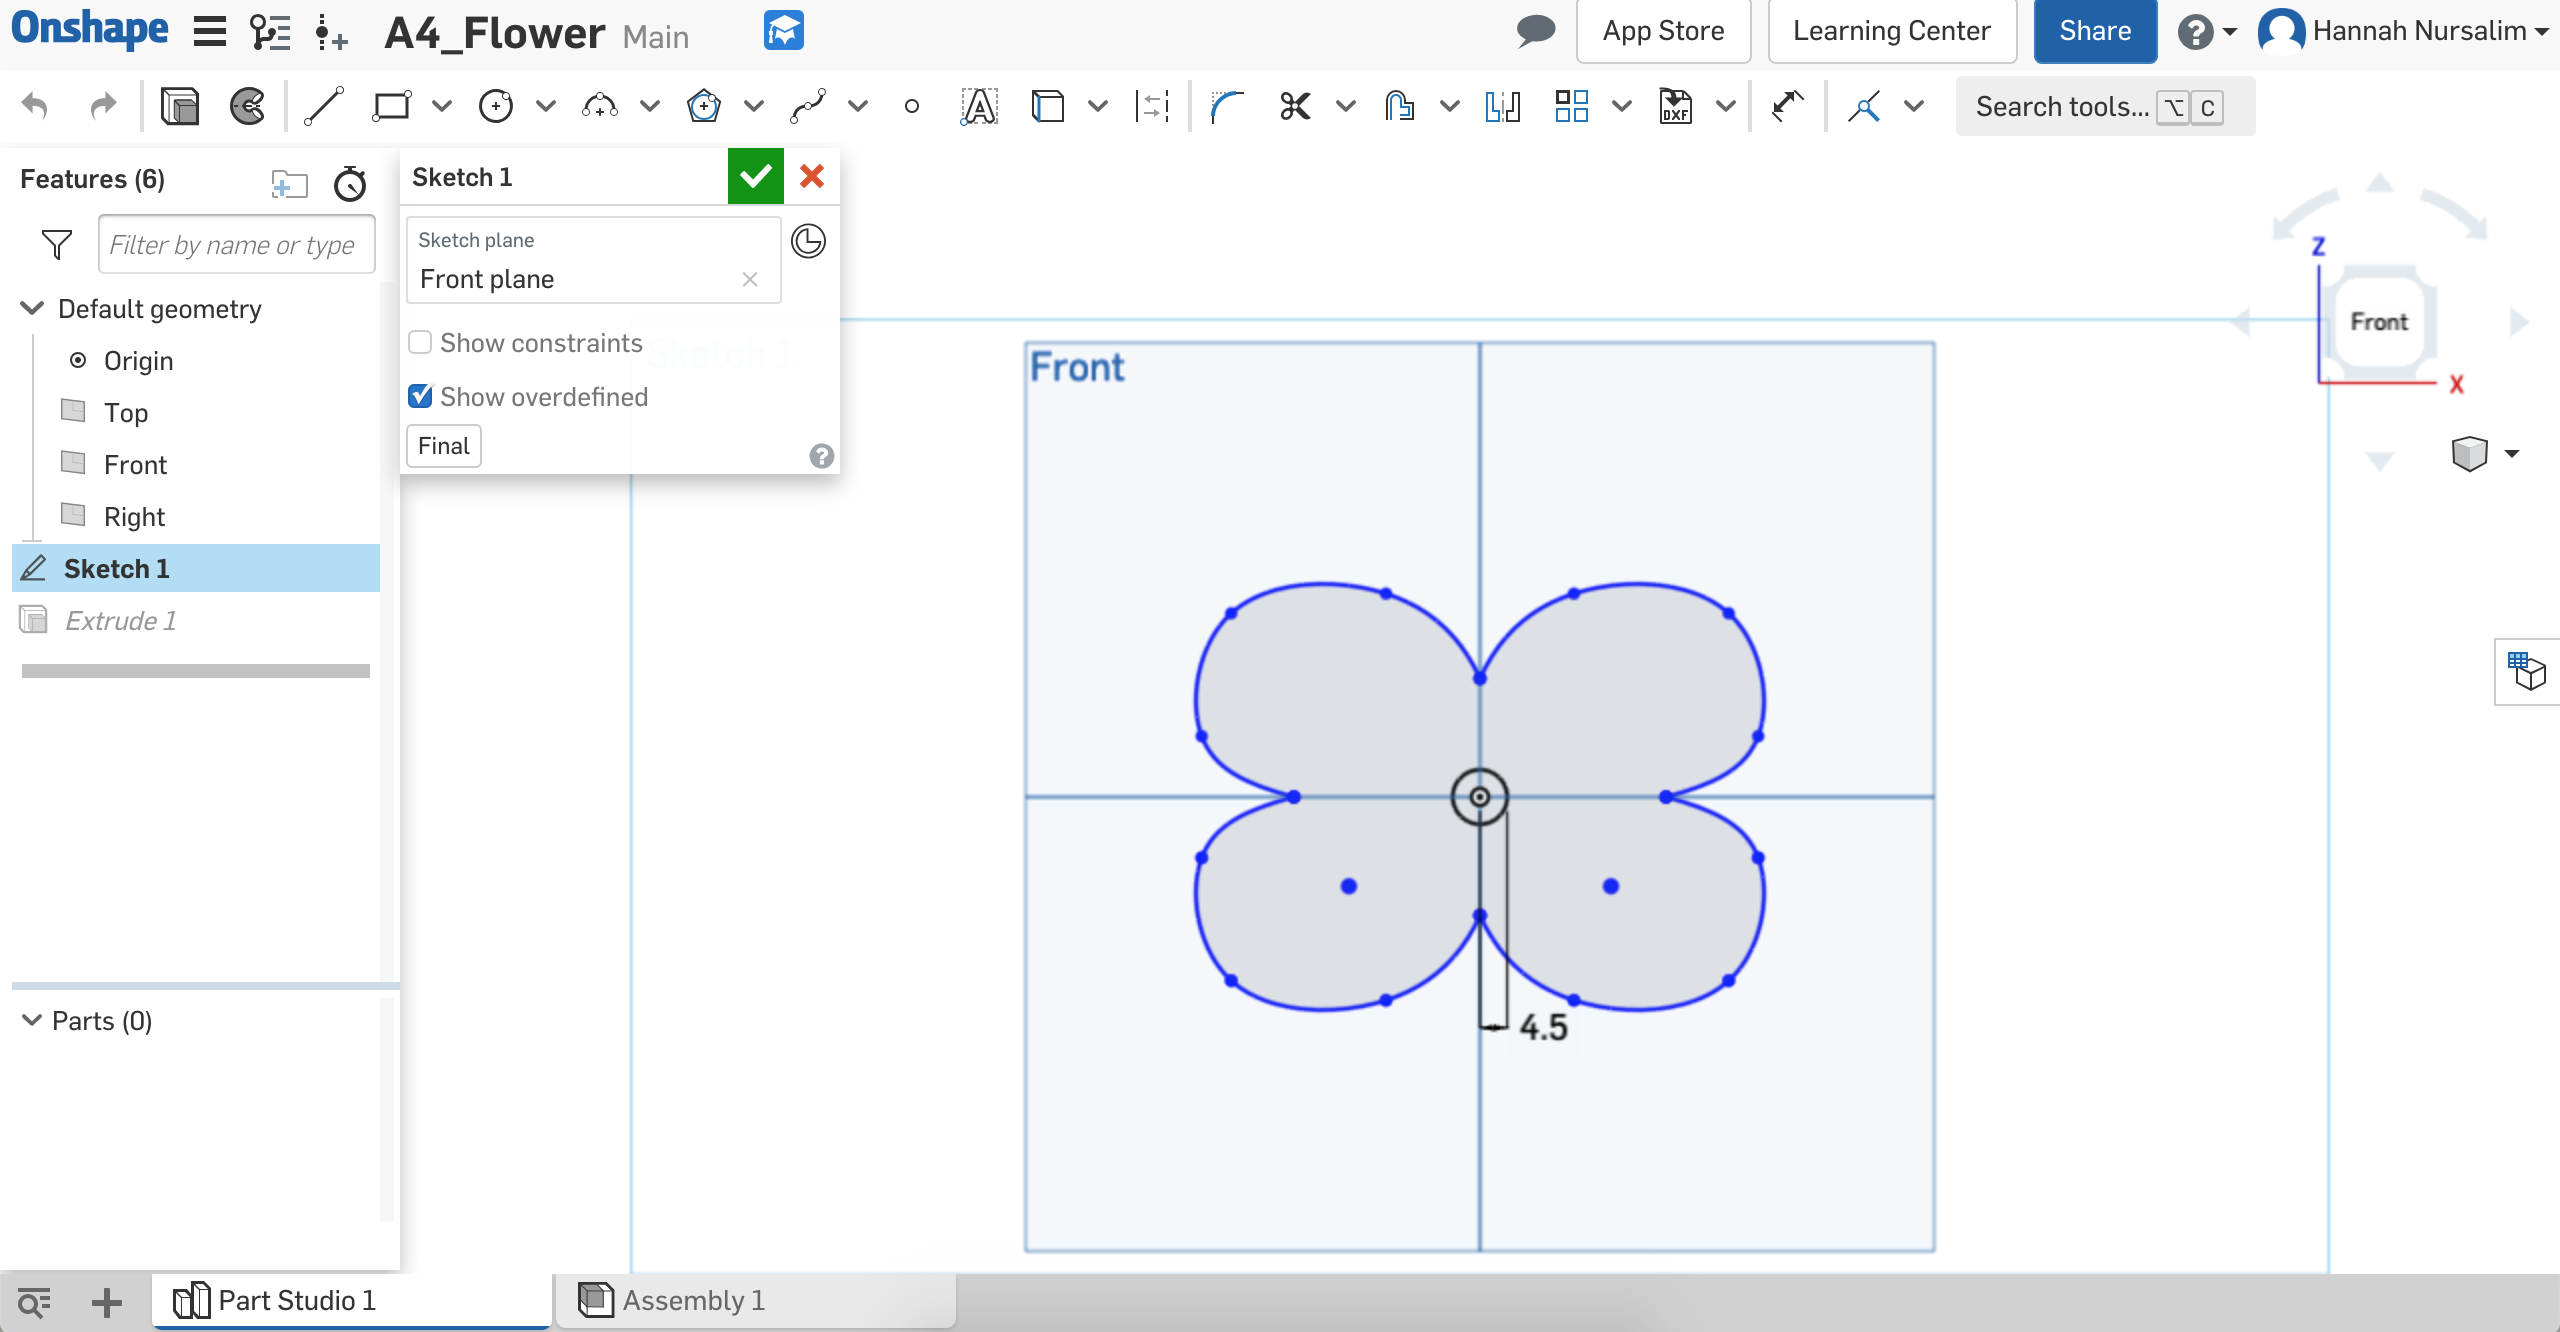
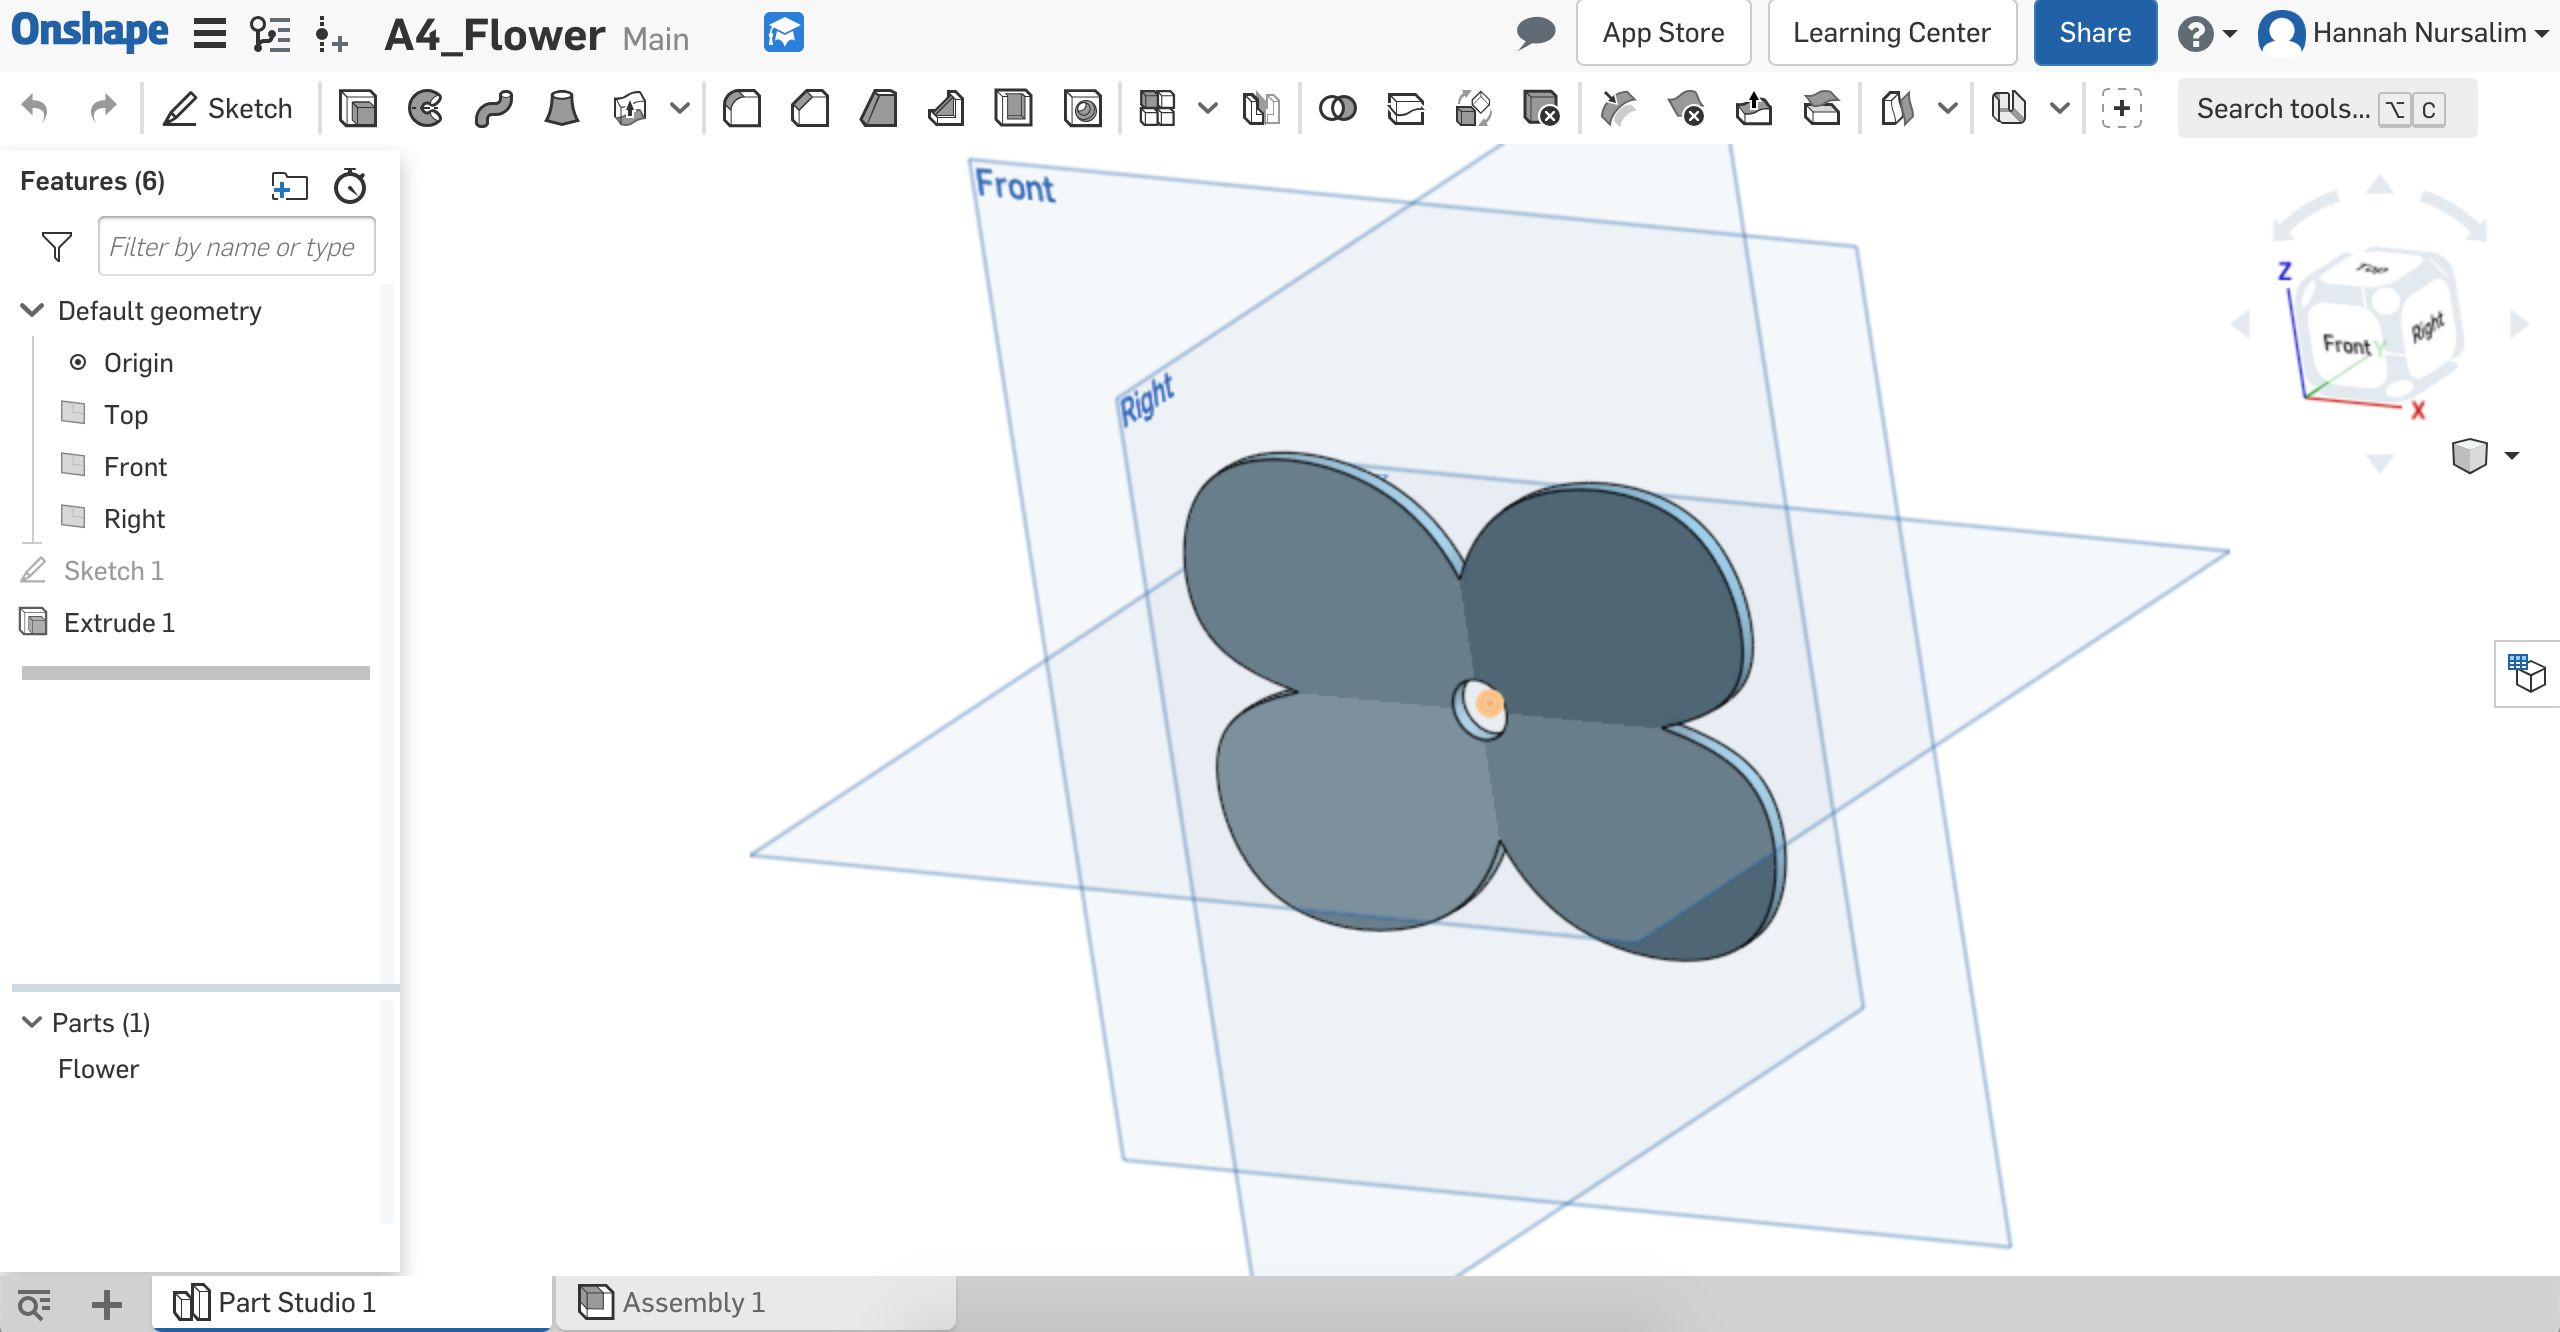
Flower part made on OnShape
After finishing the flower part, it was time to assemble! I used the plastic rivet Joshua designed on OnShape to piece the flower and stick together. I imported each part: stick, flower, and plastic rivet. I put the stick in a fixed position. Then using the pin slot mate, I connected the hole of the flower to the hole of the stick. I had to offset the flower shape a little bit so that it wasn't going through the stick. I then used the revolute mate to put the rivet through the flower and stick. I tried moving the flower, and it worked! This made me confident about my design.
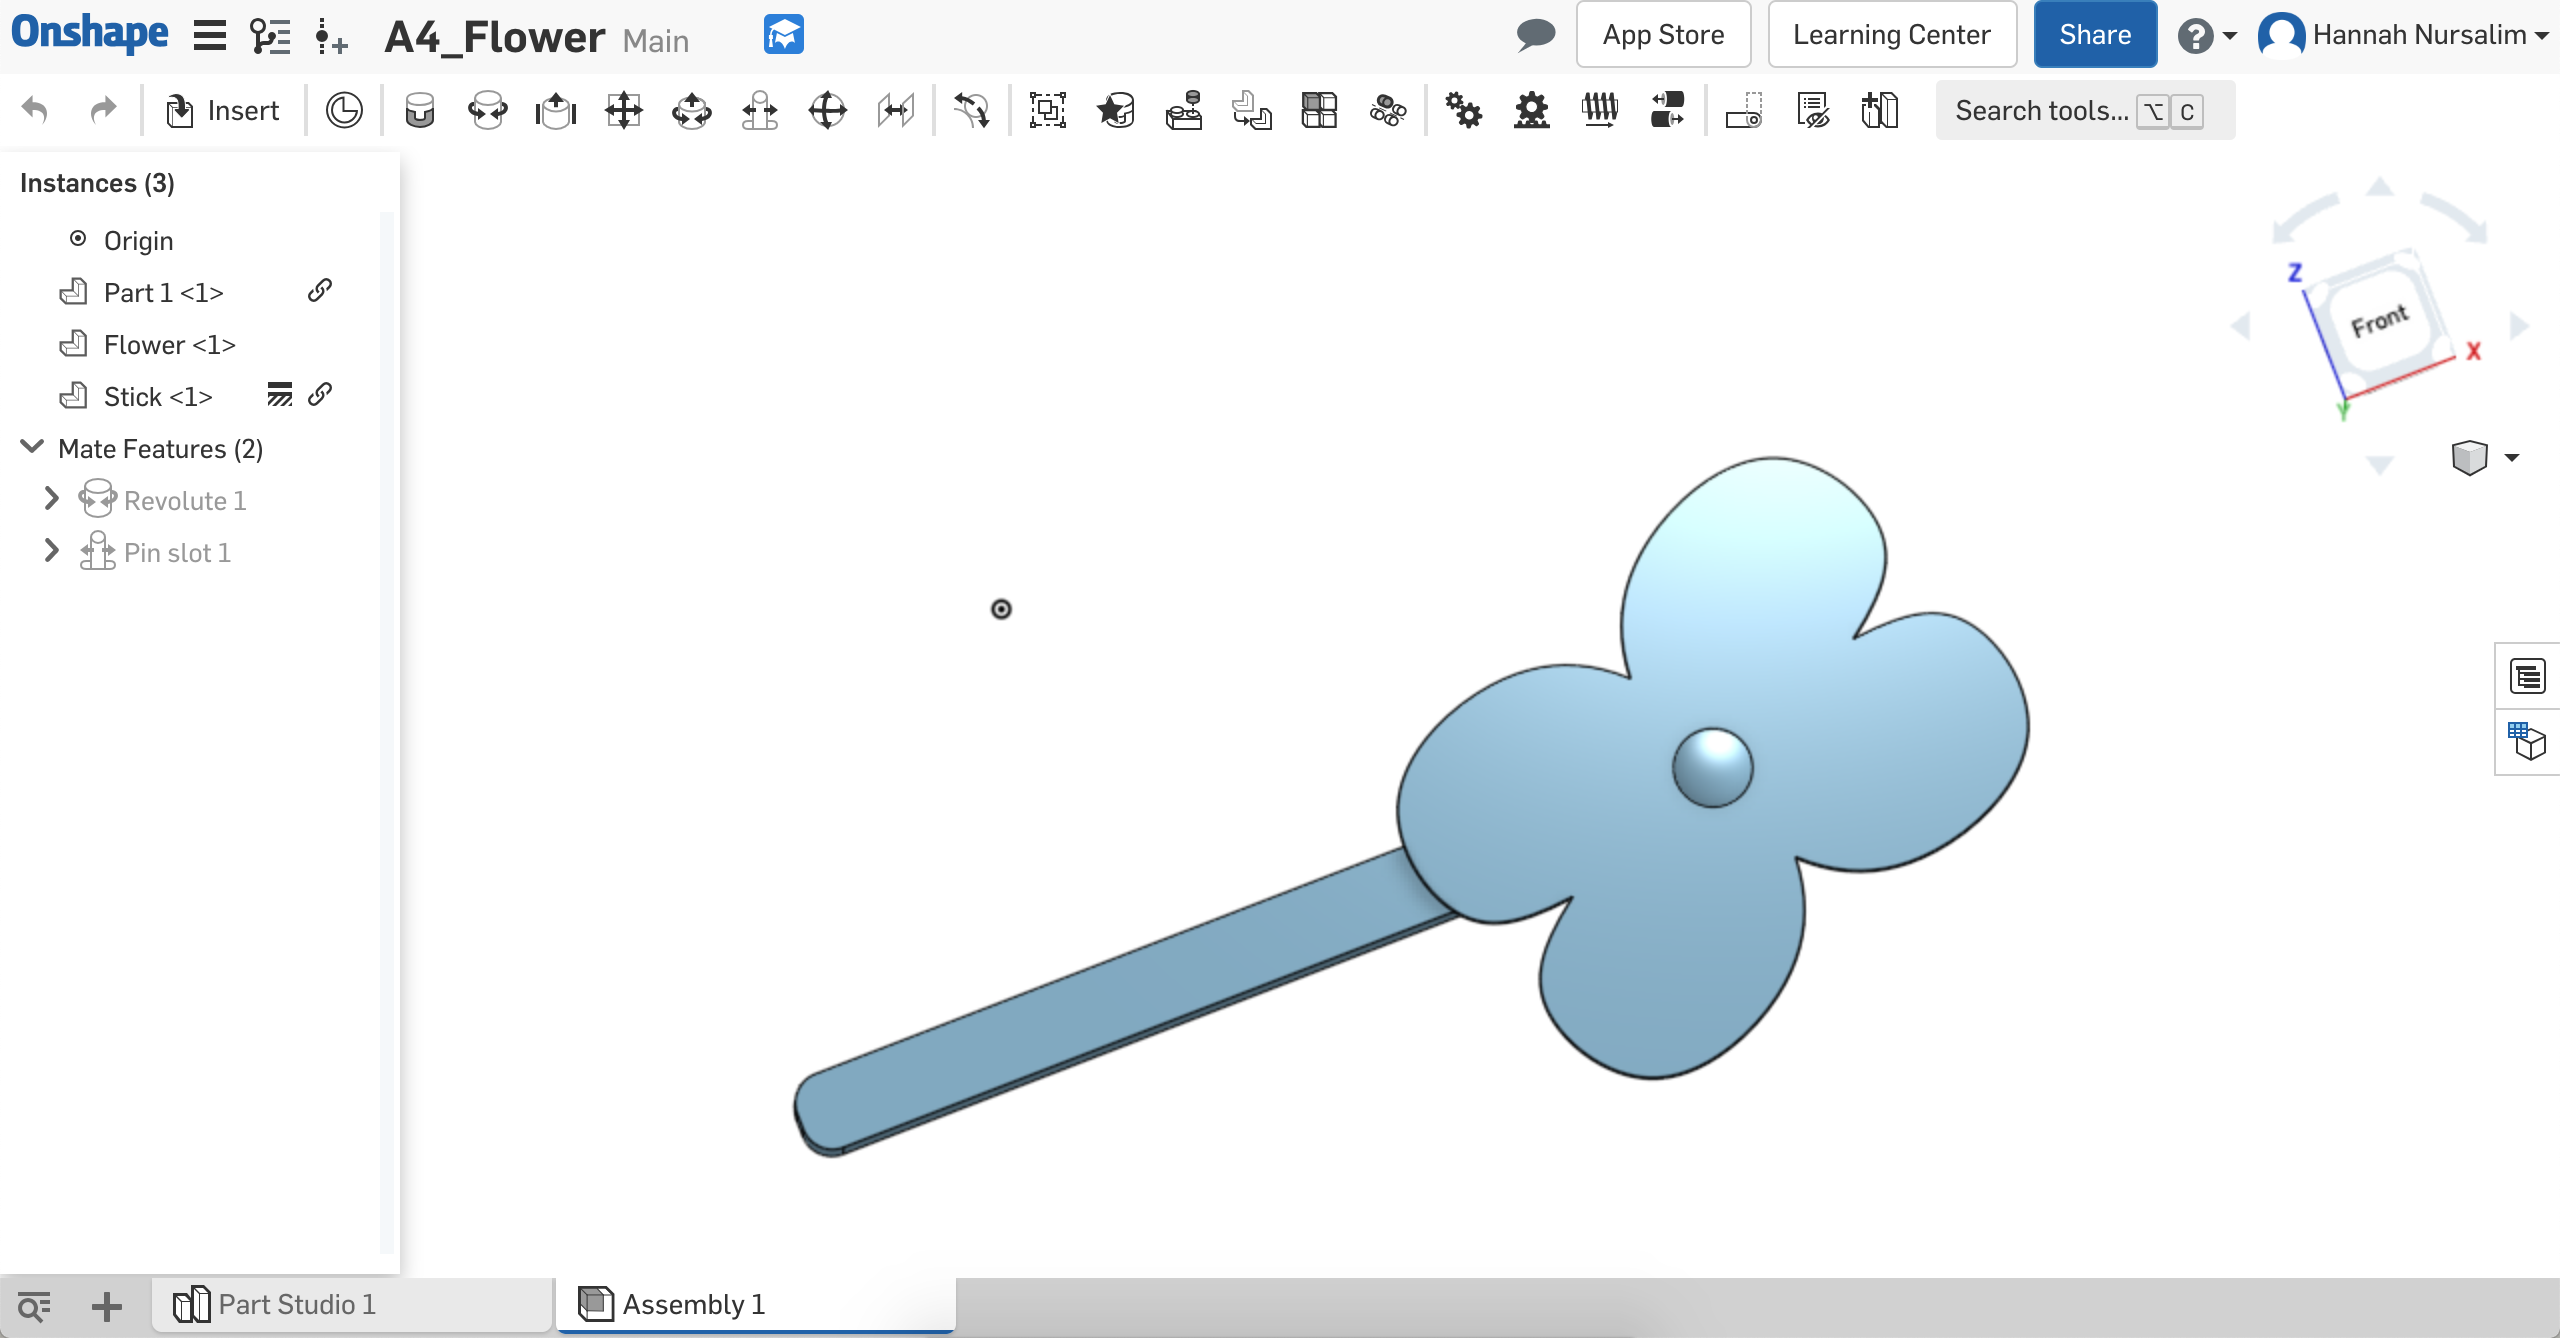
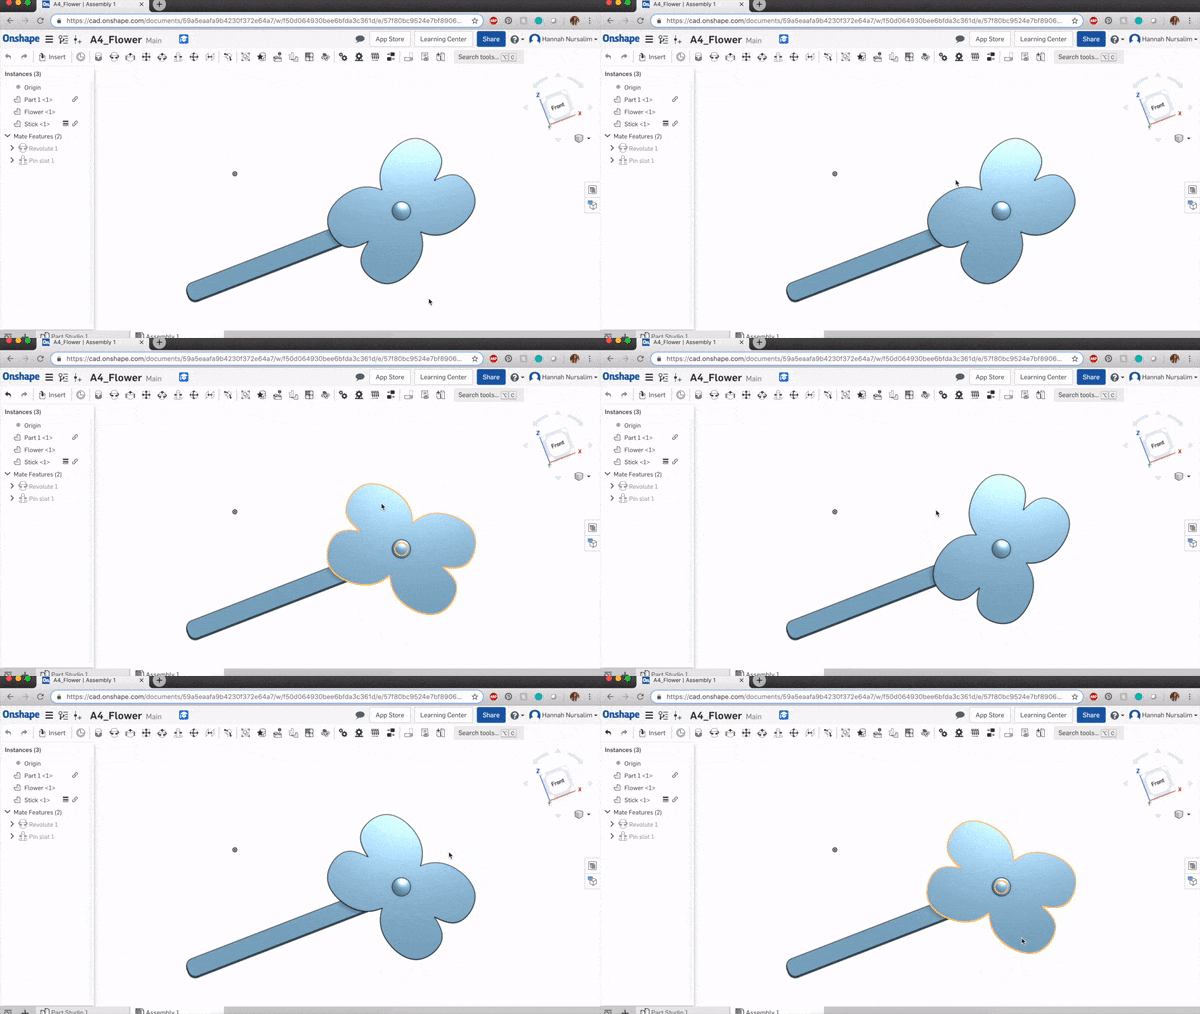
Parts assembled on OnShape
After seeing my parts assembled and happy with the results, I exported my files. I exported the stick to an STL file to 3D print, and the flower to a DWG file to laser cut. I had issues with the STL export. When I opened the file on DigiLab, nothing appeared. Inside the printer preview was blank. I tried different view options and nothing.
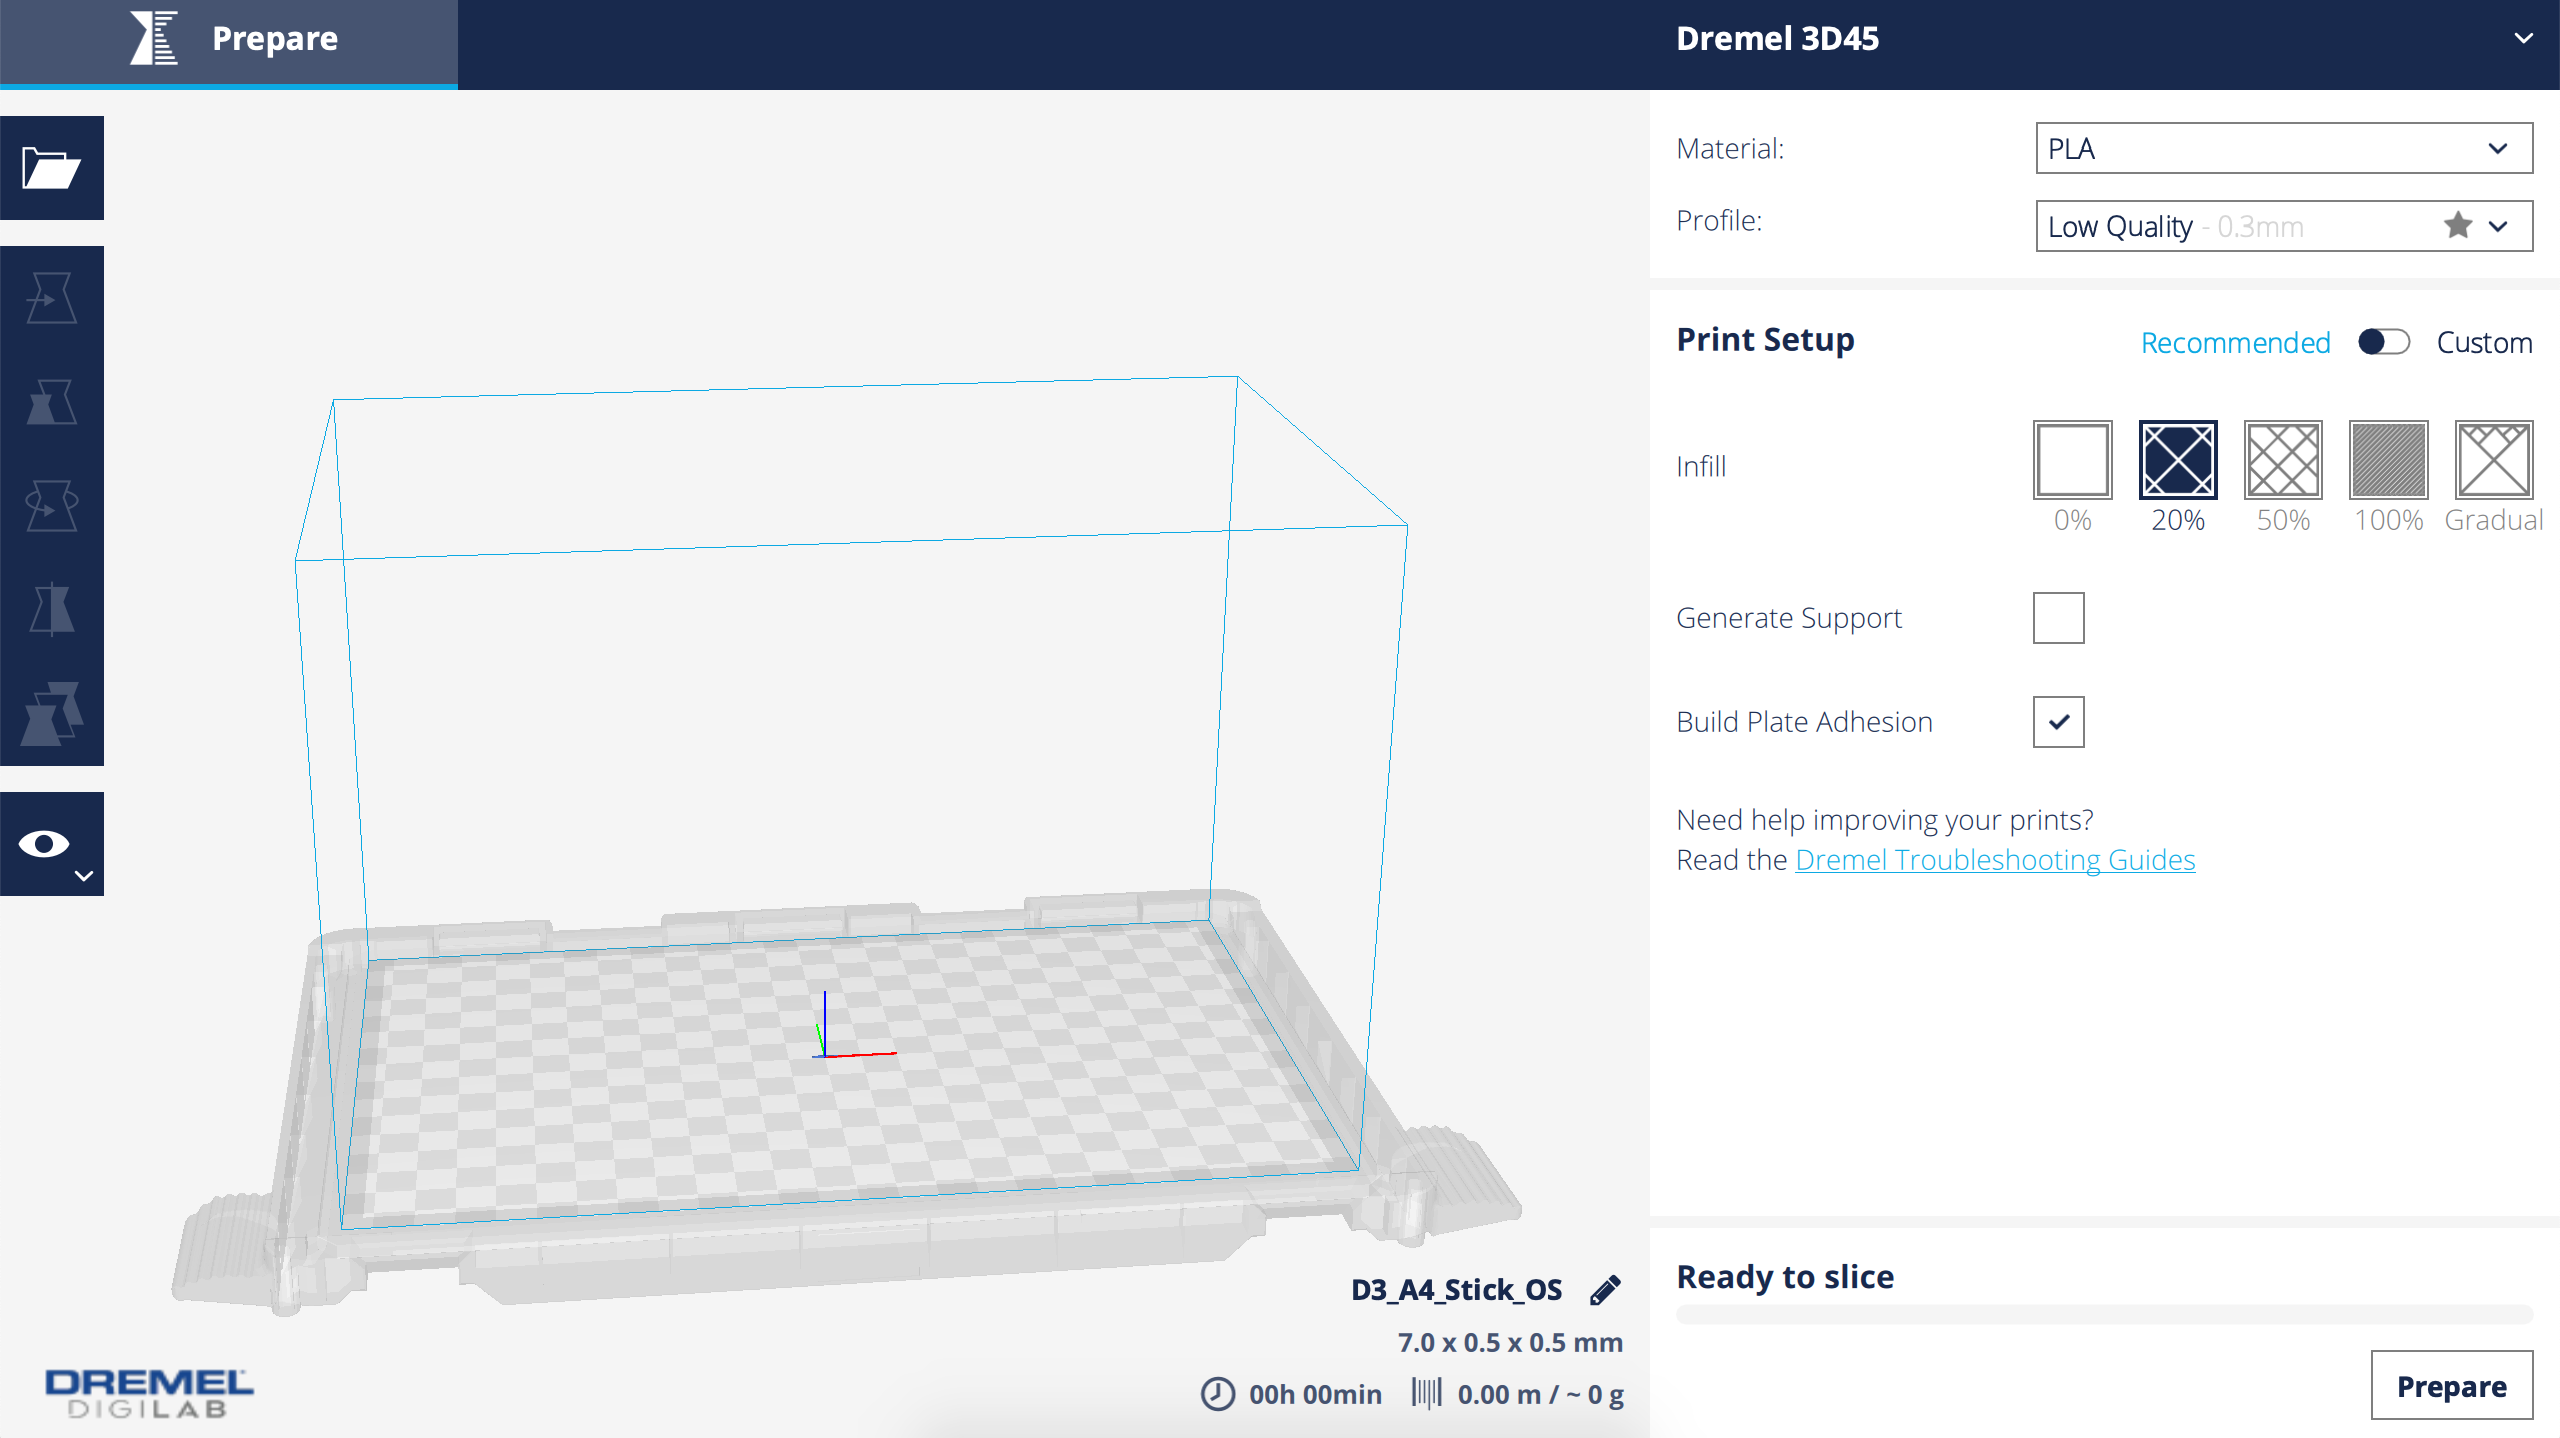
STL export from OnShape didn't appear in DigiLab preview
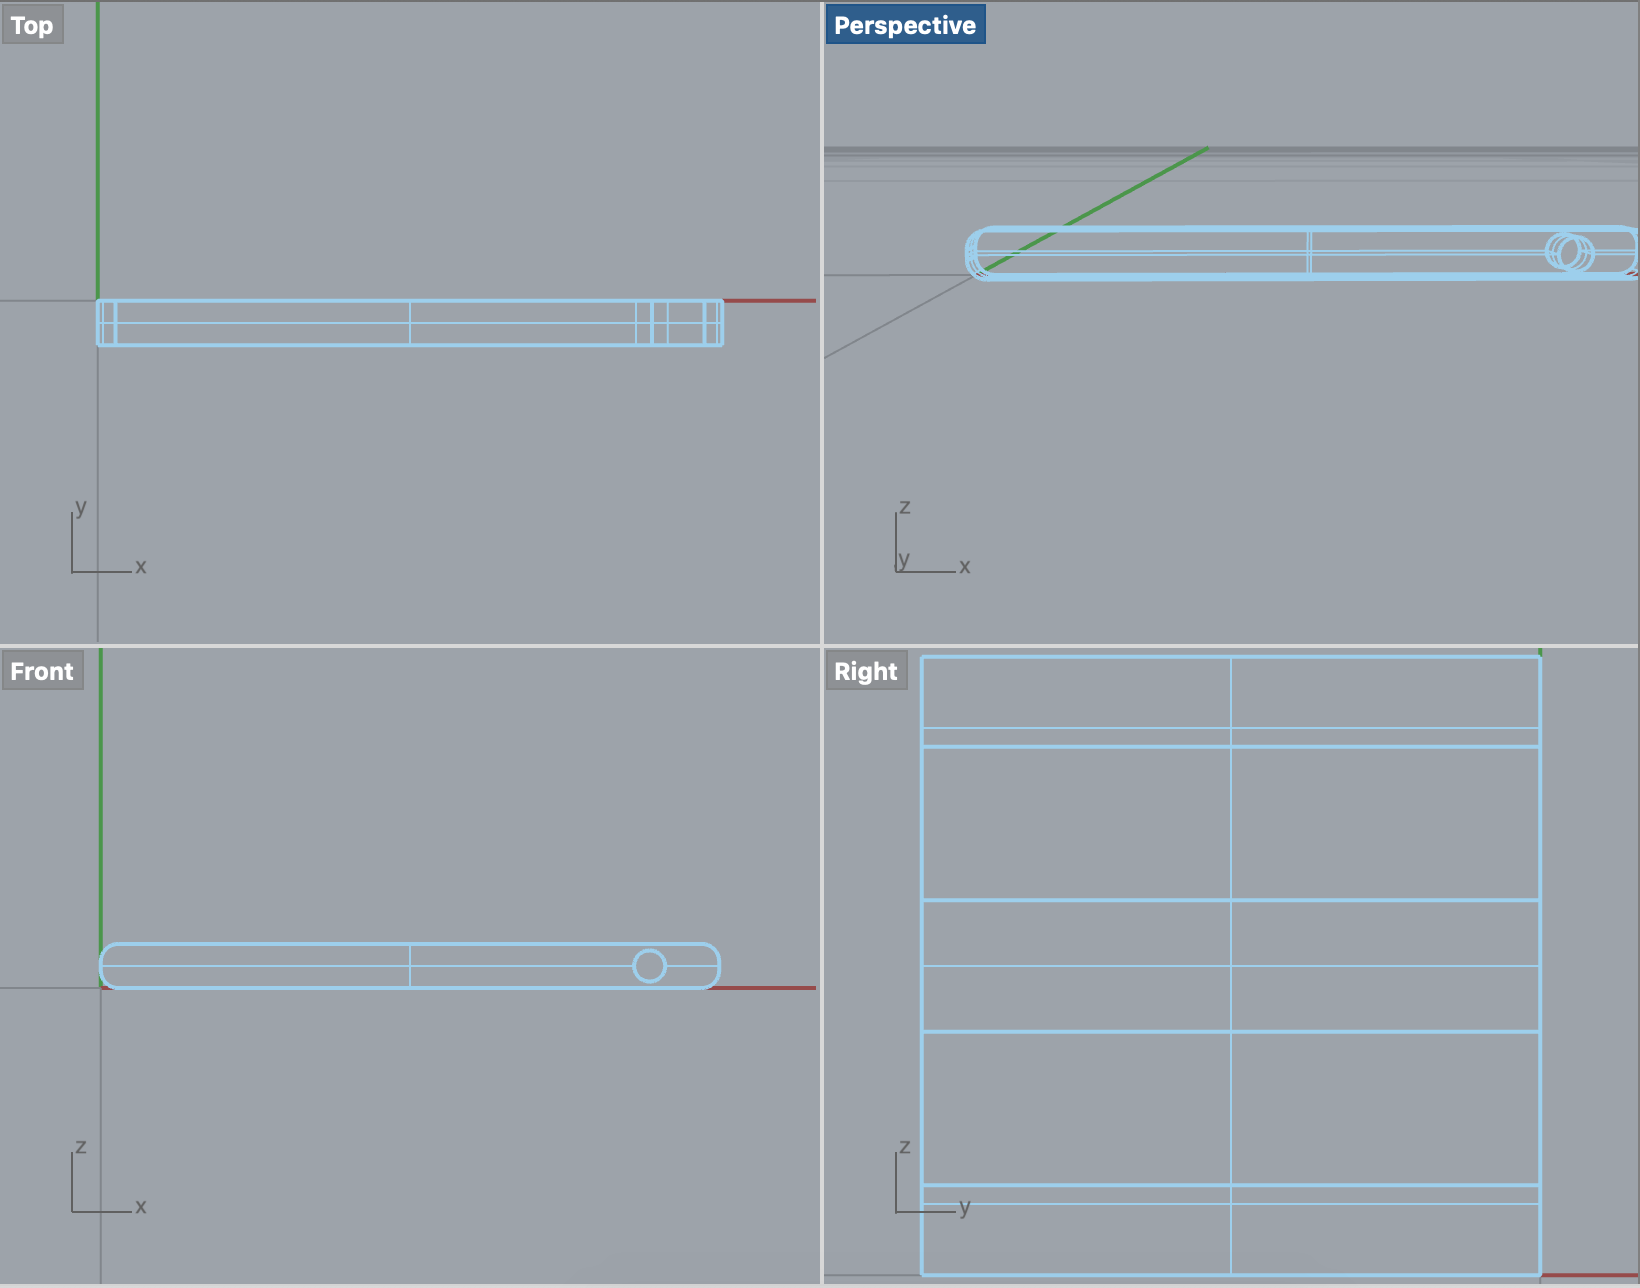
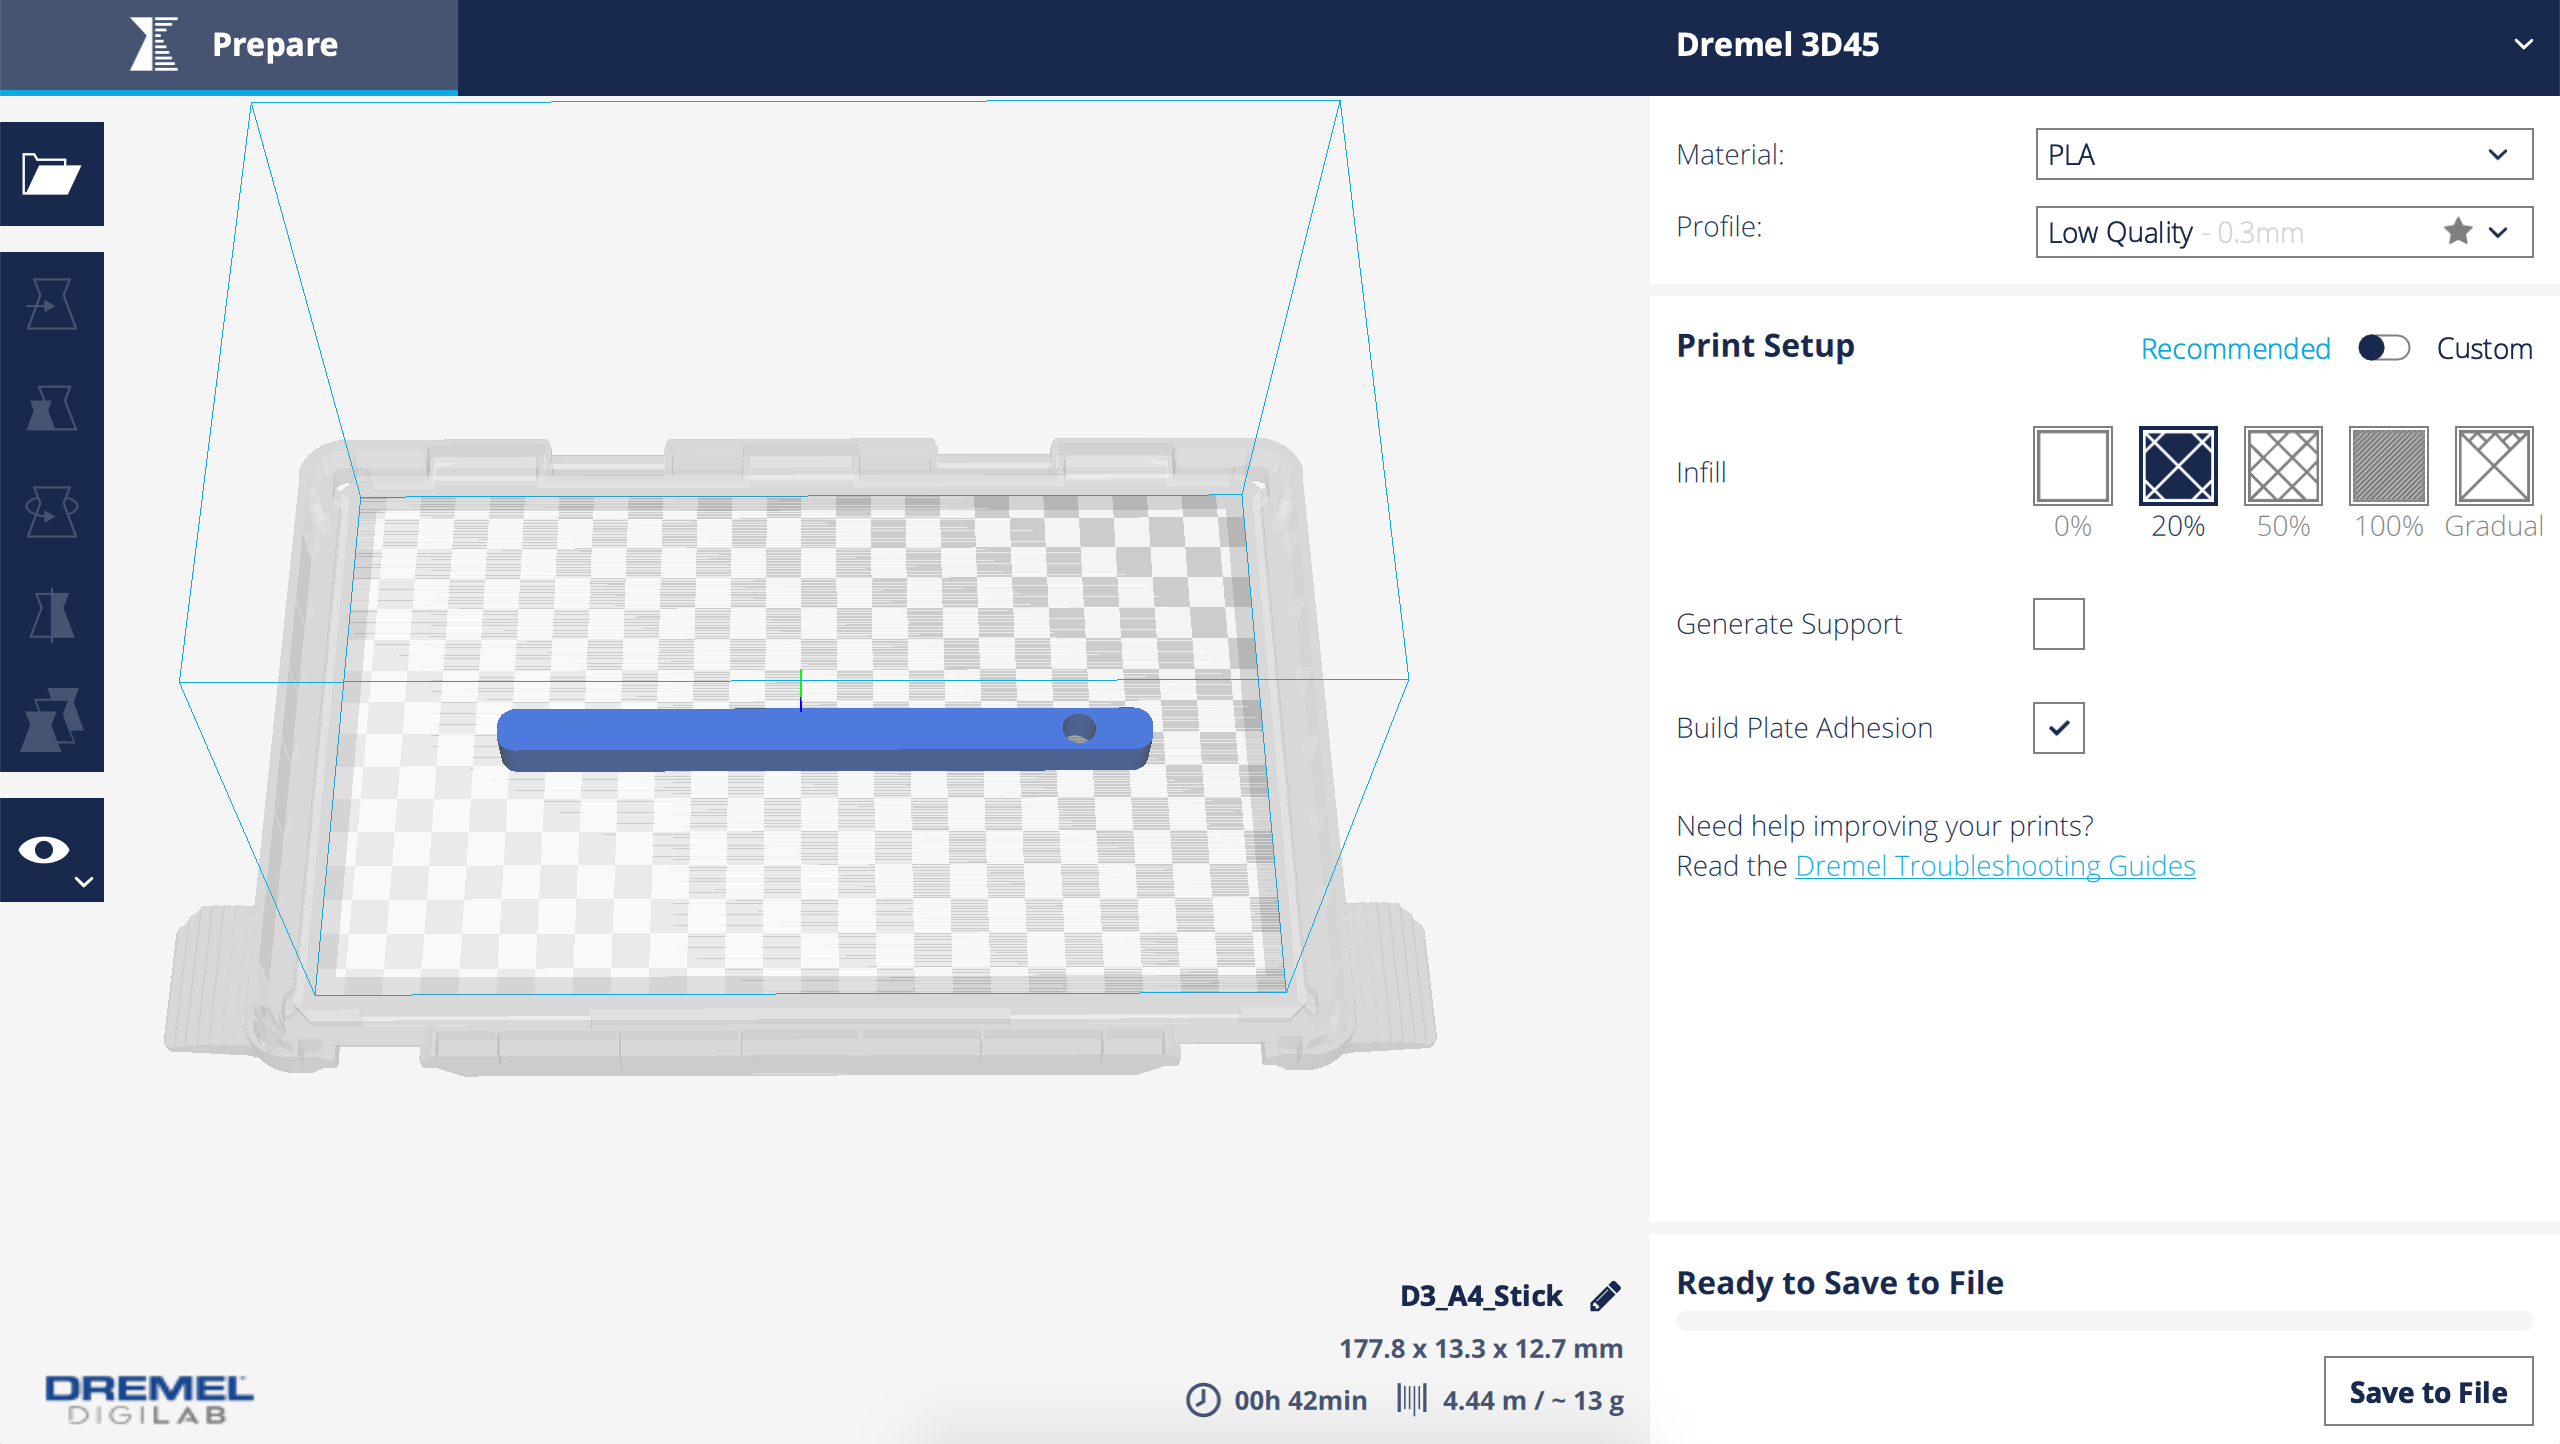
Exporting to Rhino from OnShape first and then exporting to STL worked
I went to the MILL on Friday morning to start 3D printing. I rotated the stick on DigiLab to make the hole flat to the platform, so that I wouldn't have to use support for the hole. I checked the print settings then prepared and saved the file to my USB.
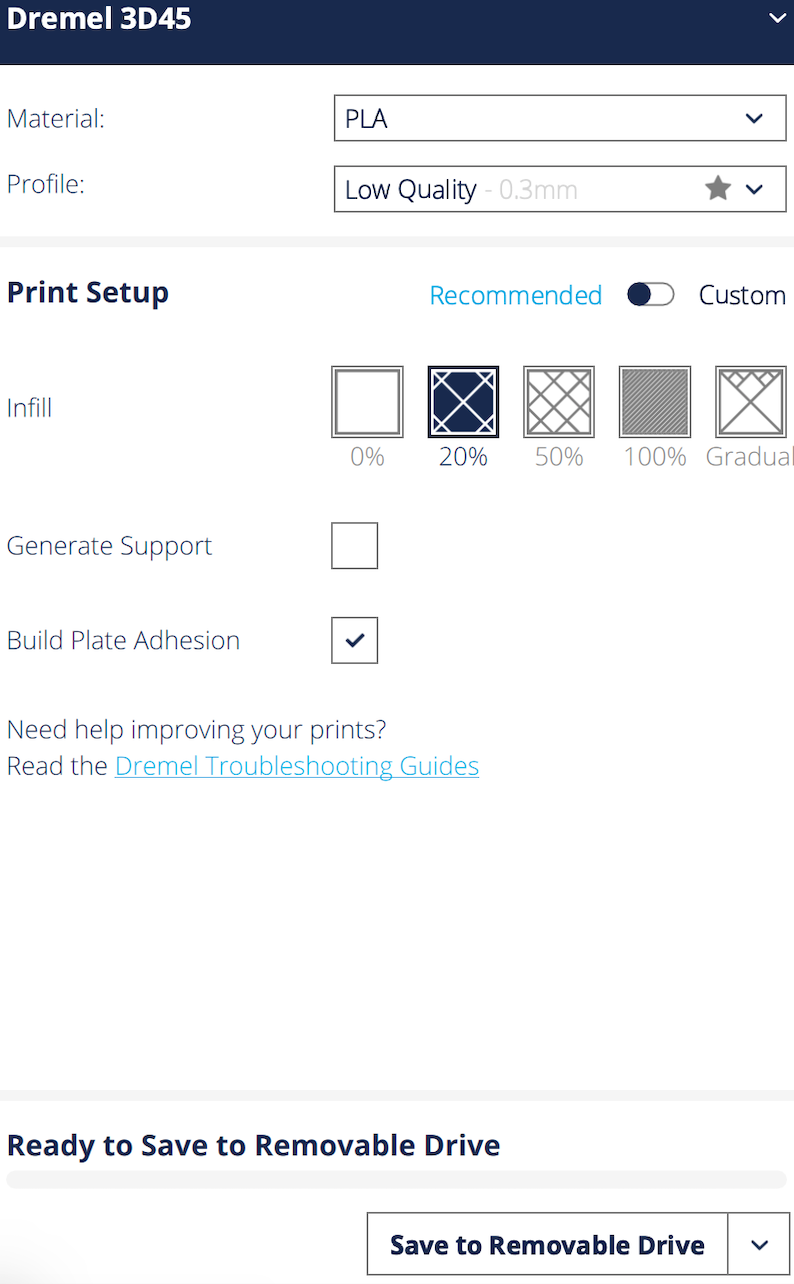
3D Print Settings
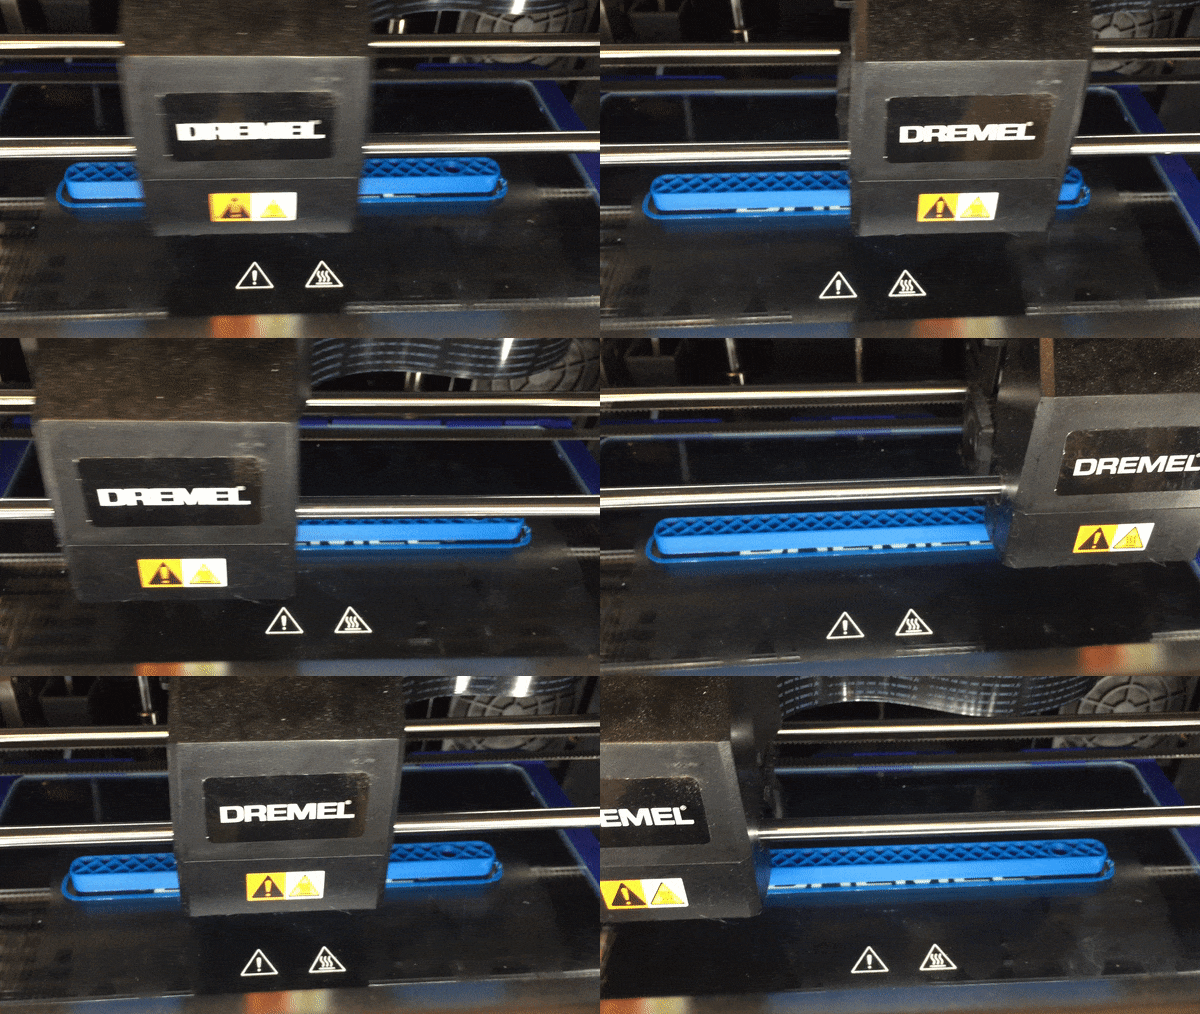
The print started off with no issue. However, towards 3/4 of the way through, the filament got tangled, and the 3D printer was making a sound. I saw someone at the 3D printer I was using and walked over. She was the one who informed me of what happened and paused my print to fix the issue. Once the filament was untangled and the print restarted, the machine's callibration became off. It moved the print over by a little bit. Seeing that this was going to become an issue, I stopped the print and decided to restart.
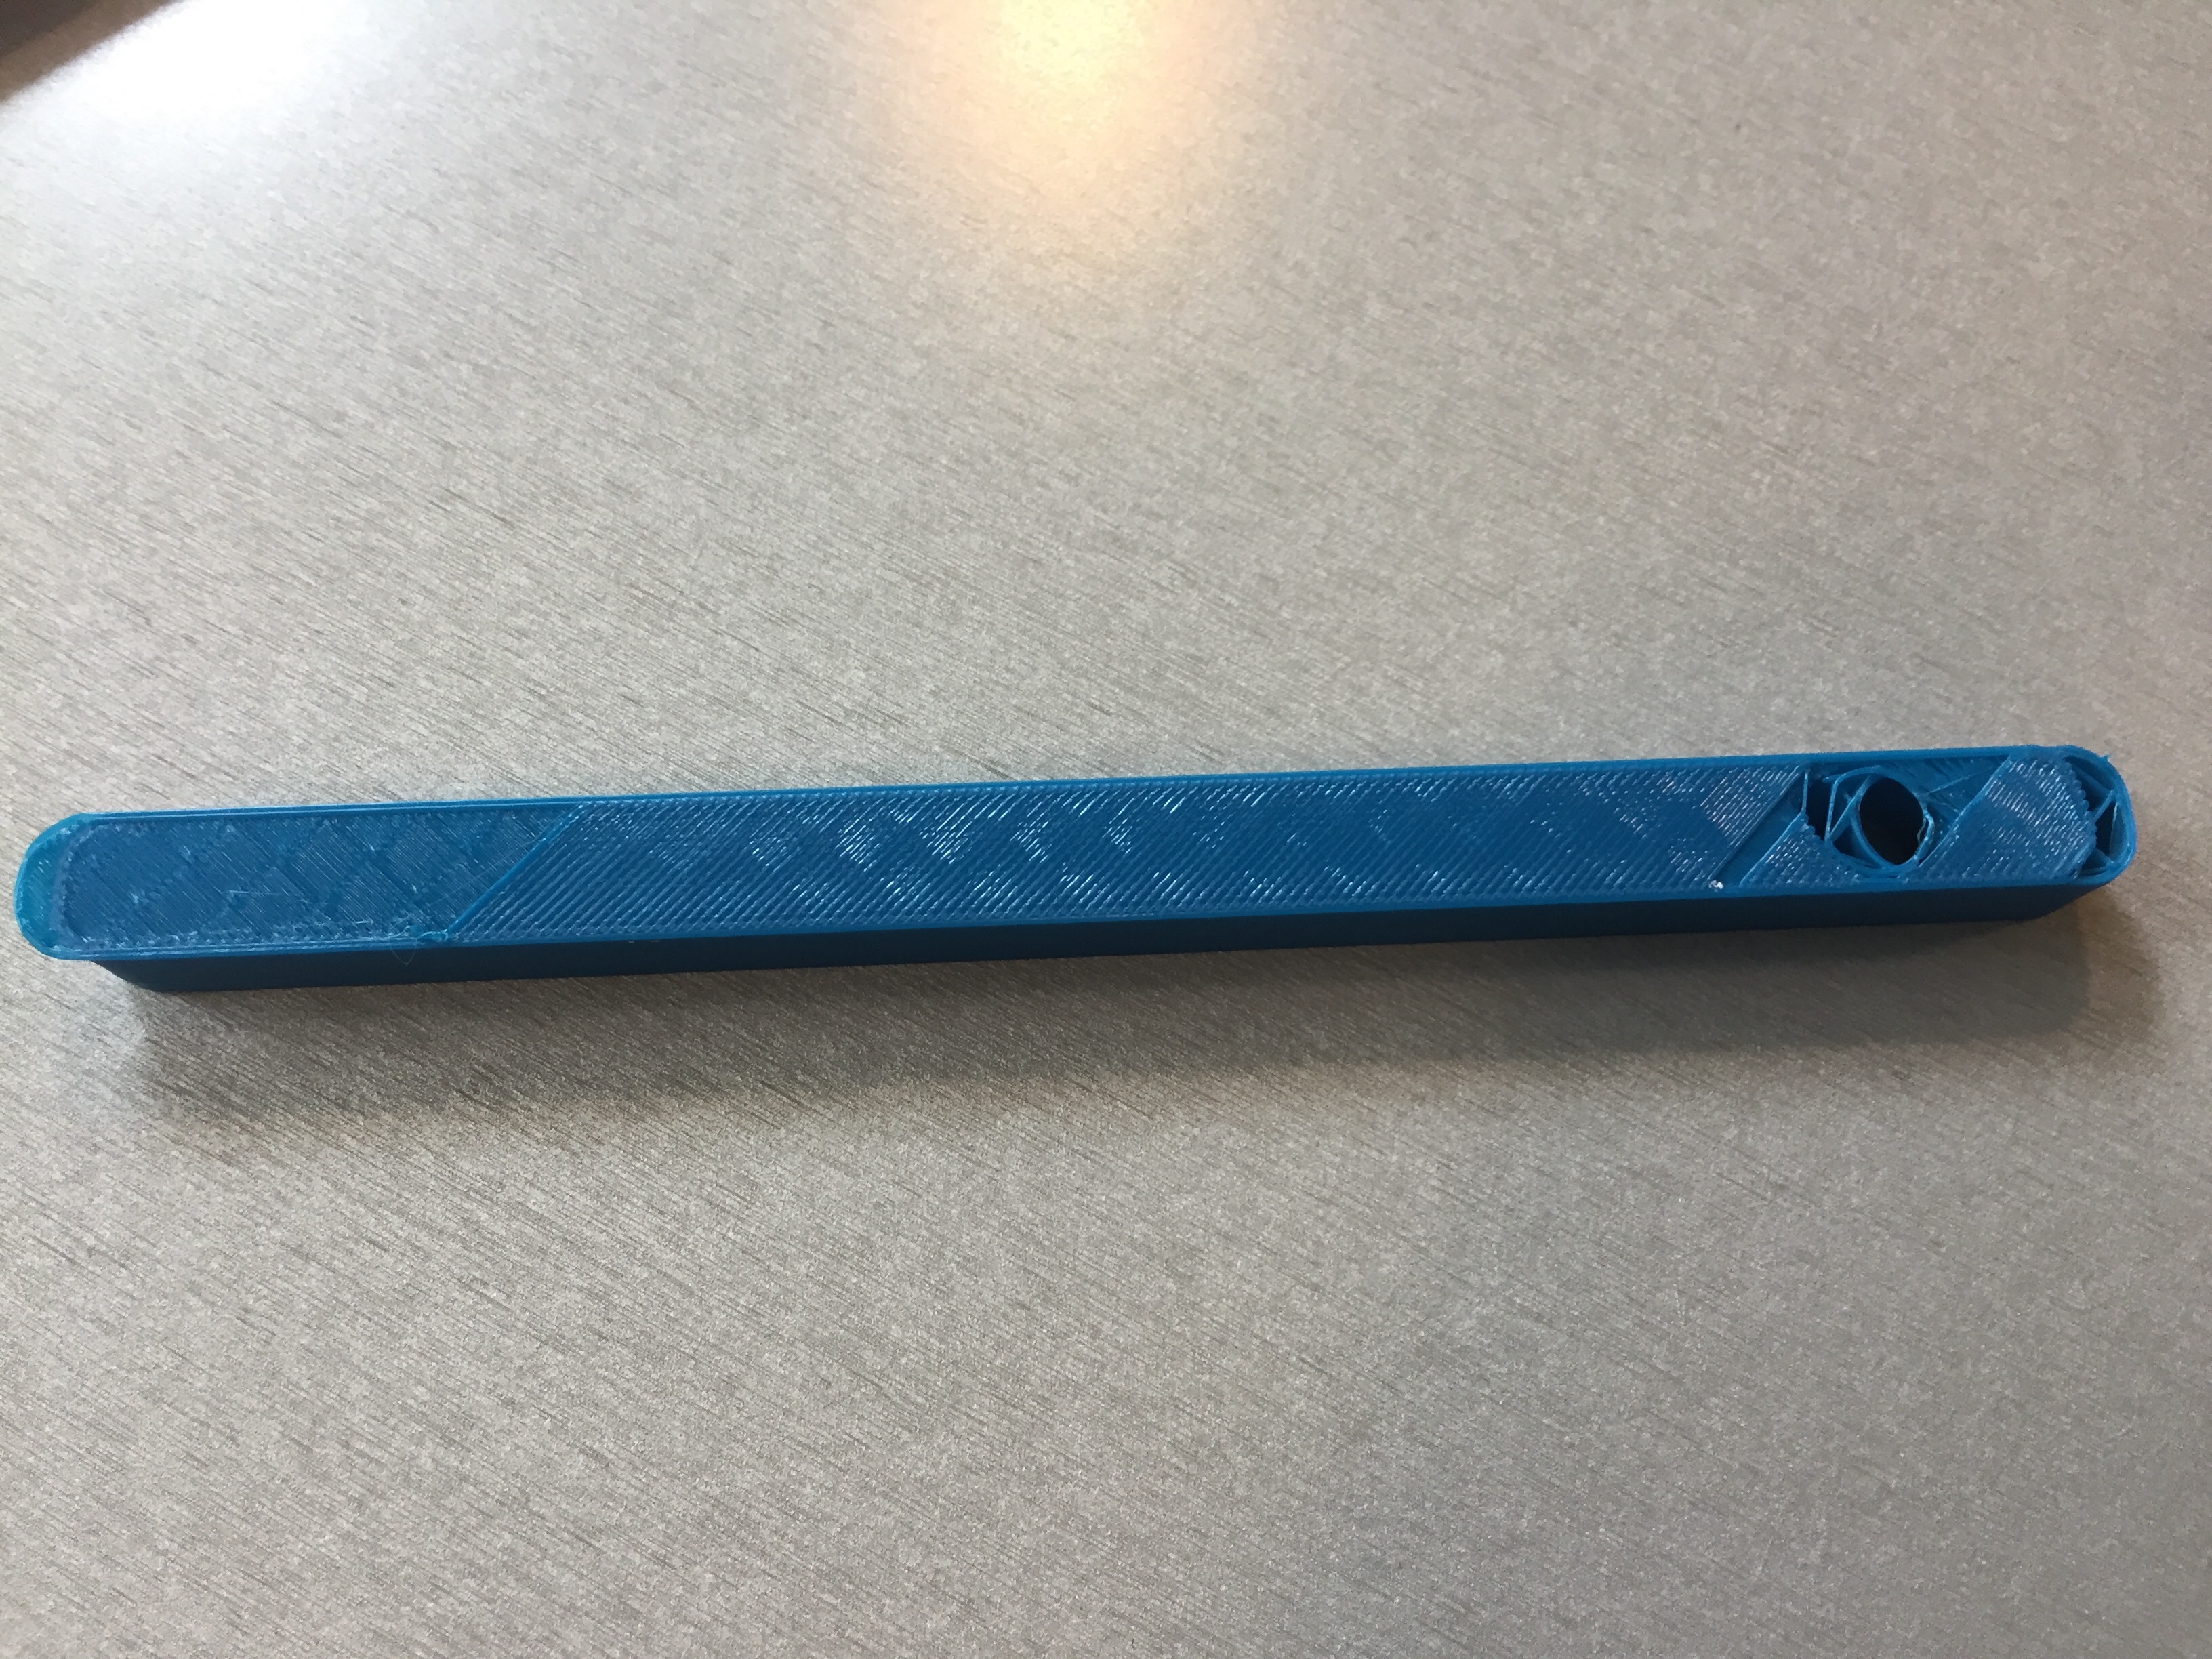
3D Printing Fail
Before restarting the print, I took the stick and tested to see if the plastic rivet would fit. The hole of the stick was a little too big. I had measured the rivet on the design Joshua created on OnShape instead of using my calipers to measure the actual rivet. I found calipers at the MILL and measured the rivet at its biggest diameter for the part that would go through the hole fo the flower and stick. Using this measurement, I adjusted the diameter of the hole on the stick on OnShape.
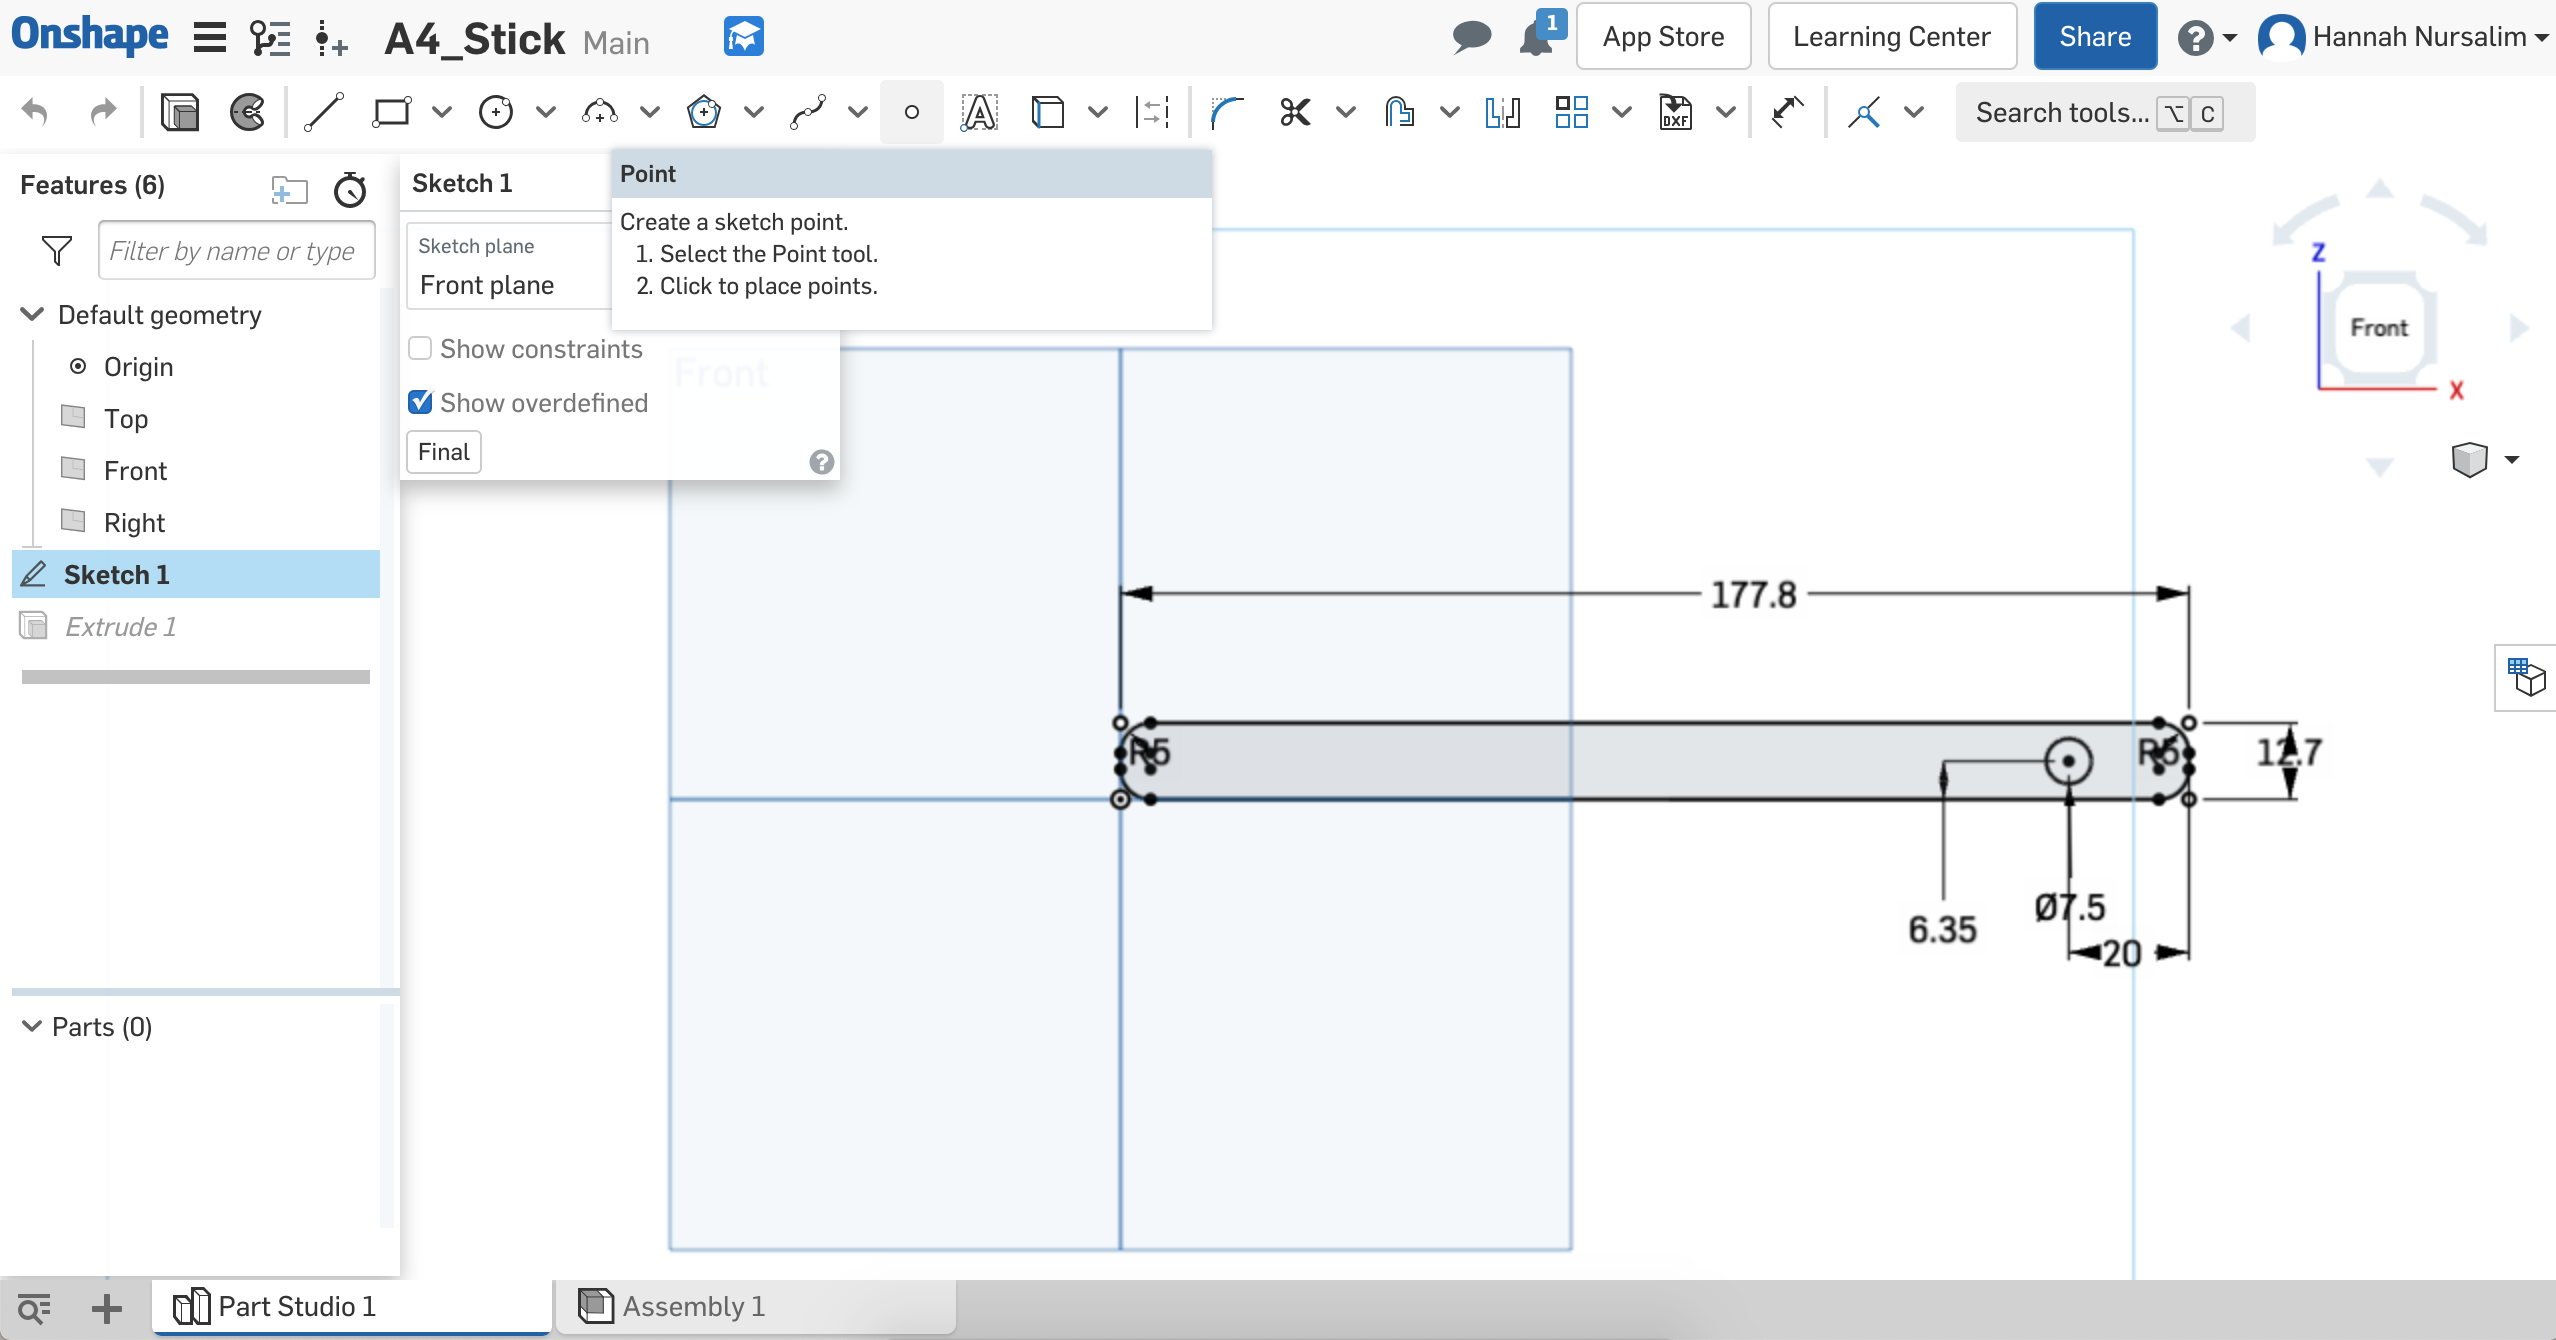
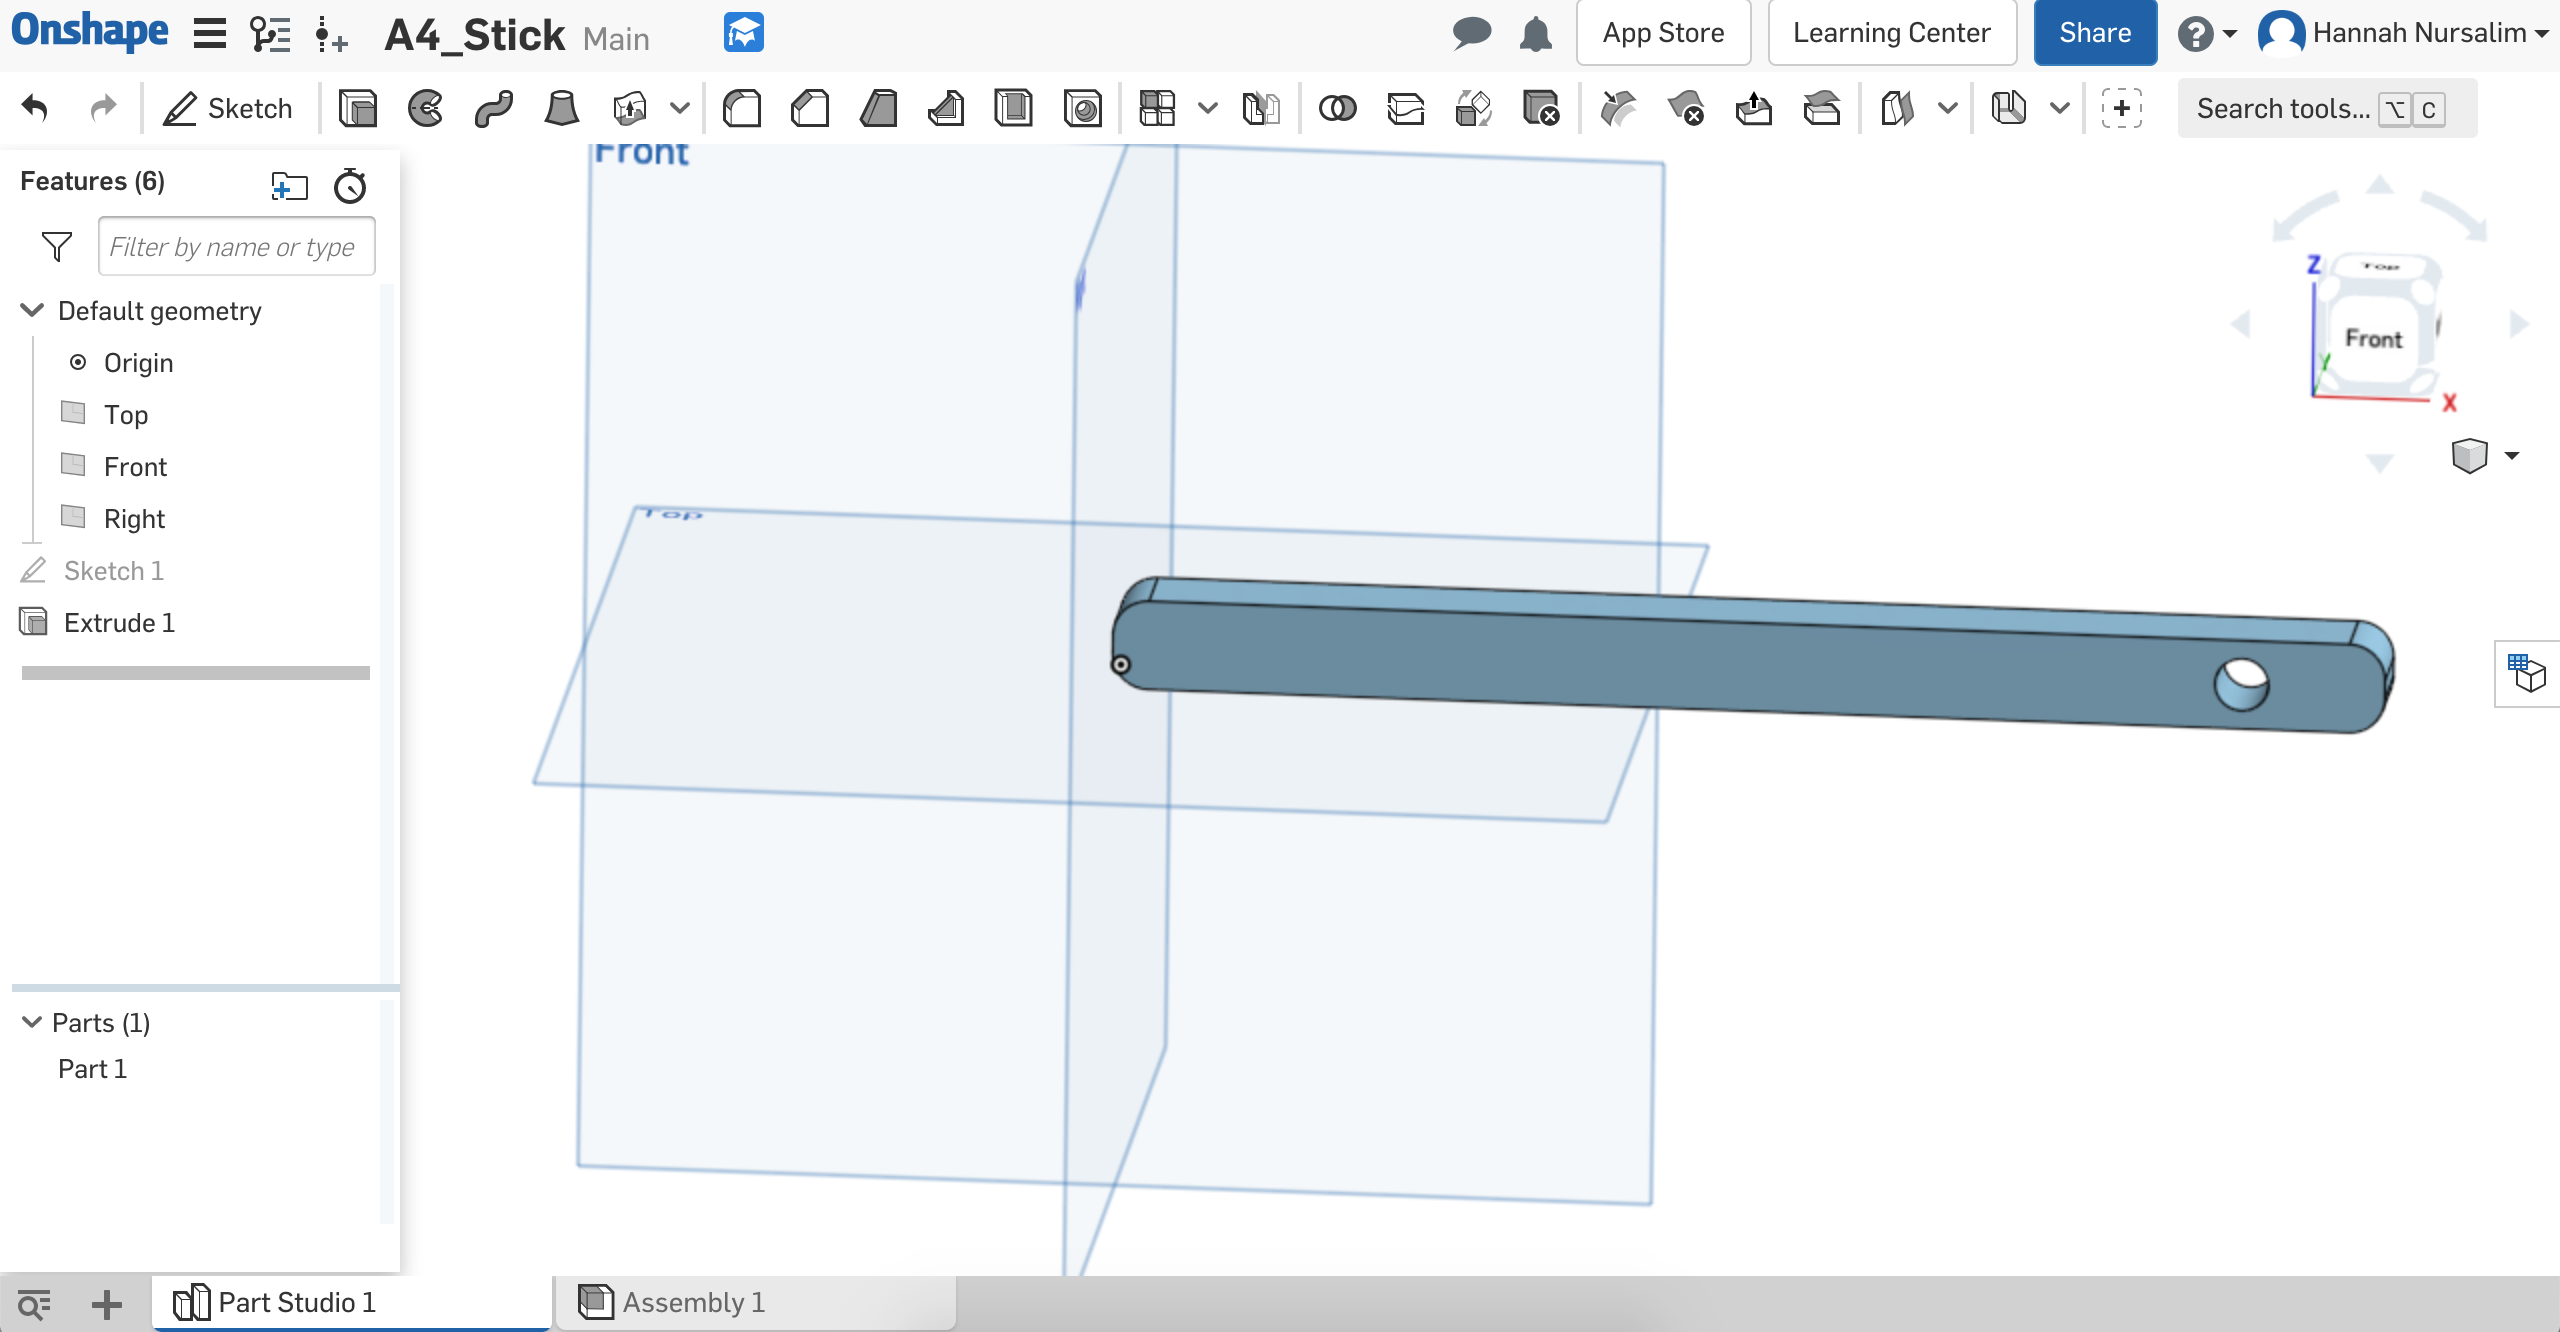
Adjusted diameter on OnShape
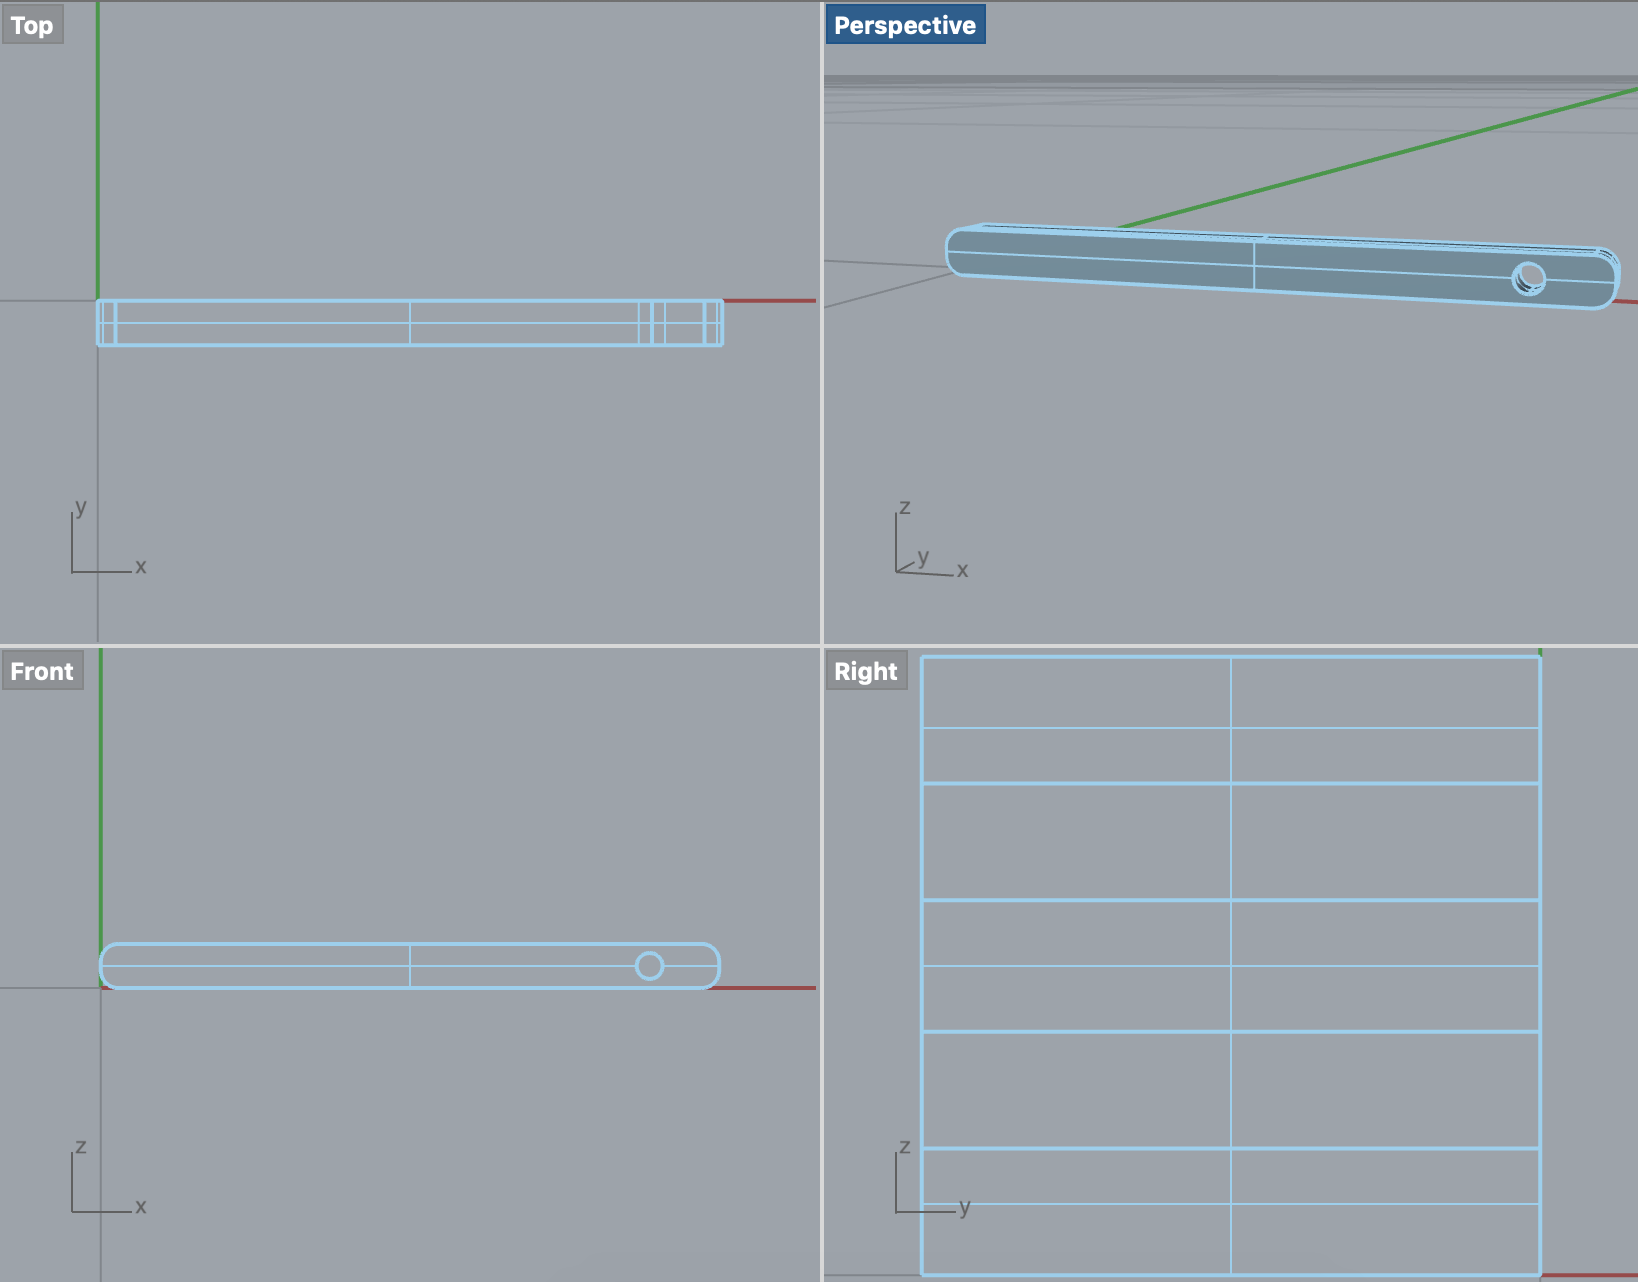
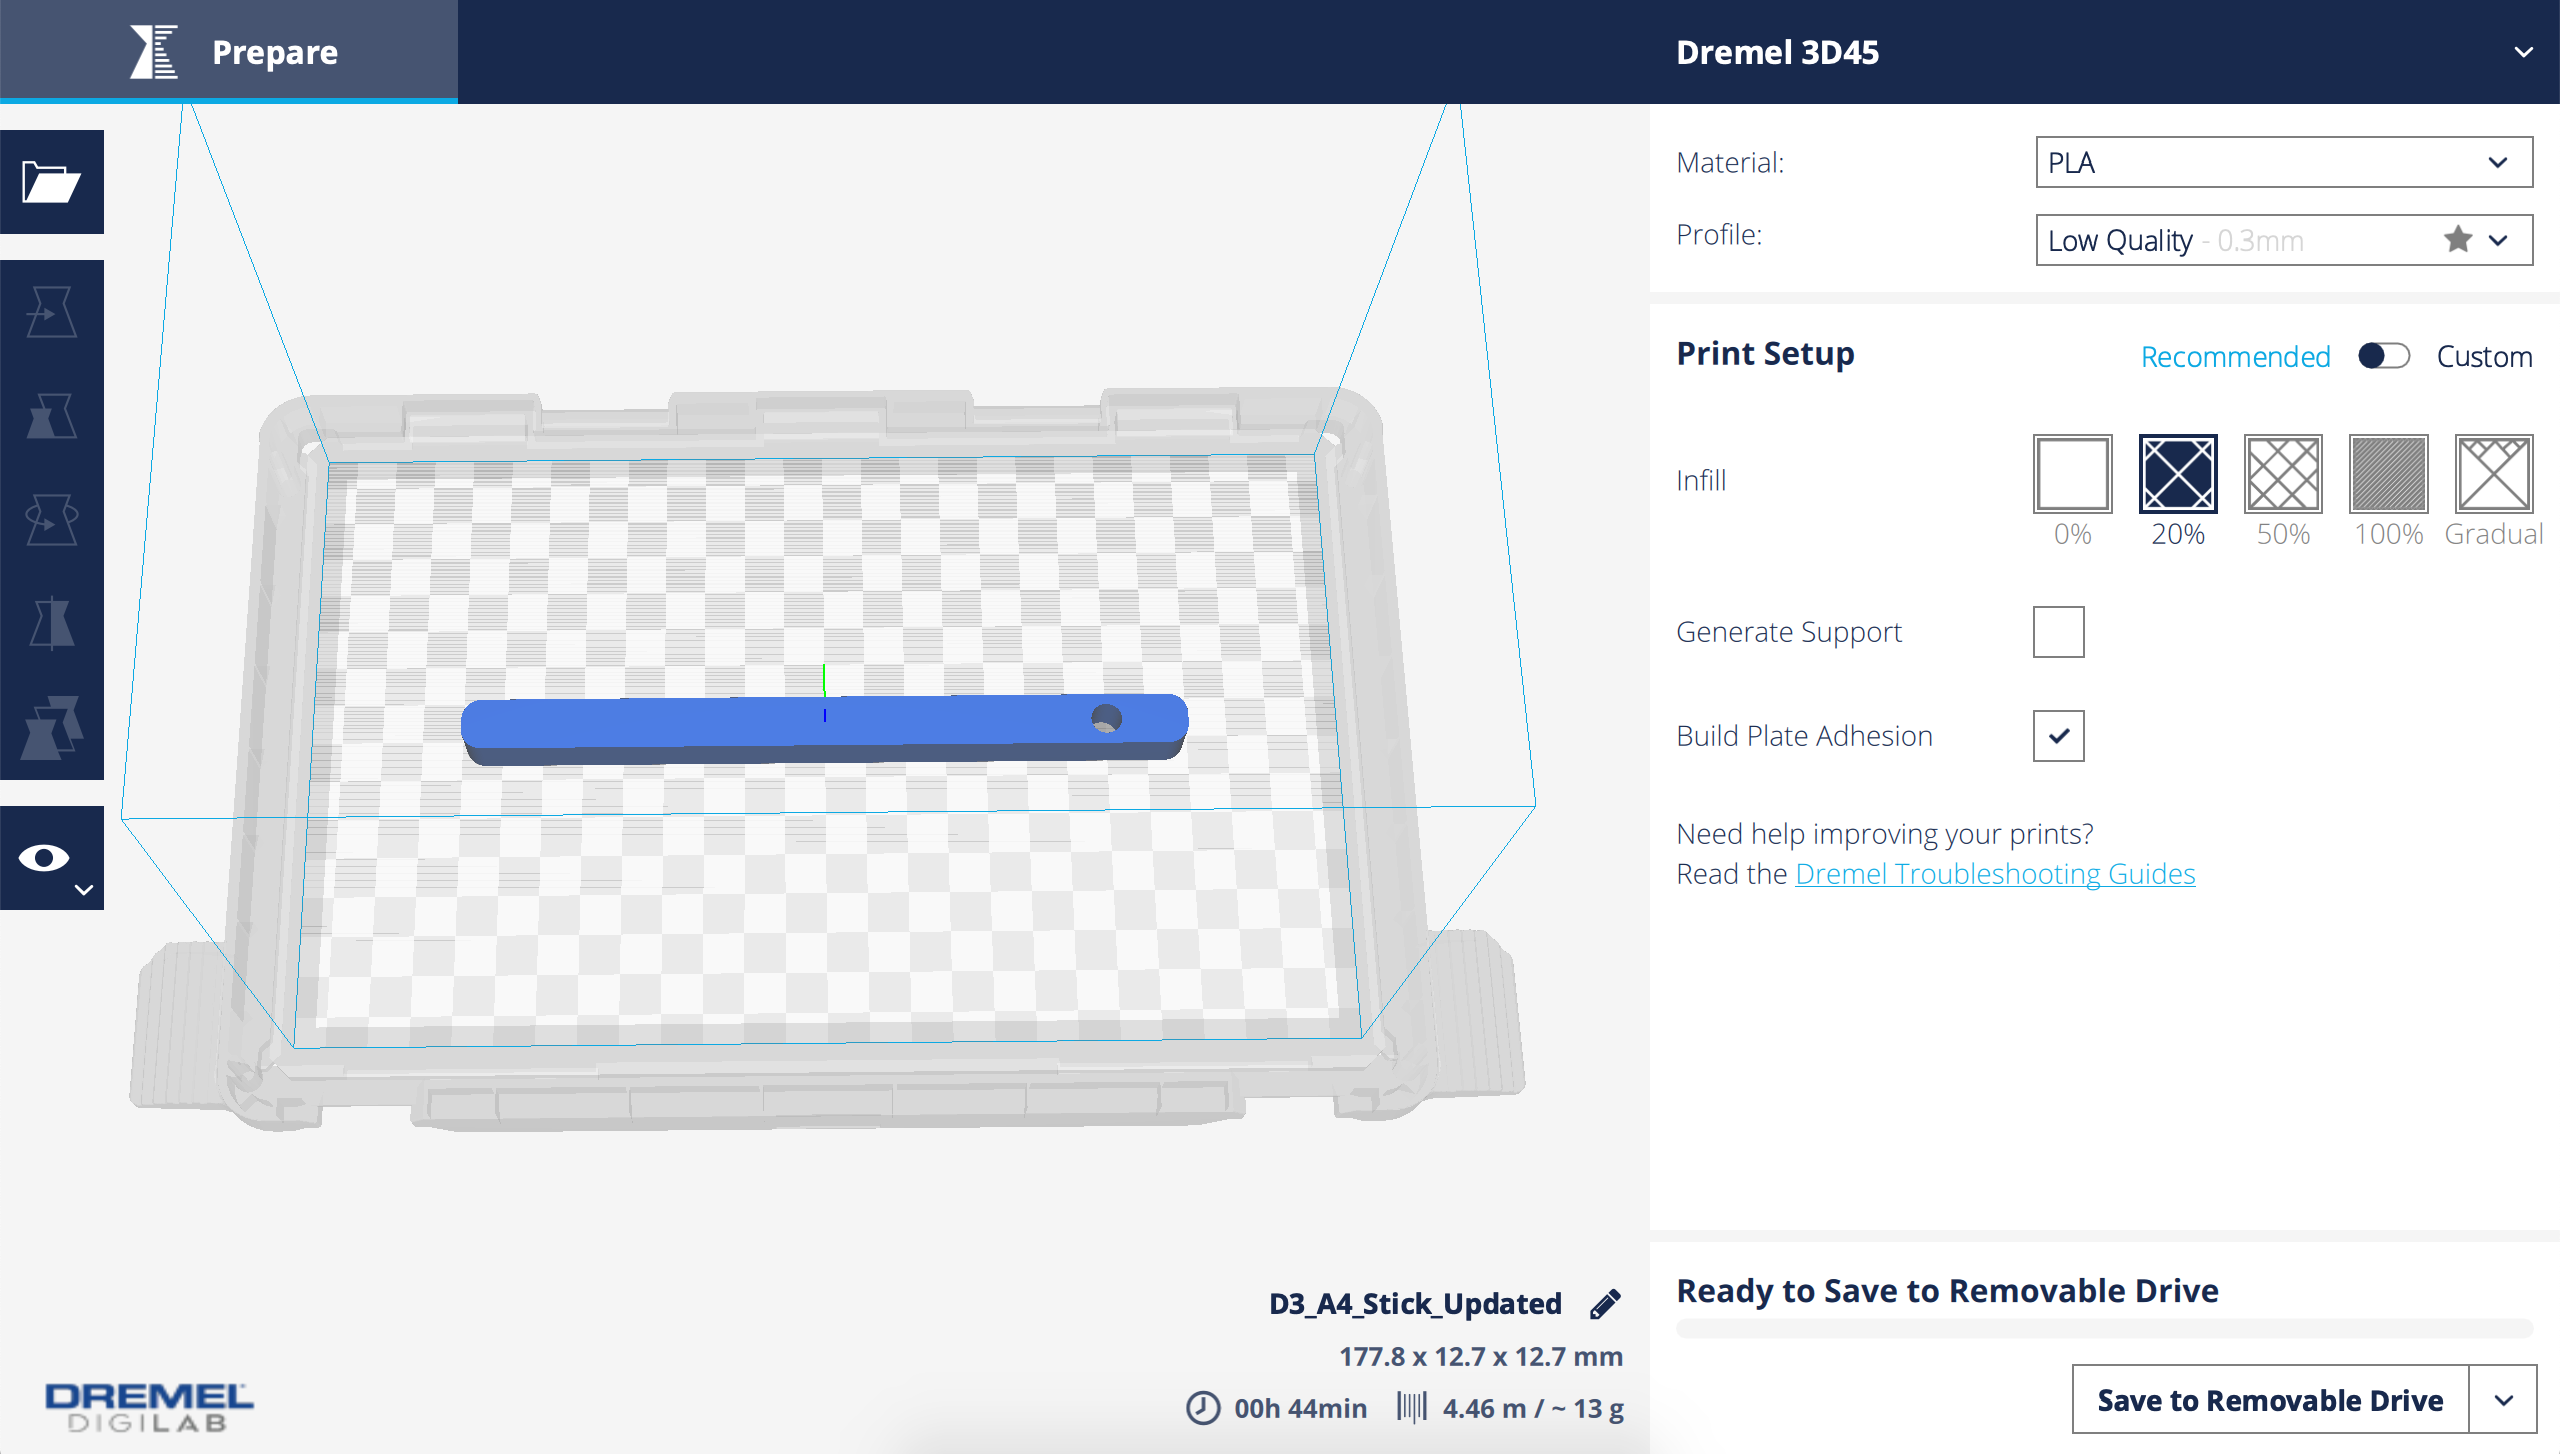
Exporting for 3D printing
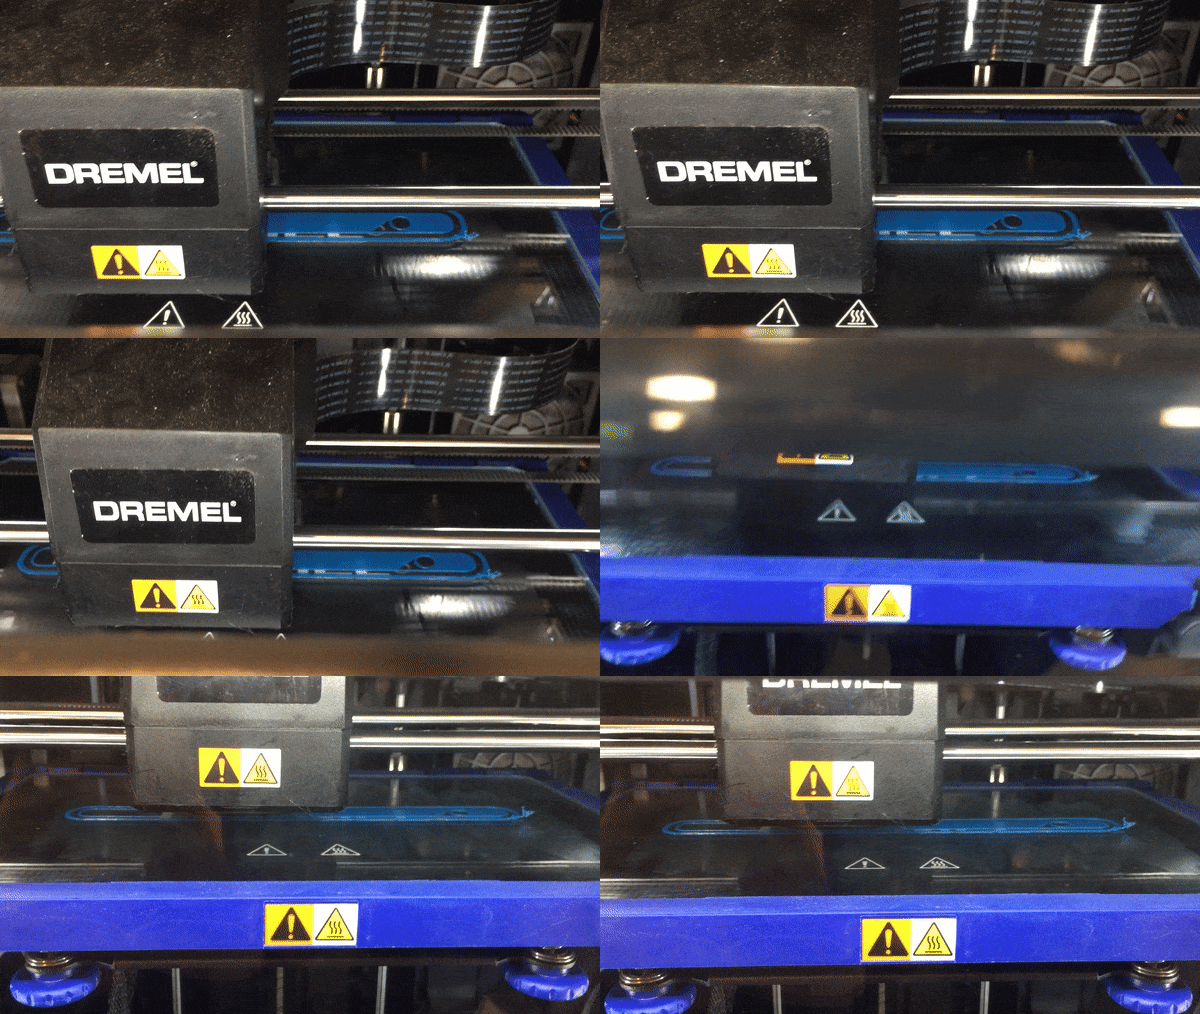
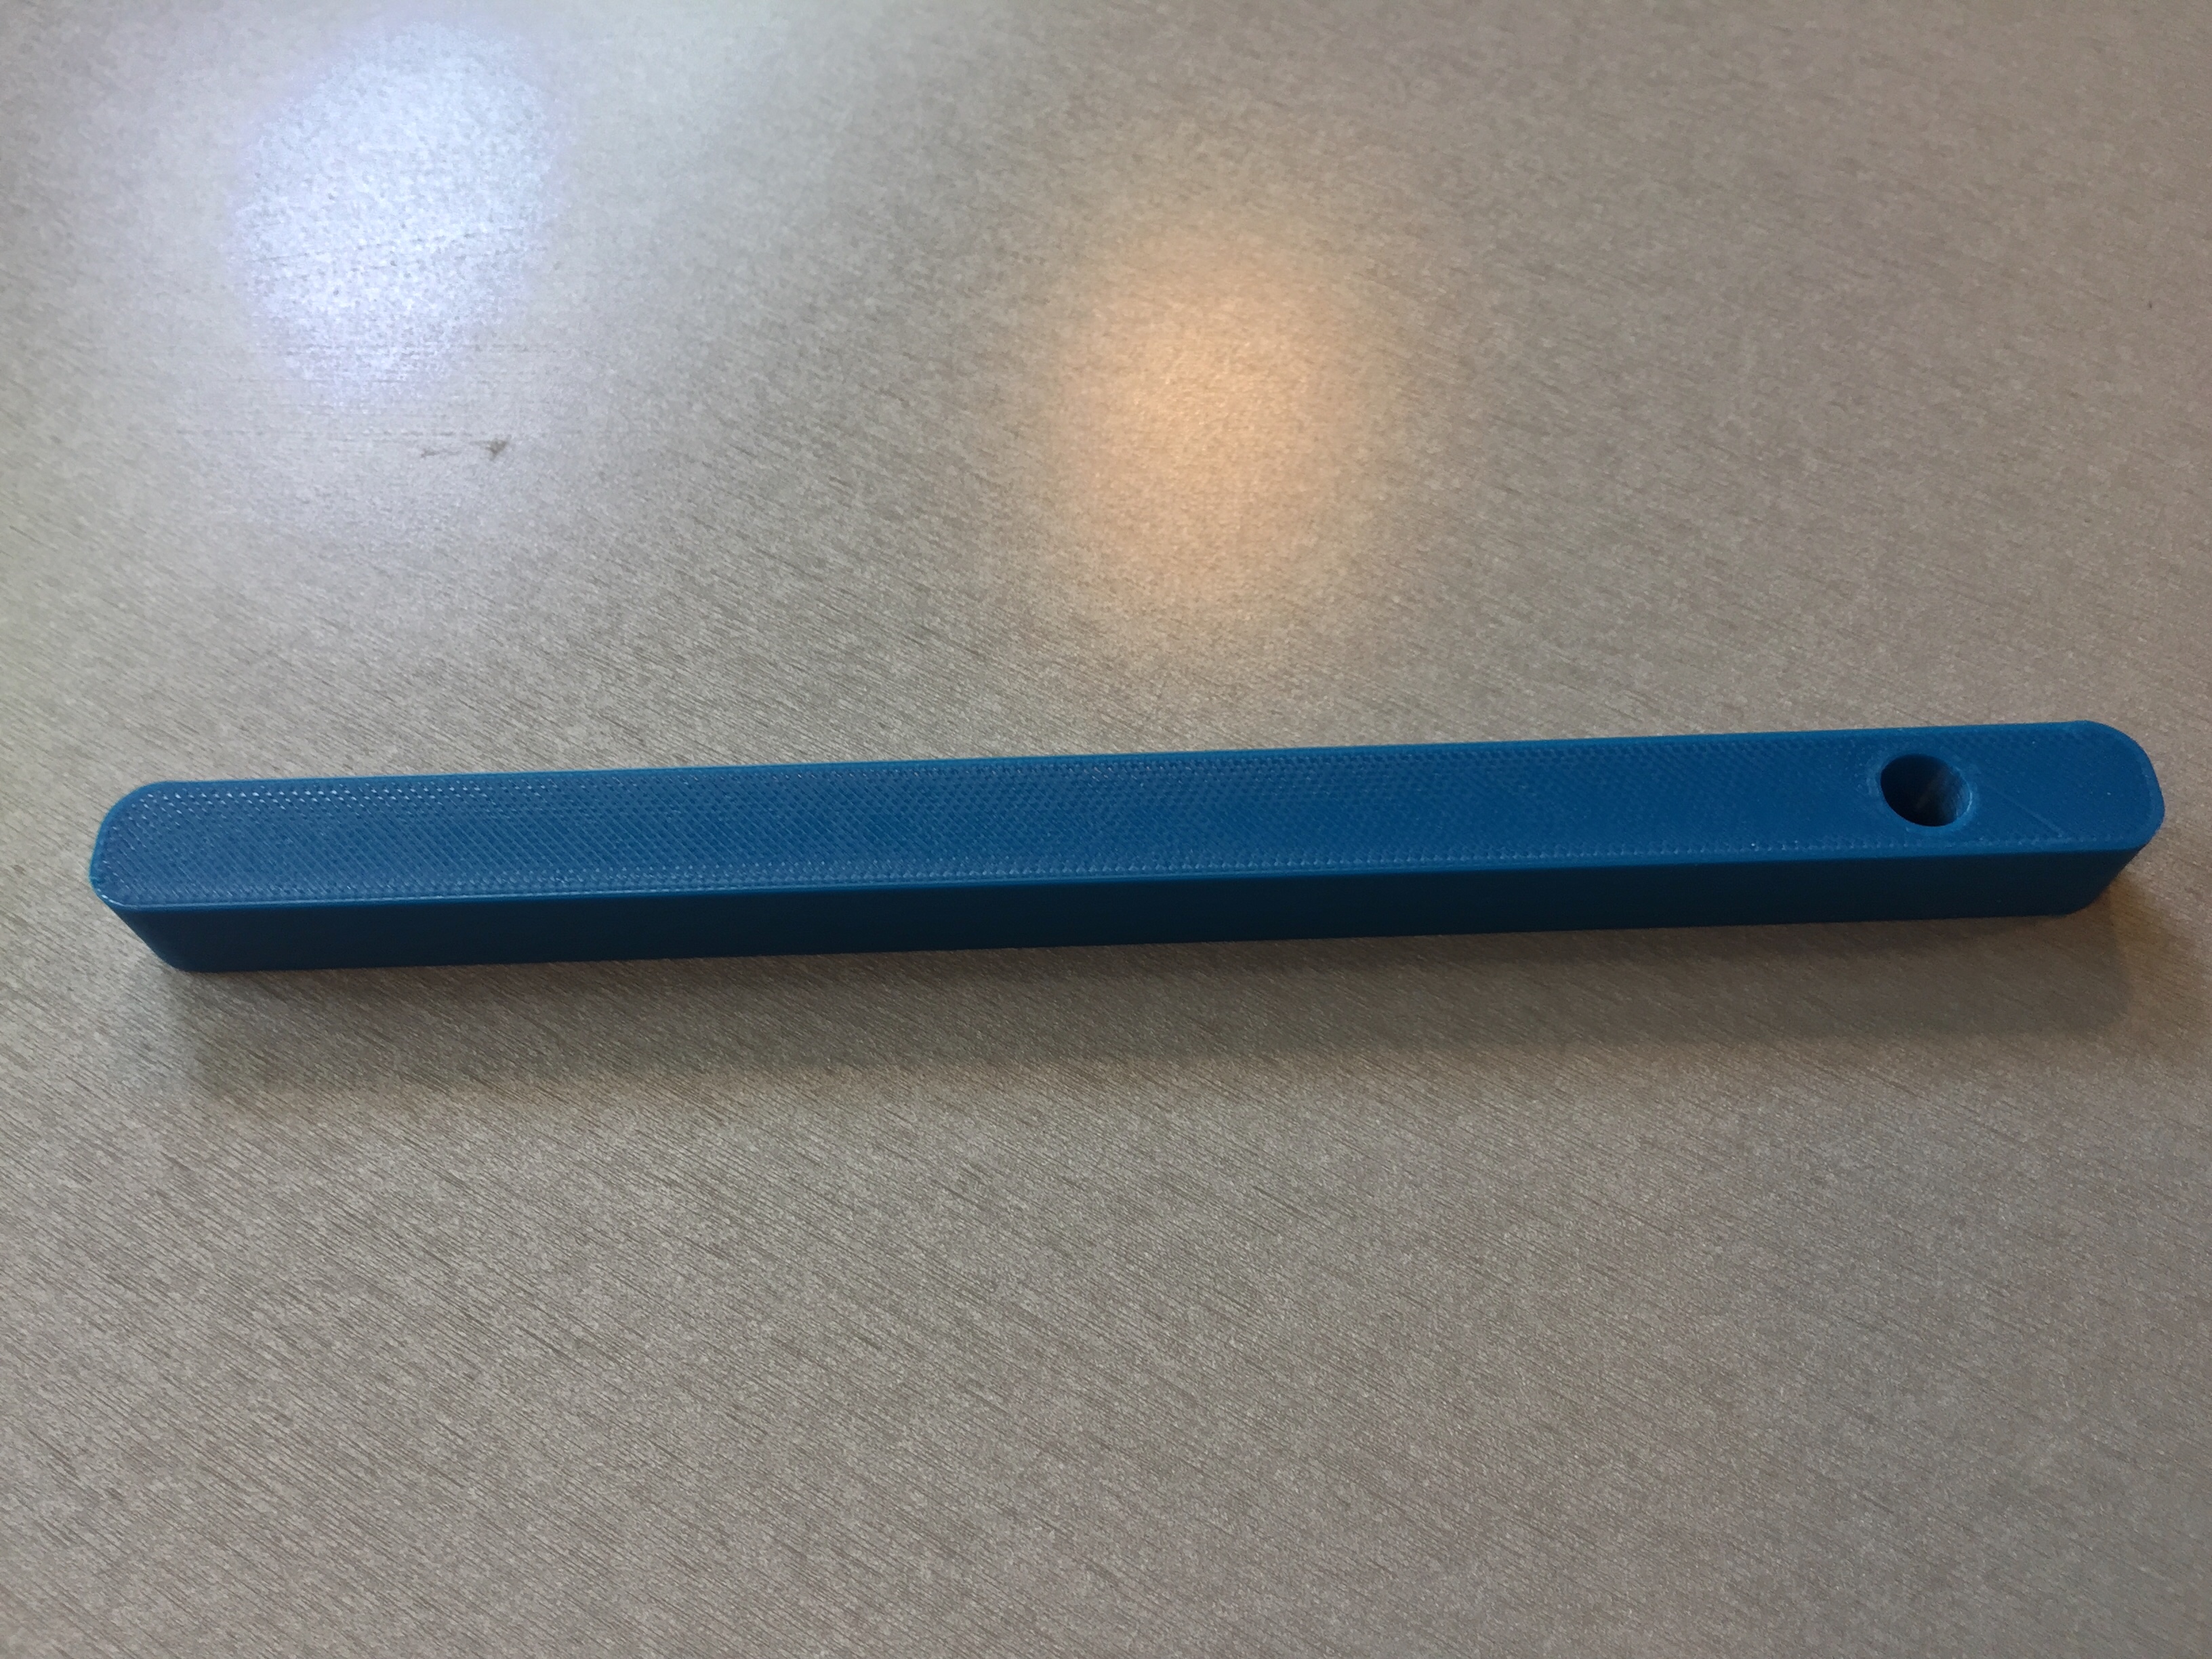
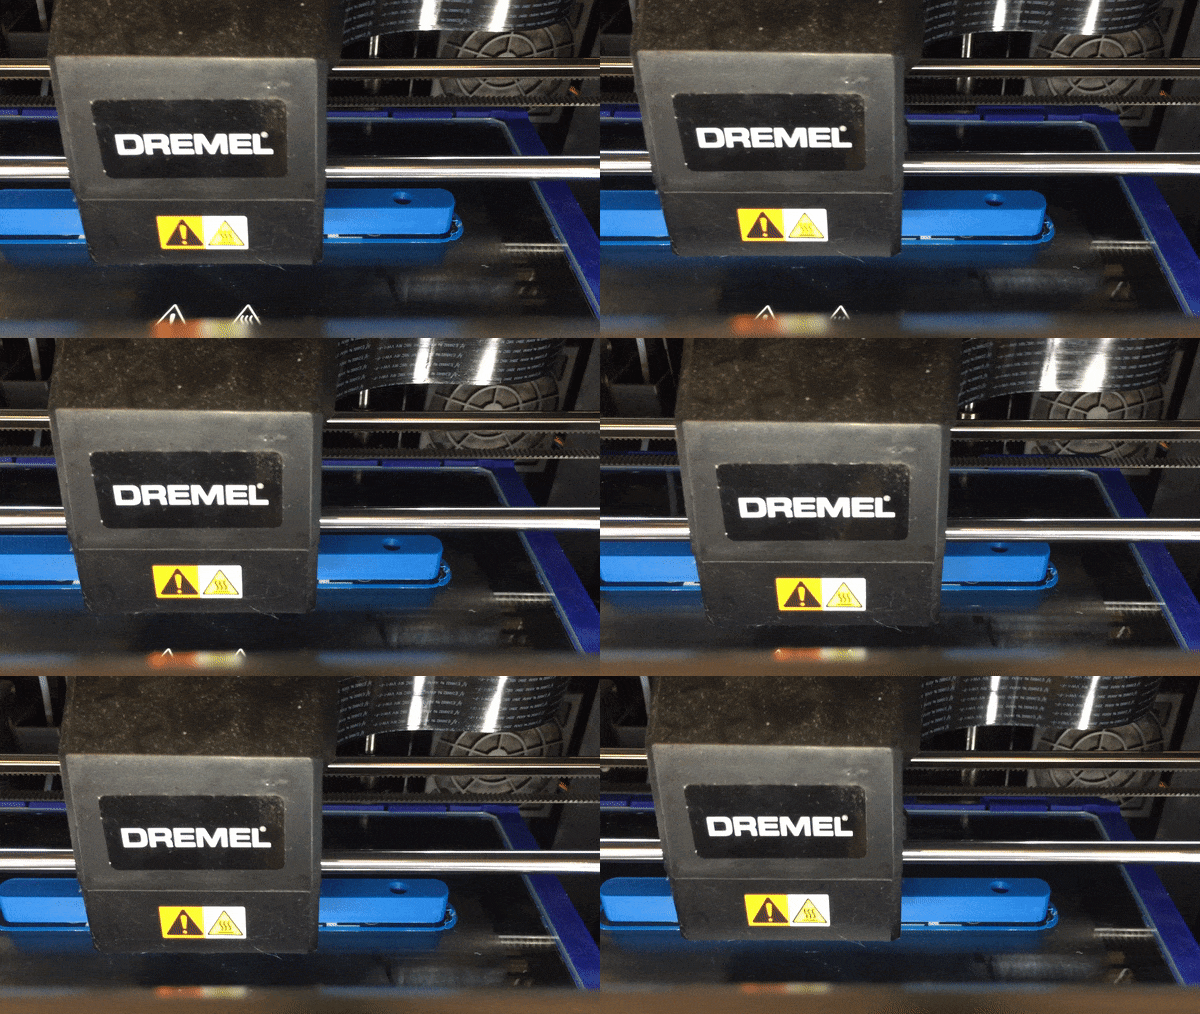
3D Printing Stick
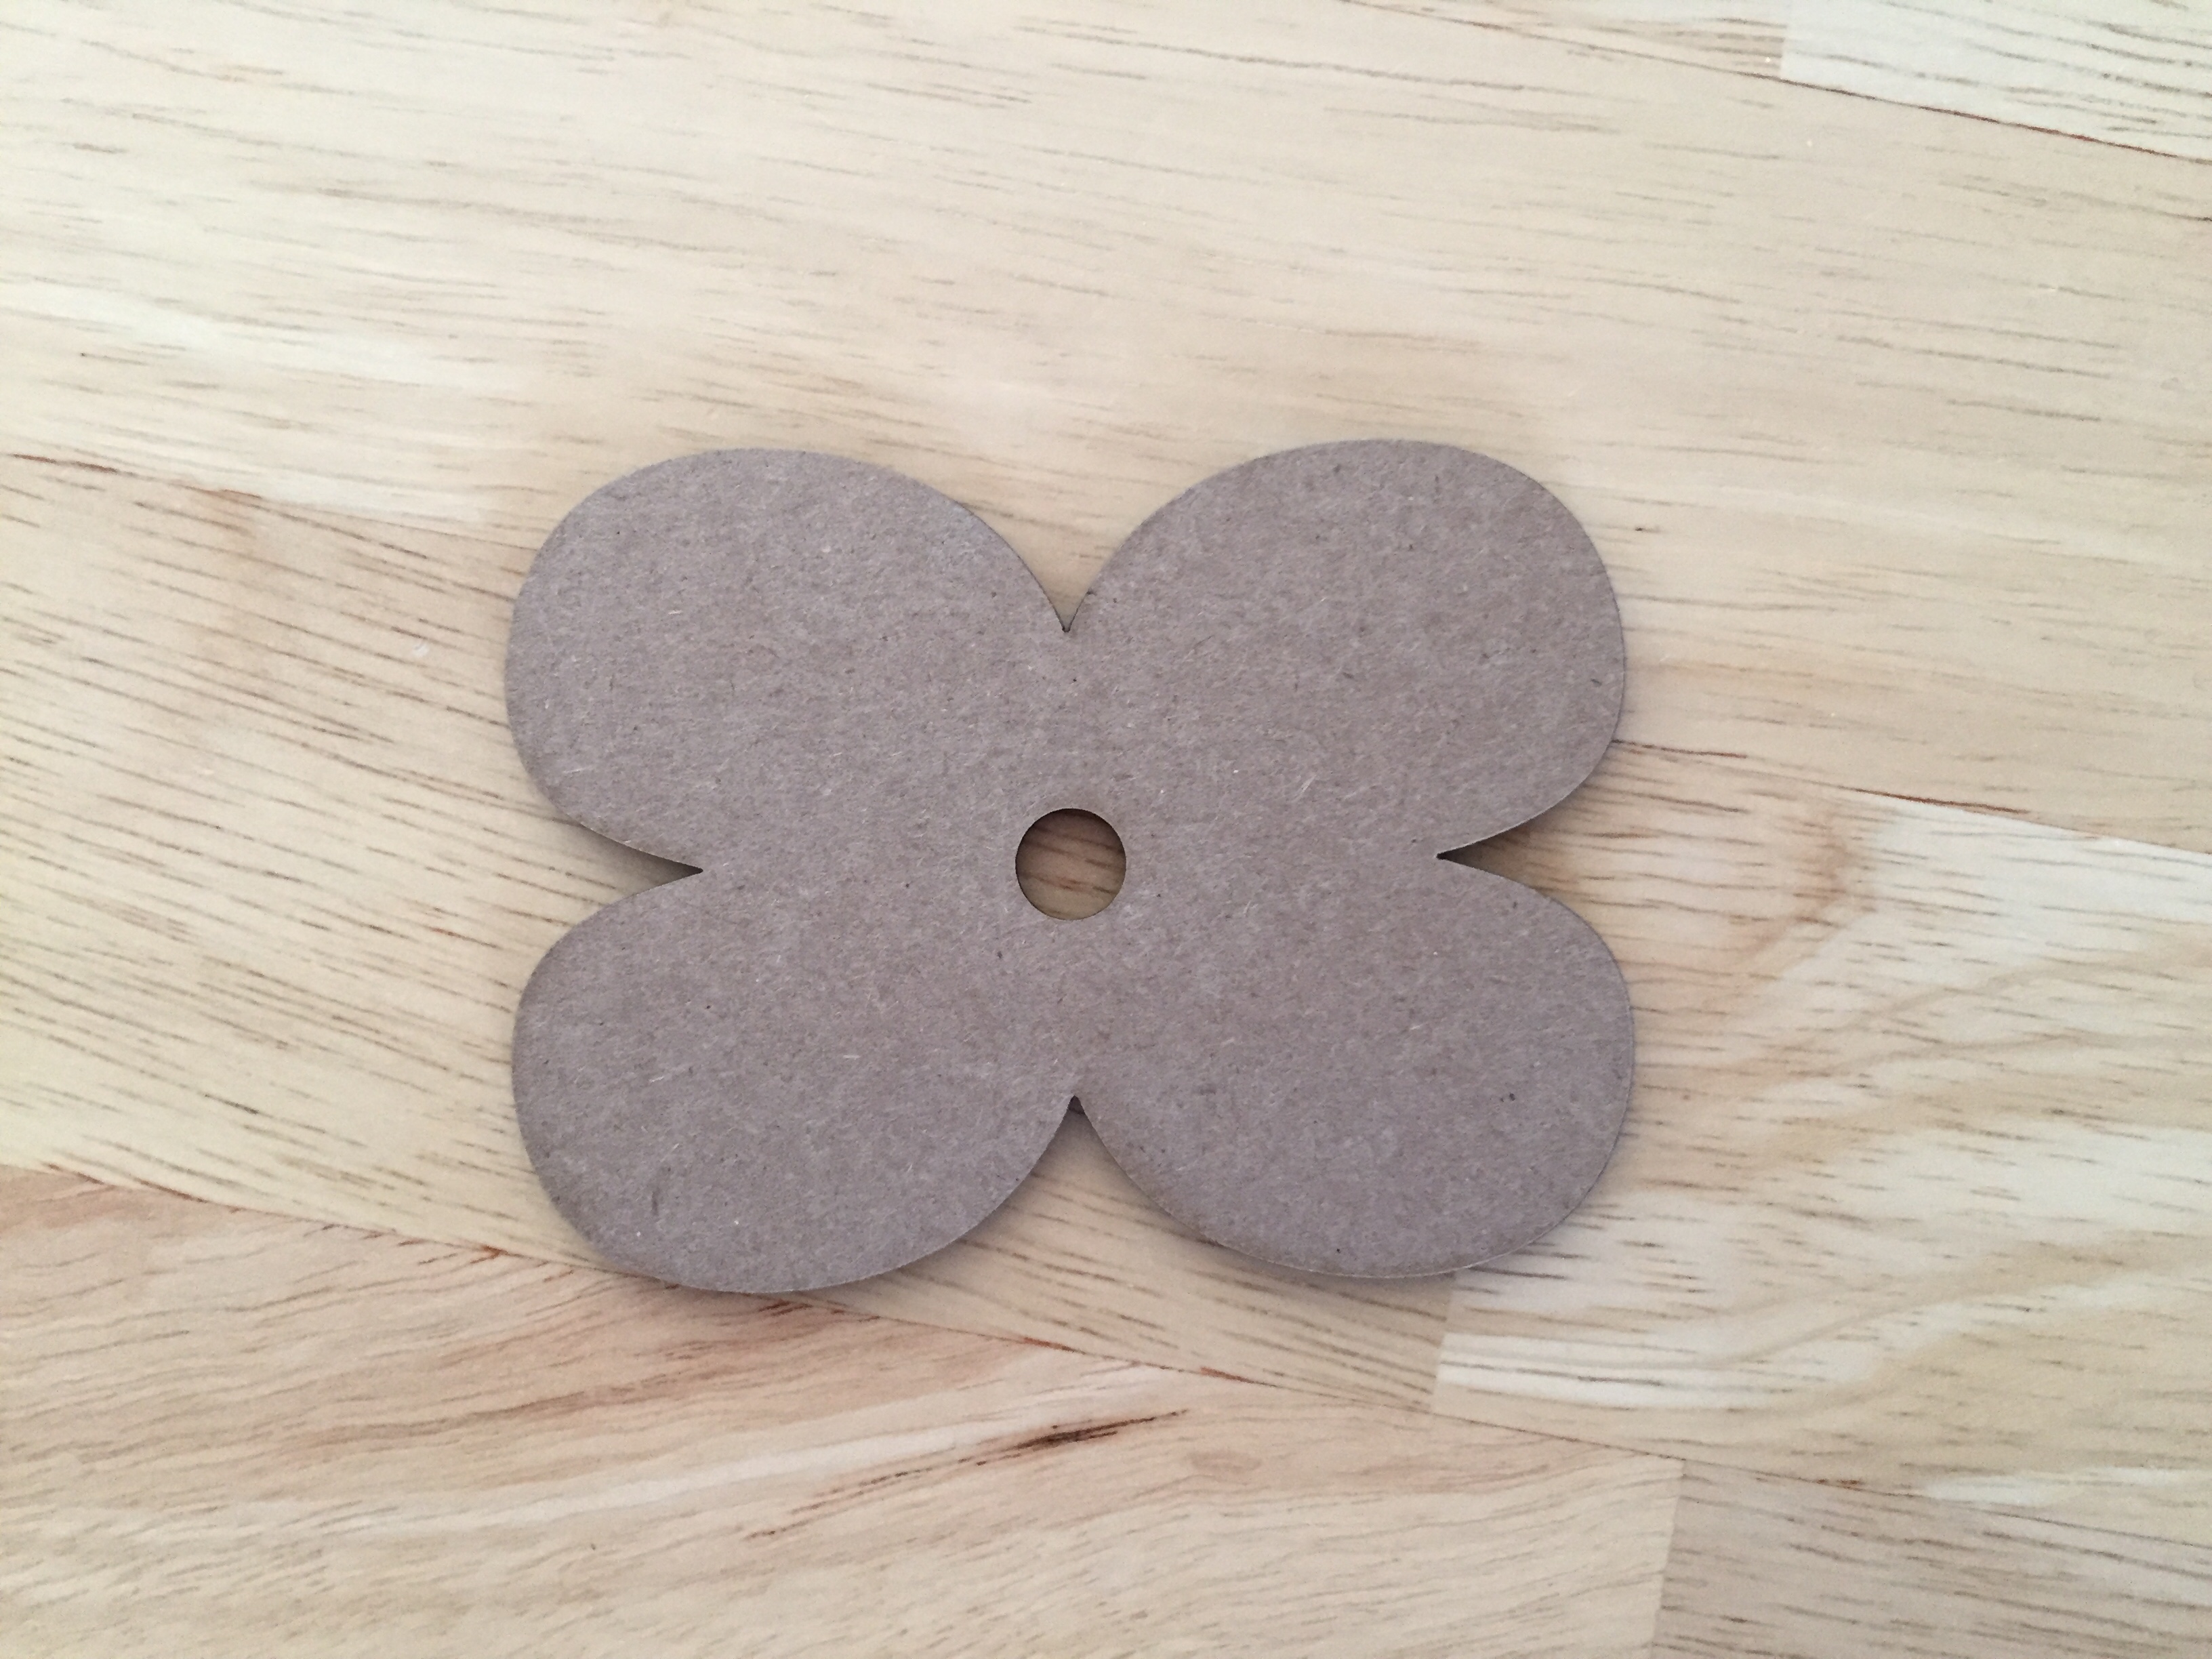
When I had to adjust the diameter of the circle on the stick, I knew I had to adjust it on the flower as well. I wanted to fix the diameter on OnShape before laser cutting the flower. I used the same diameter for the hole of the flower as the hole of the stick.
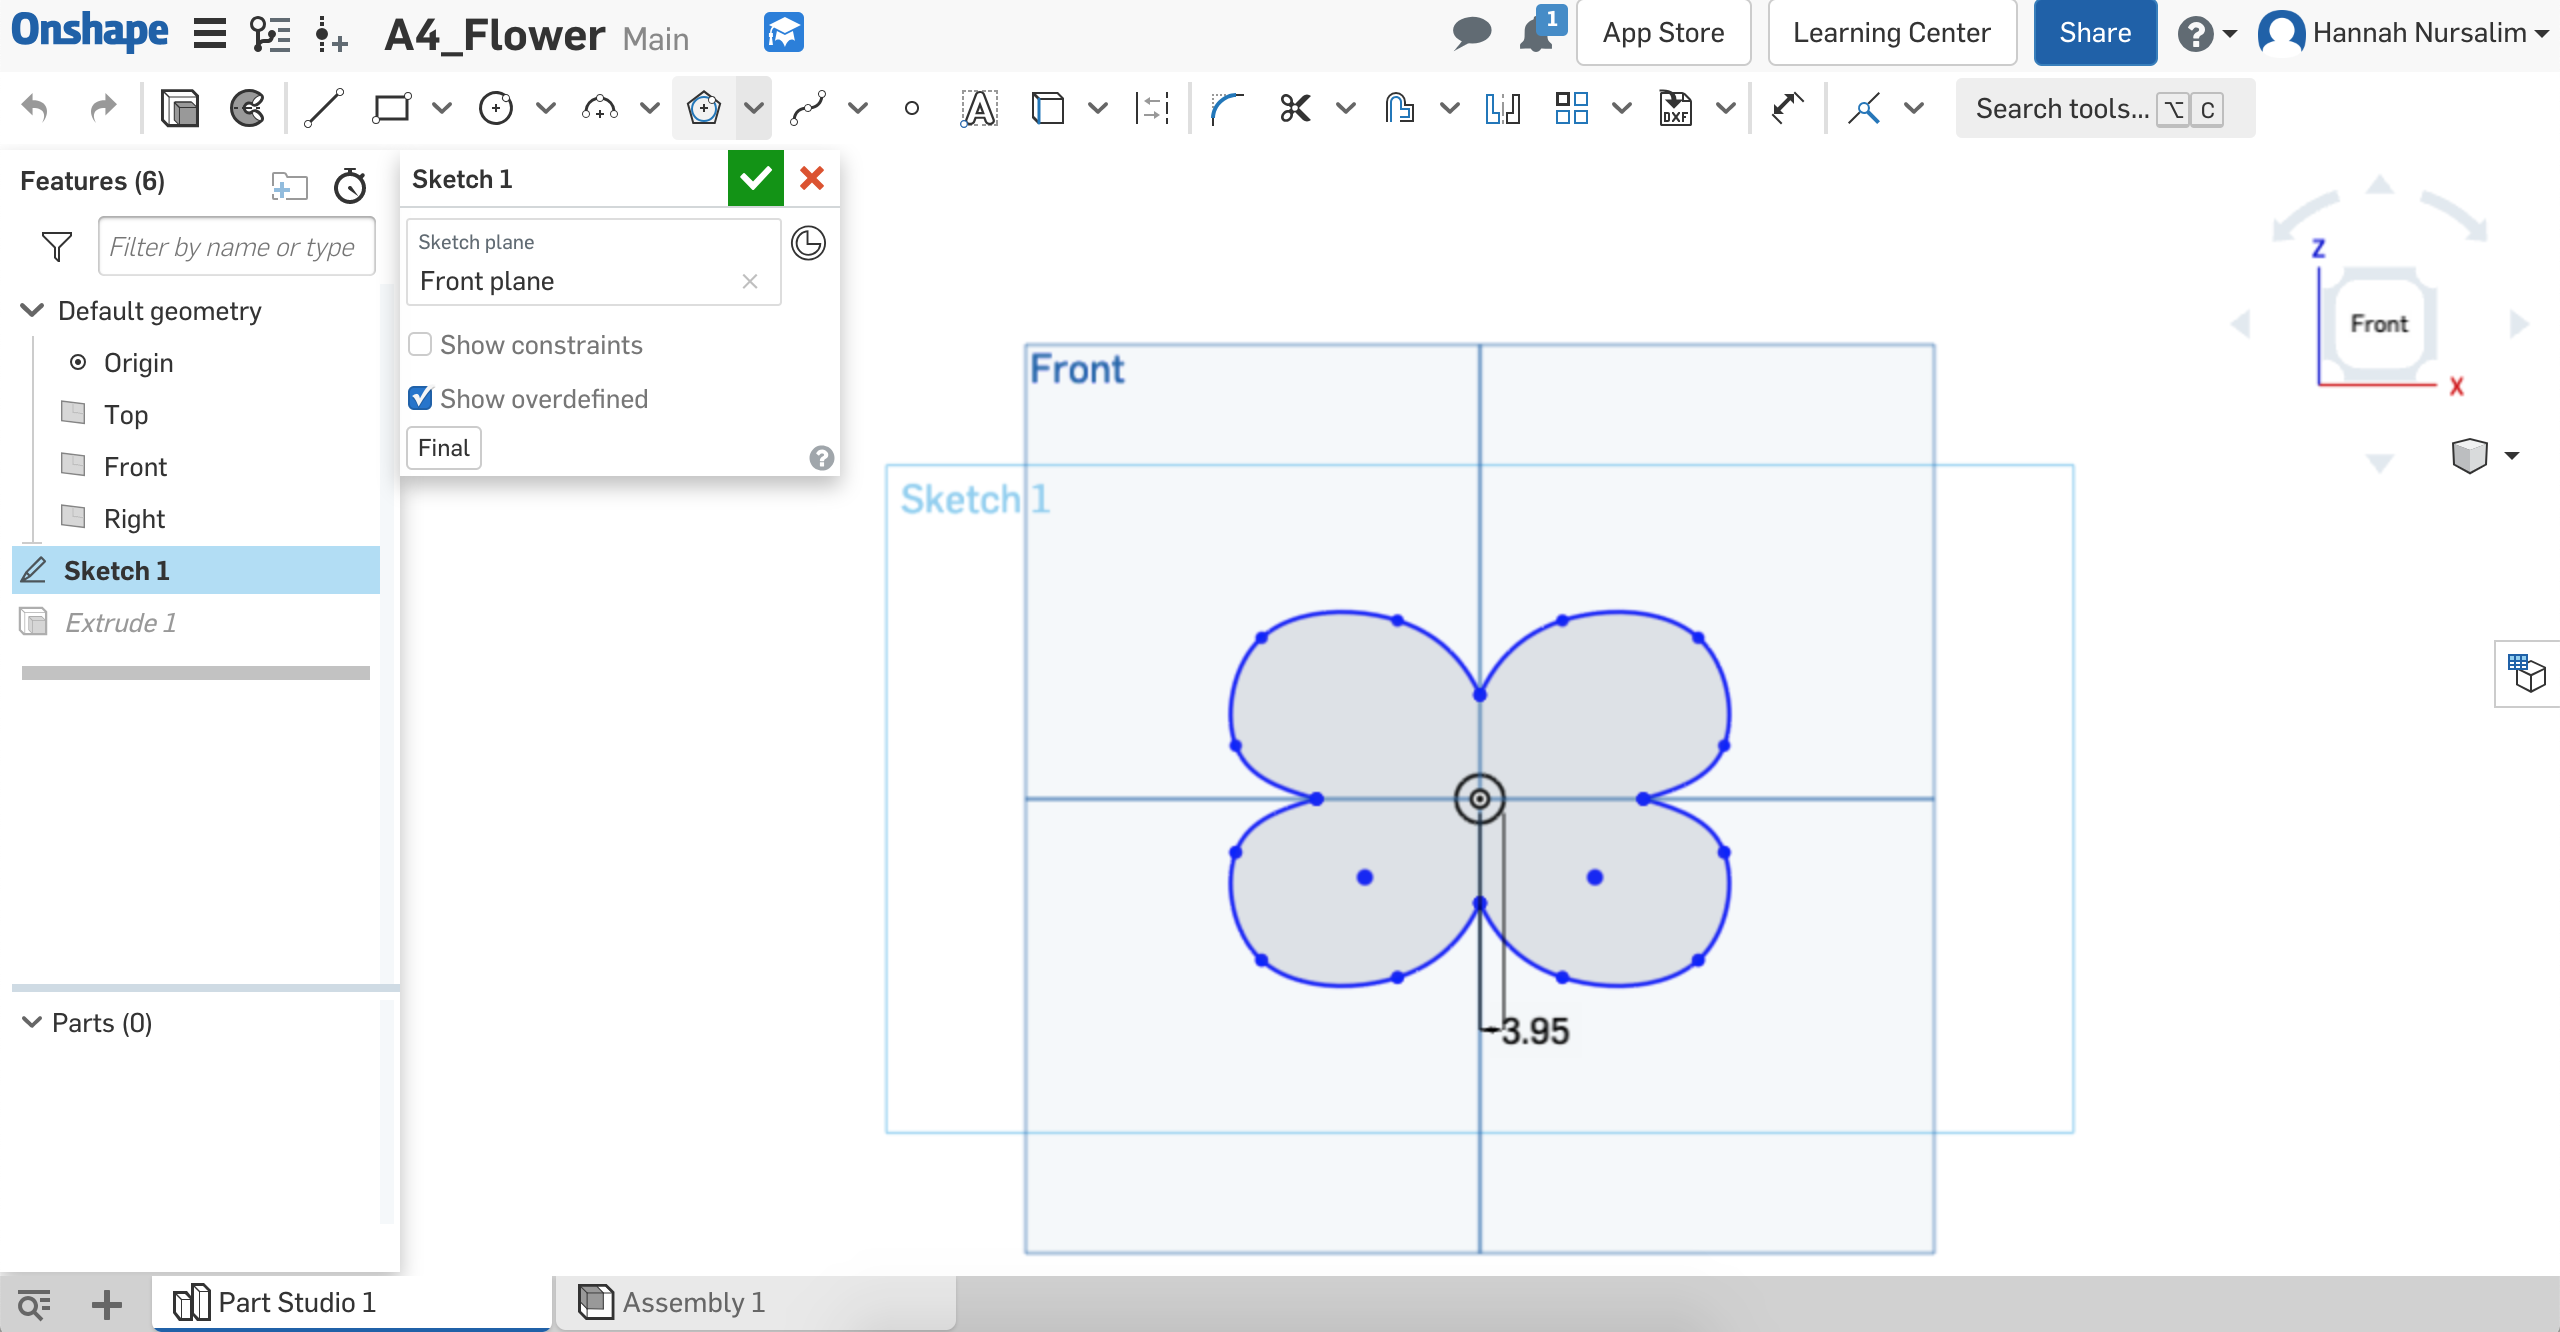
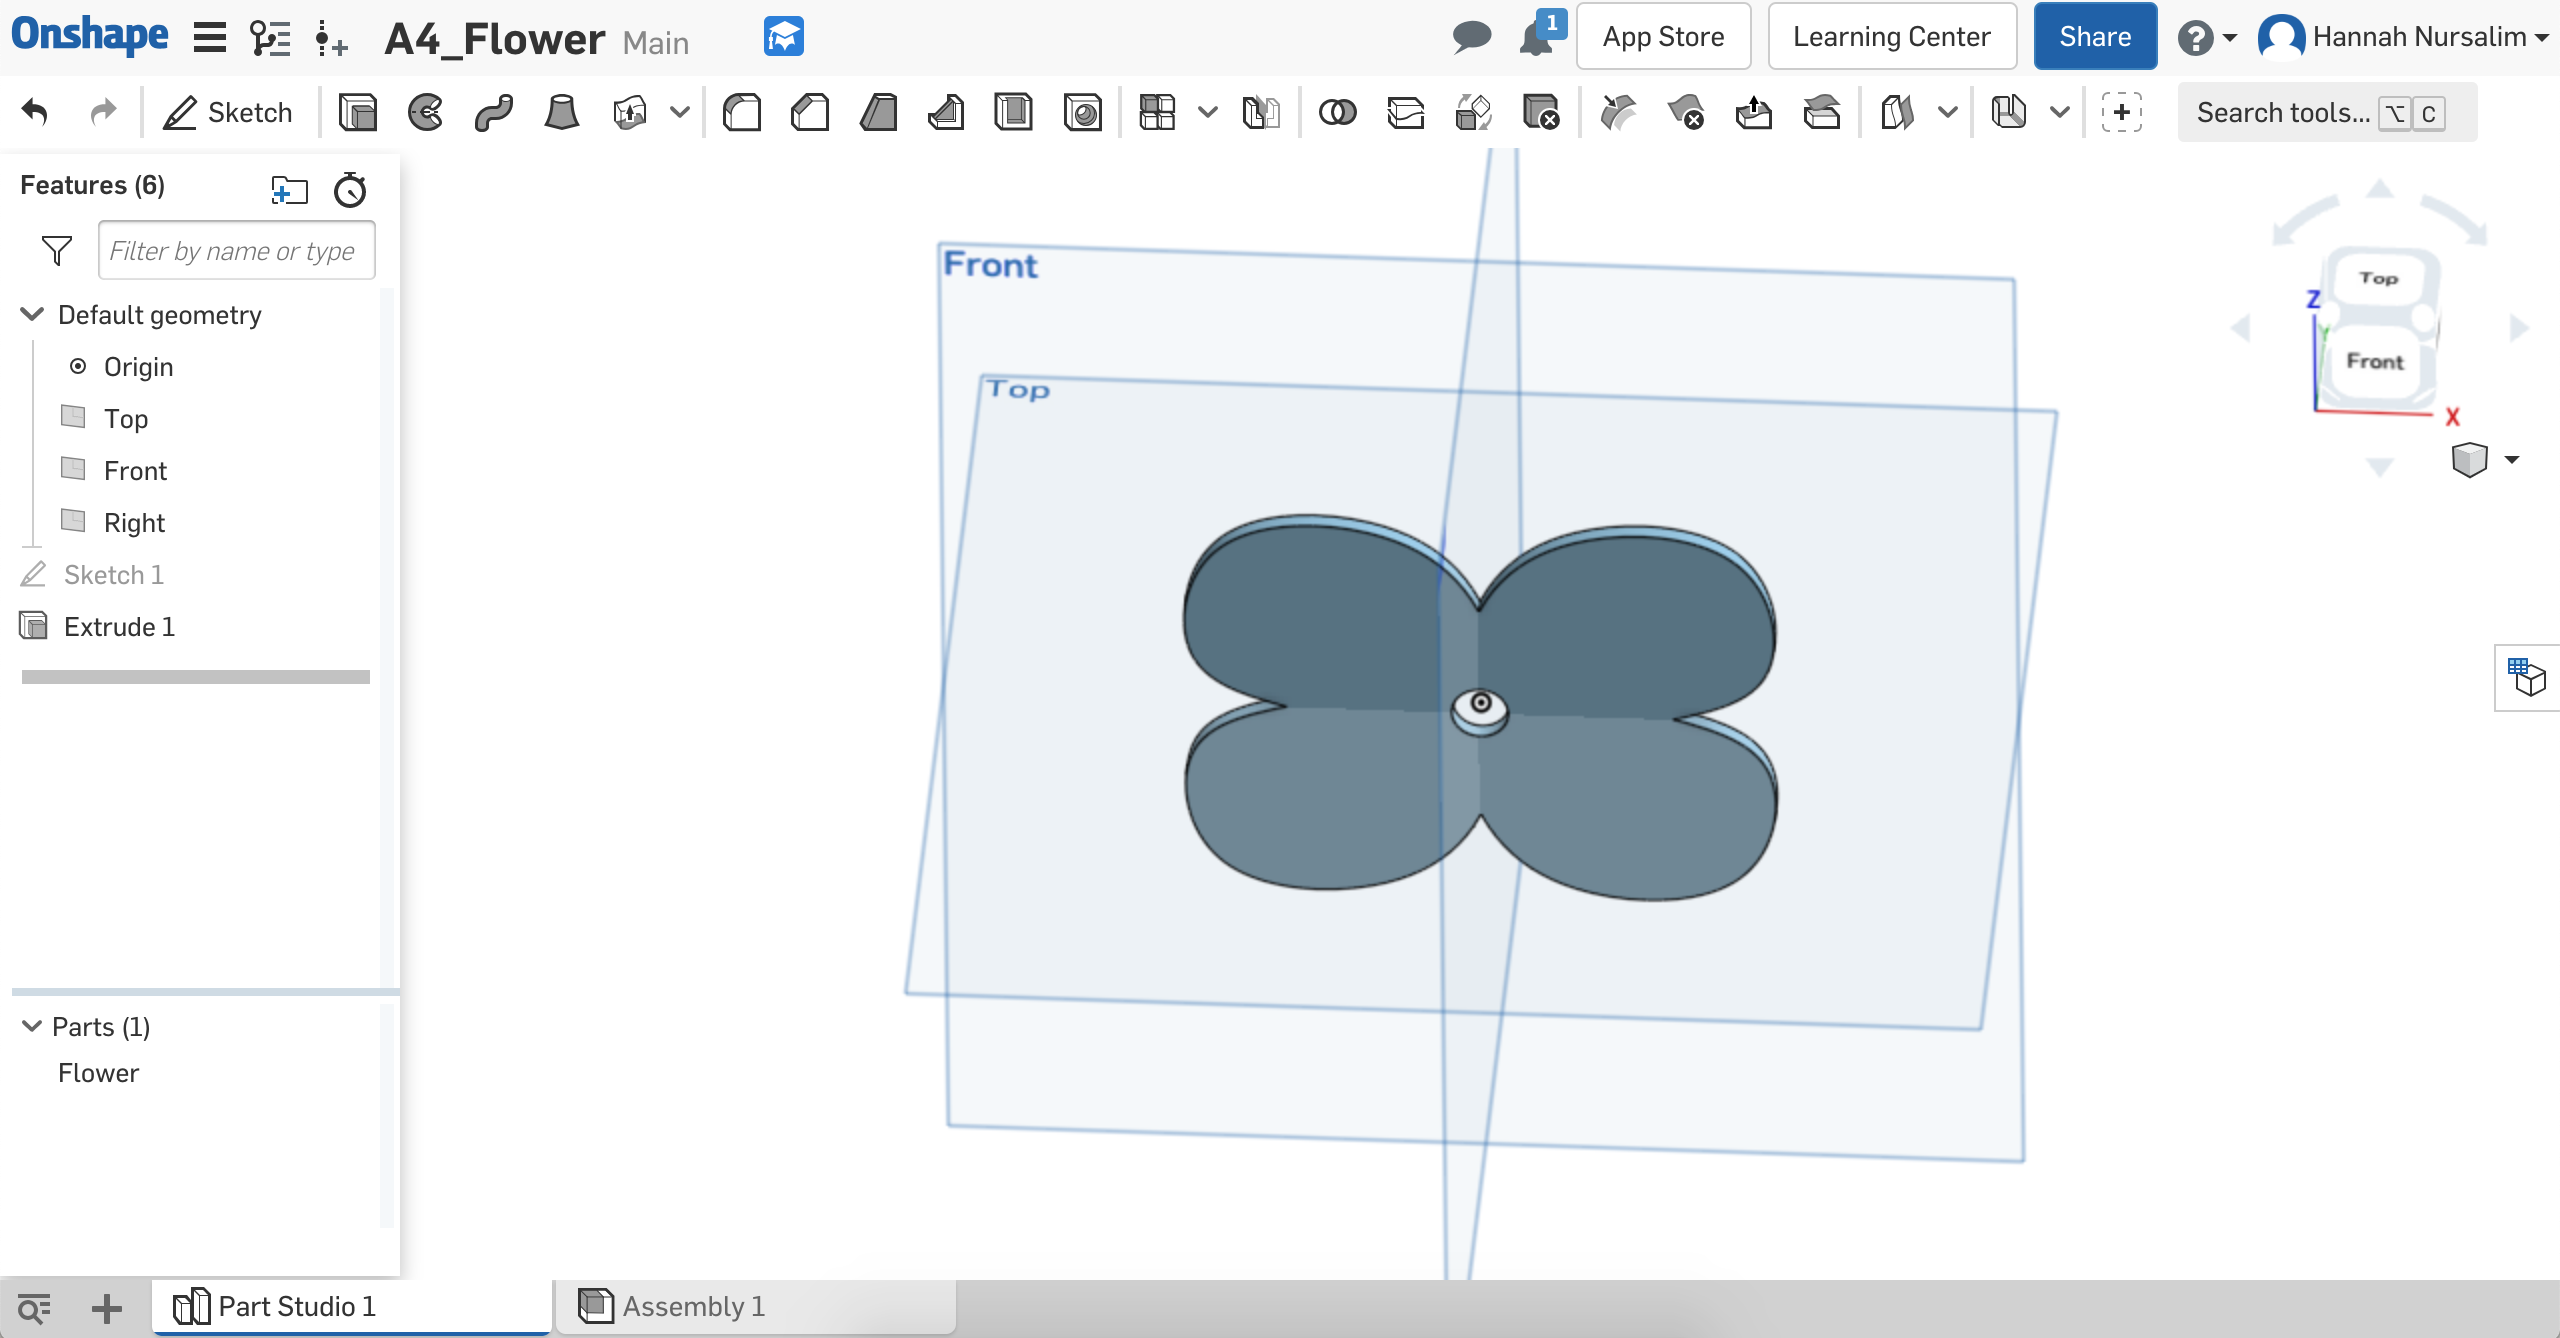
Adjusted diameter on OnShape
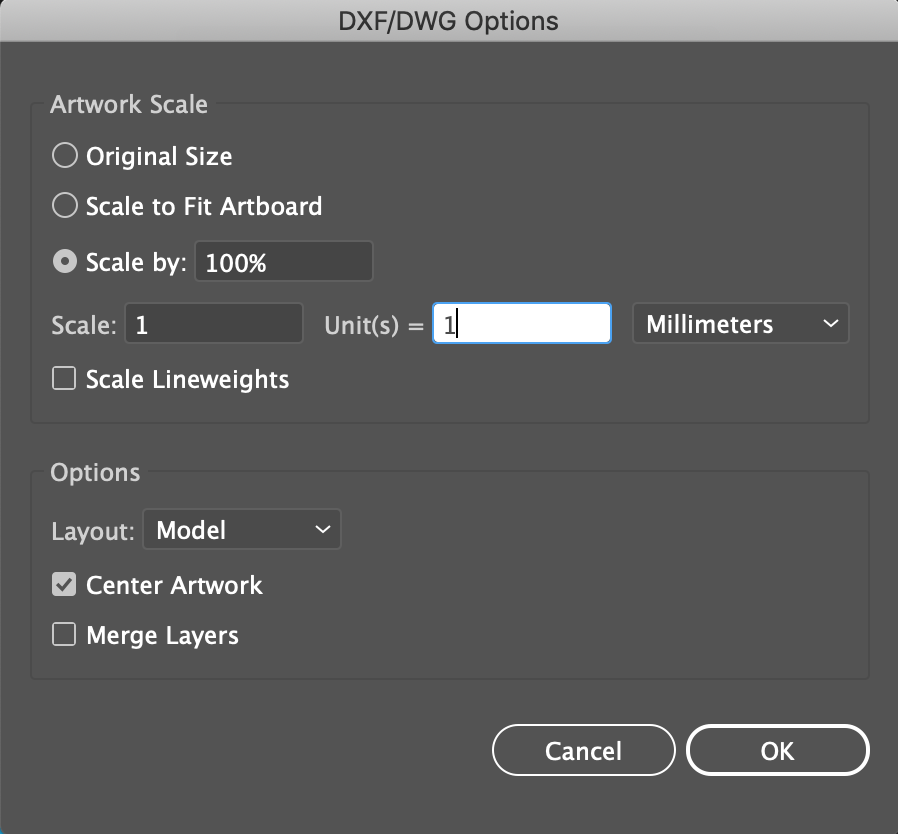
DWG to AI export
Laser cutter settings
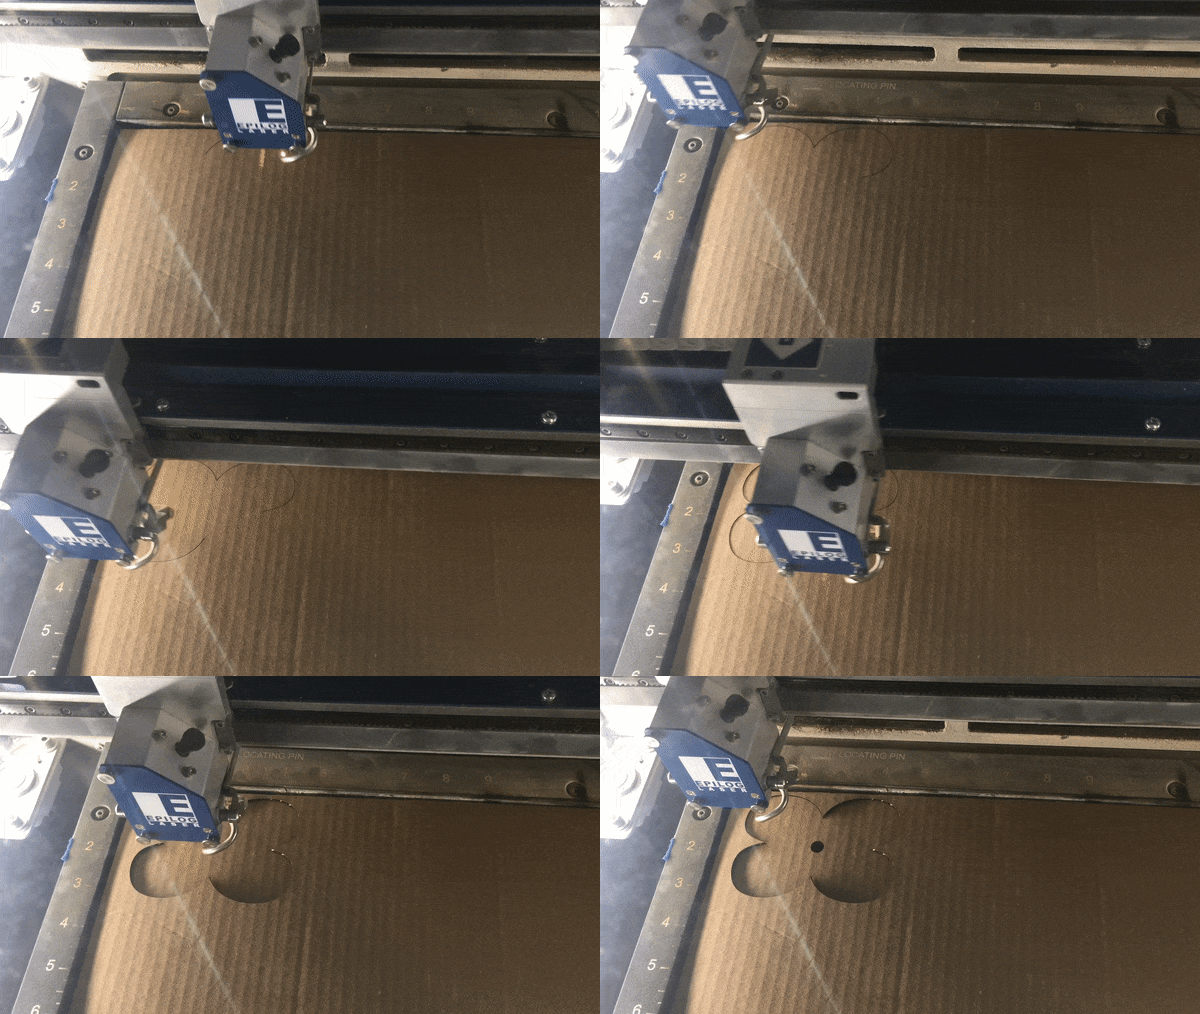
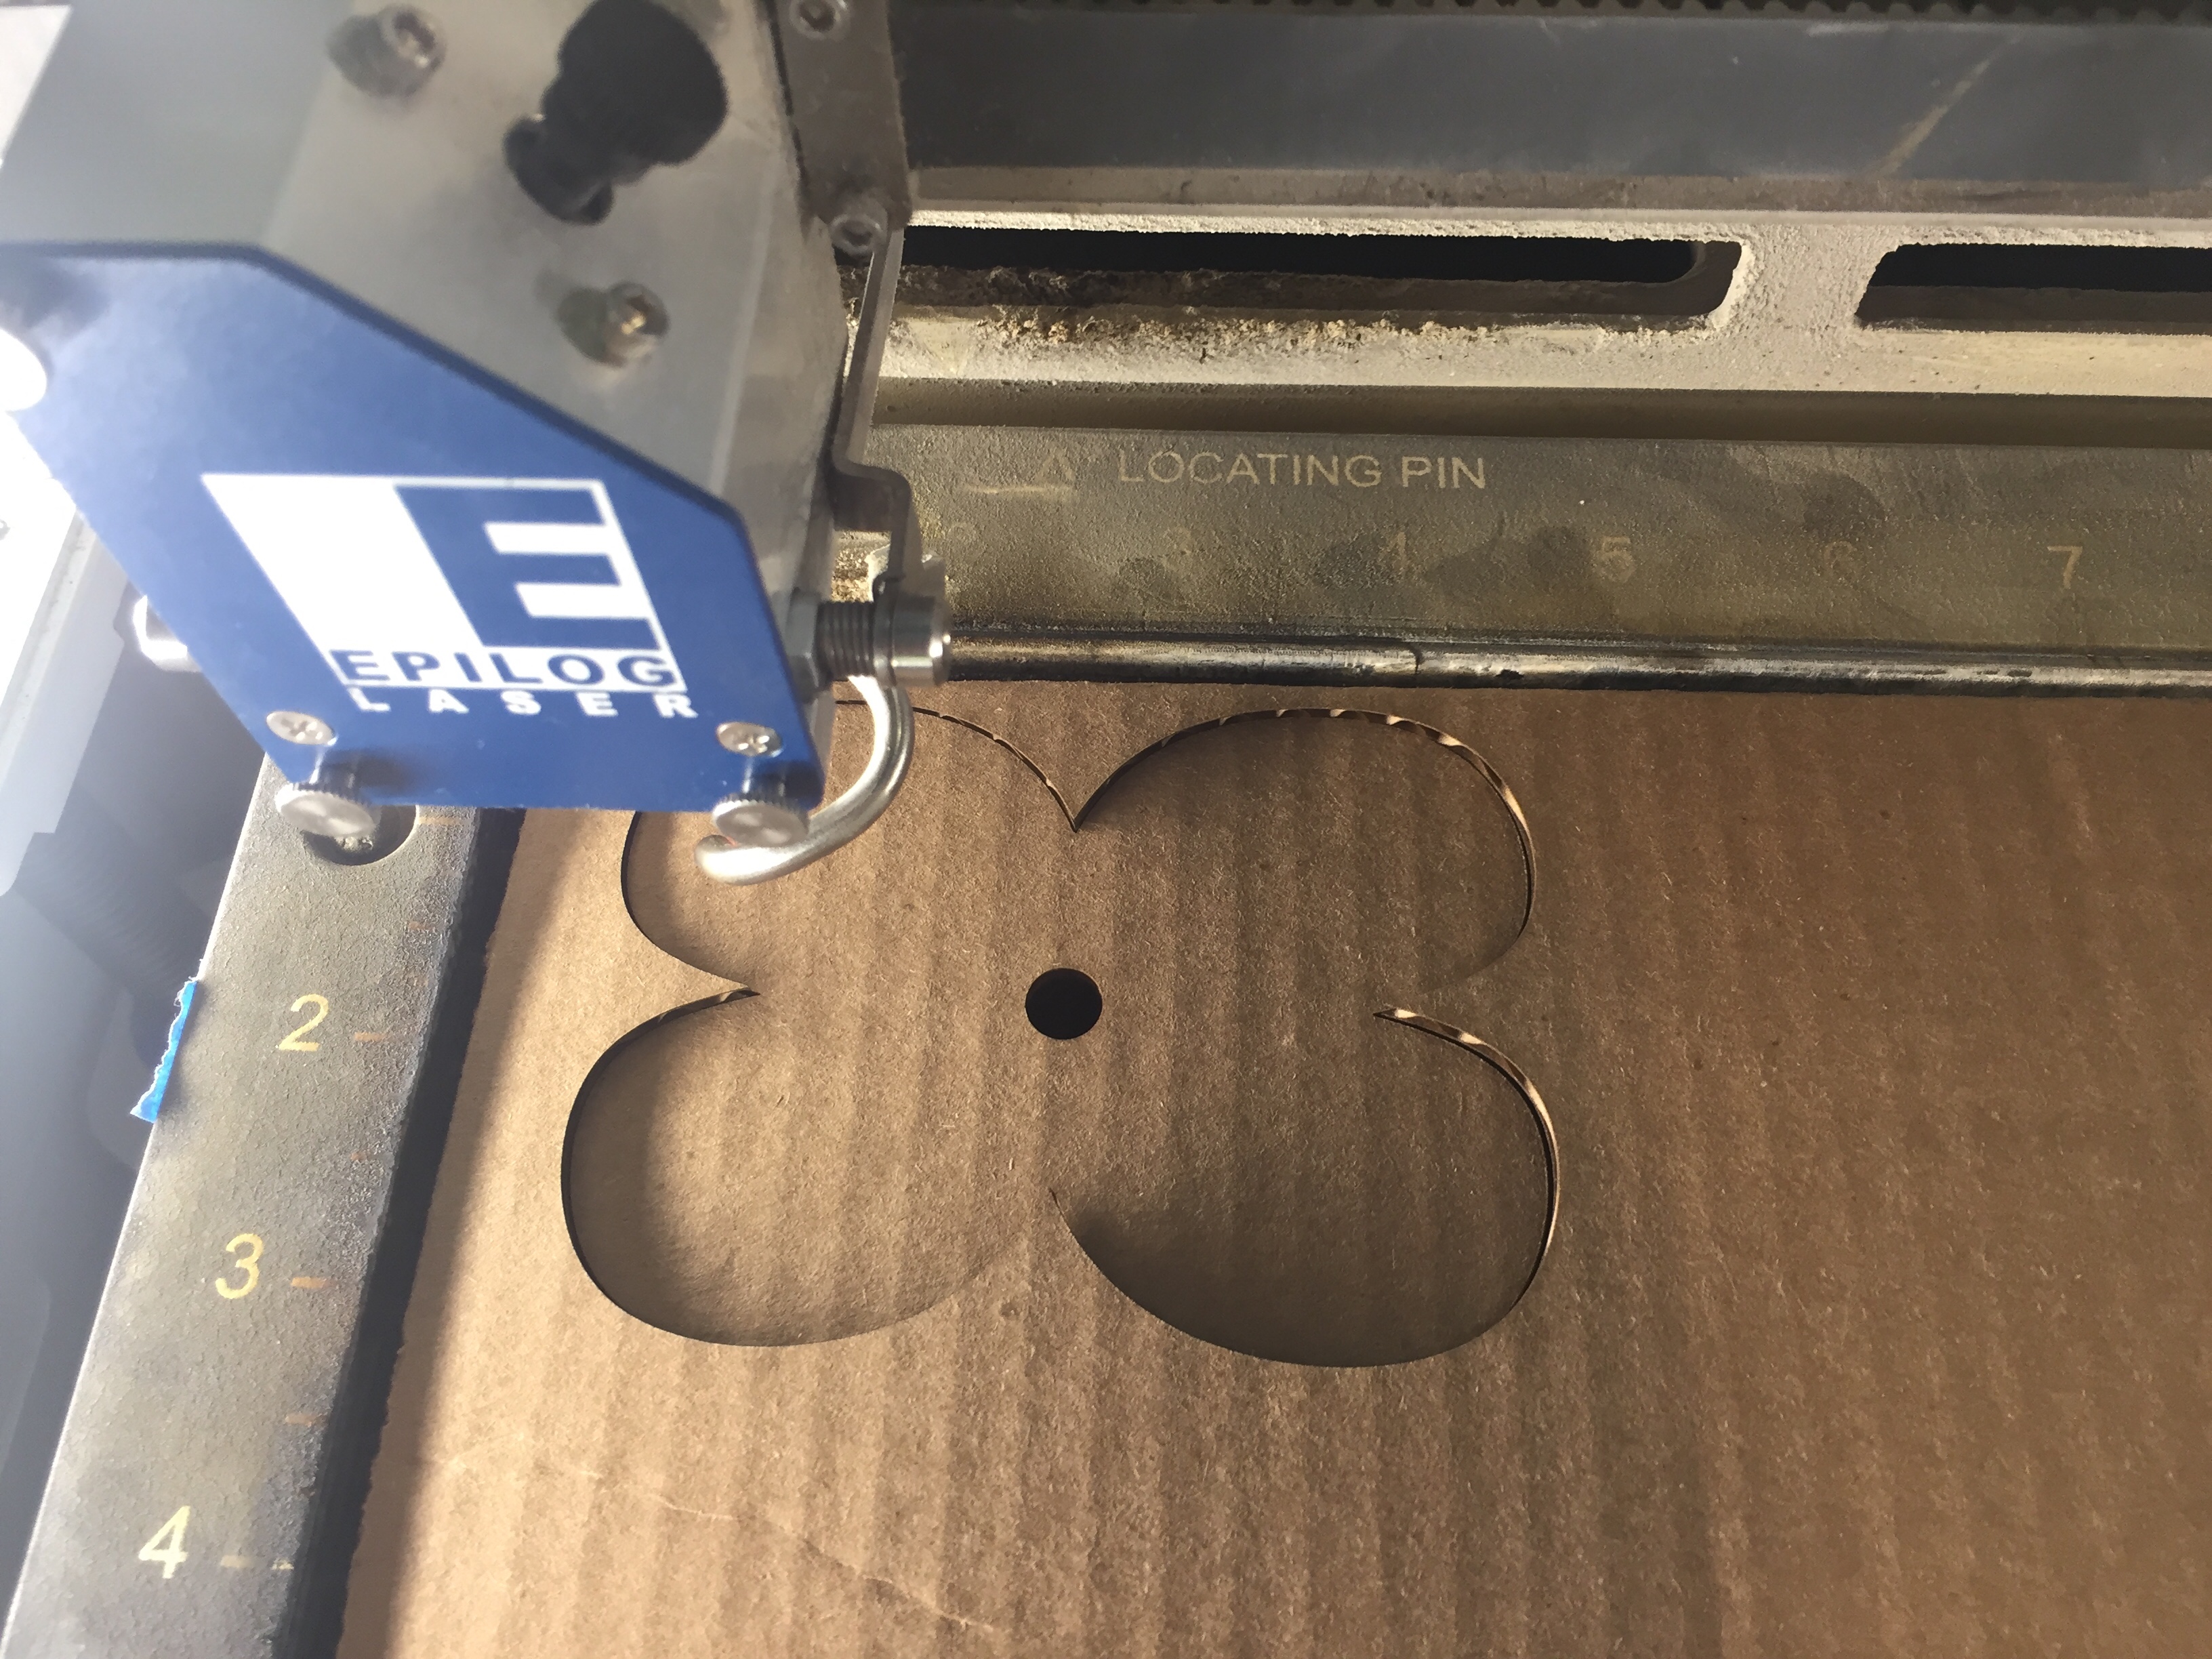
Laser cutting
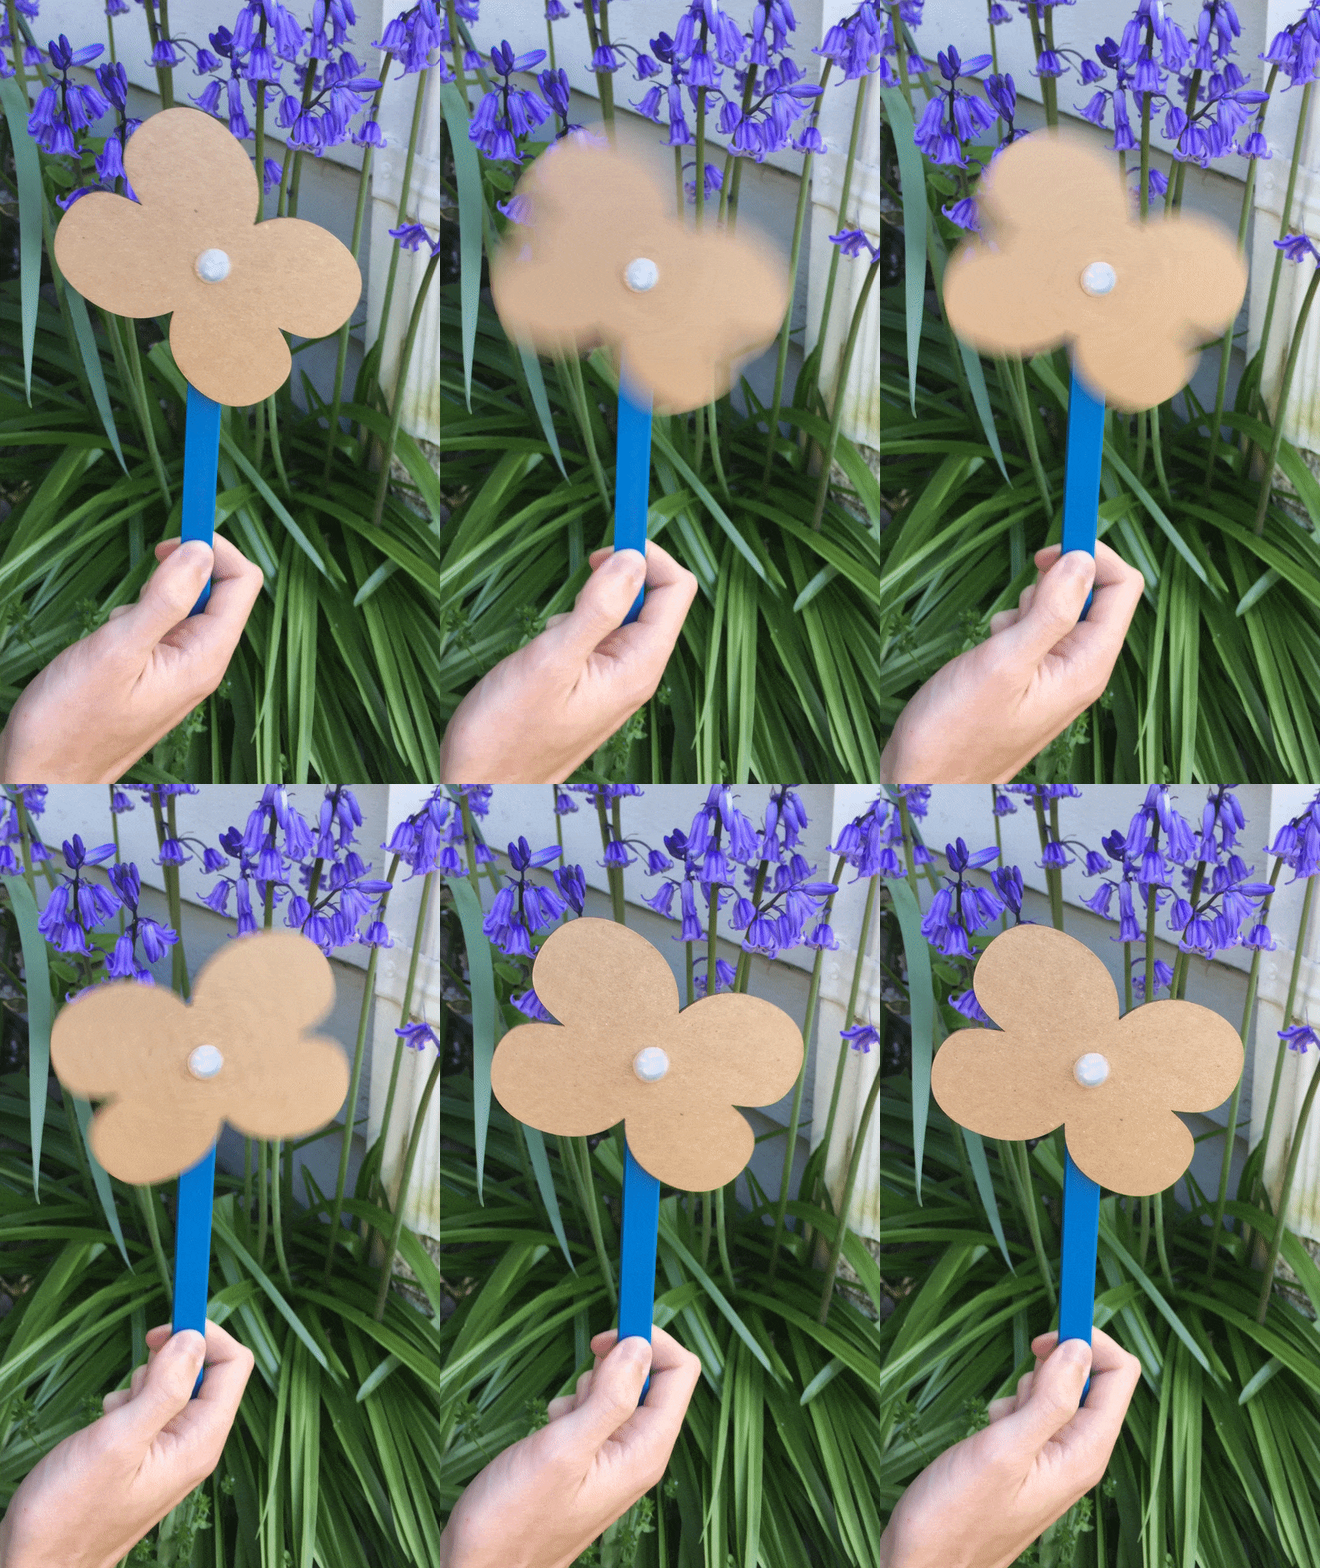
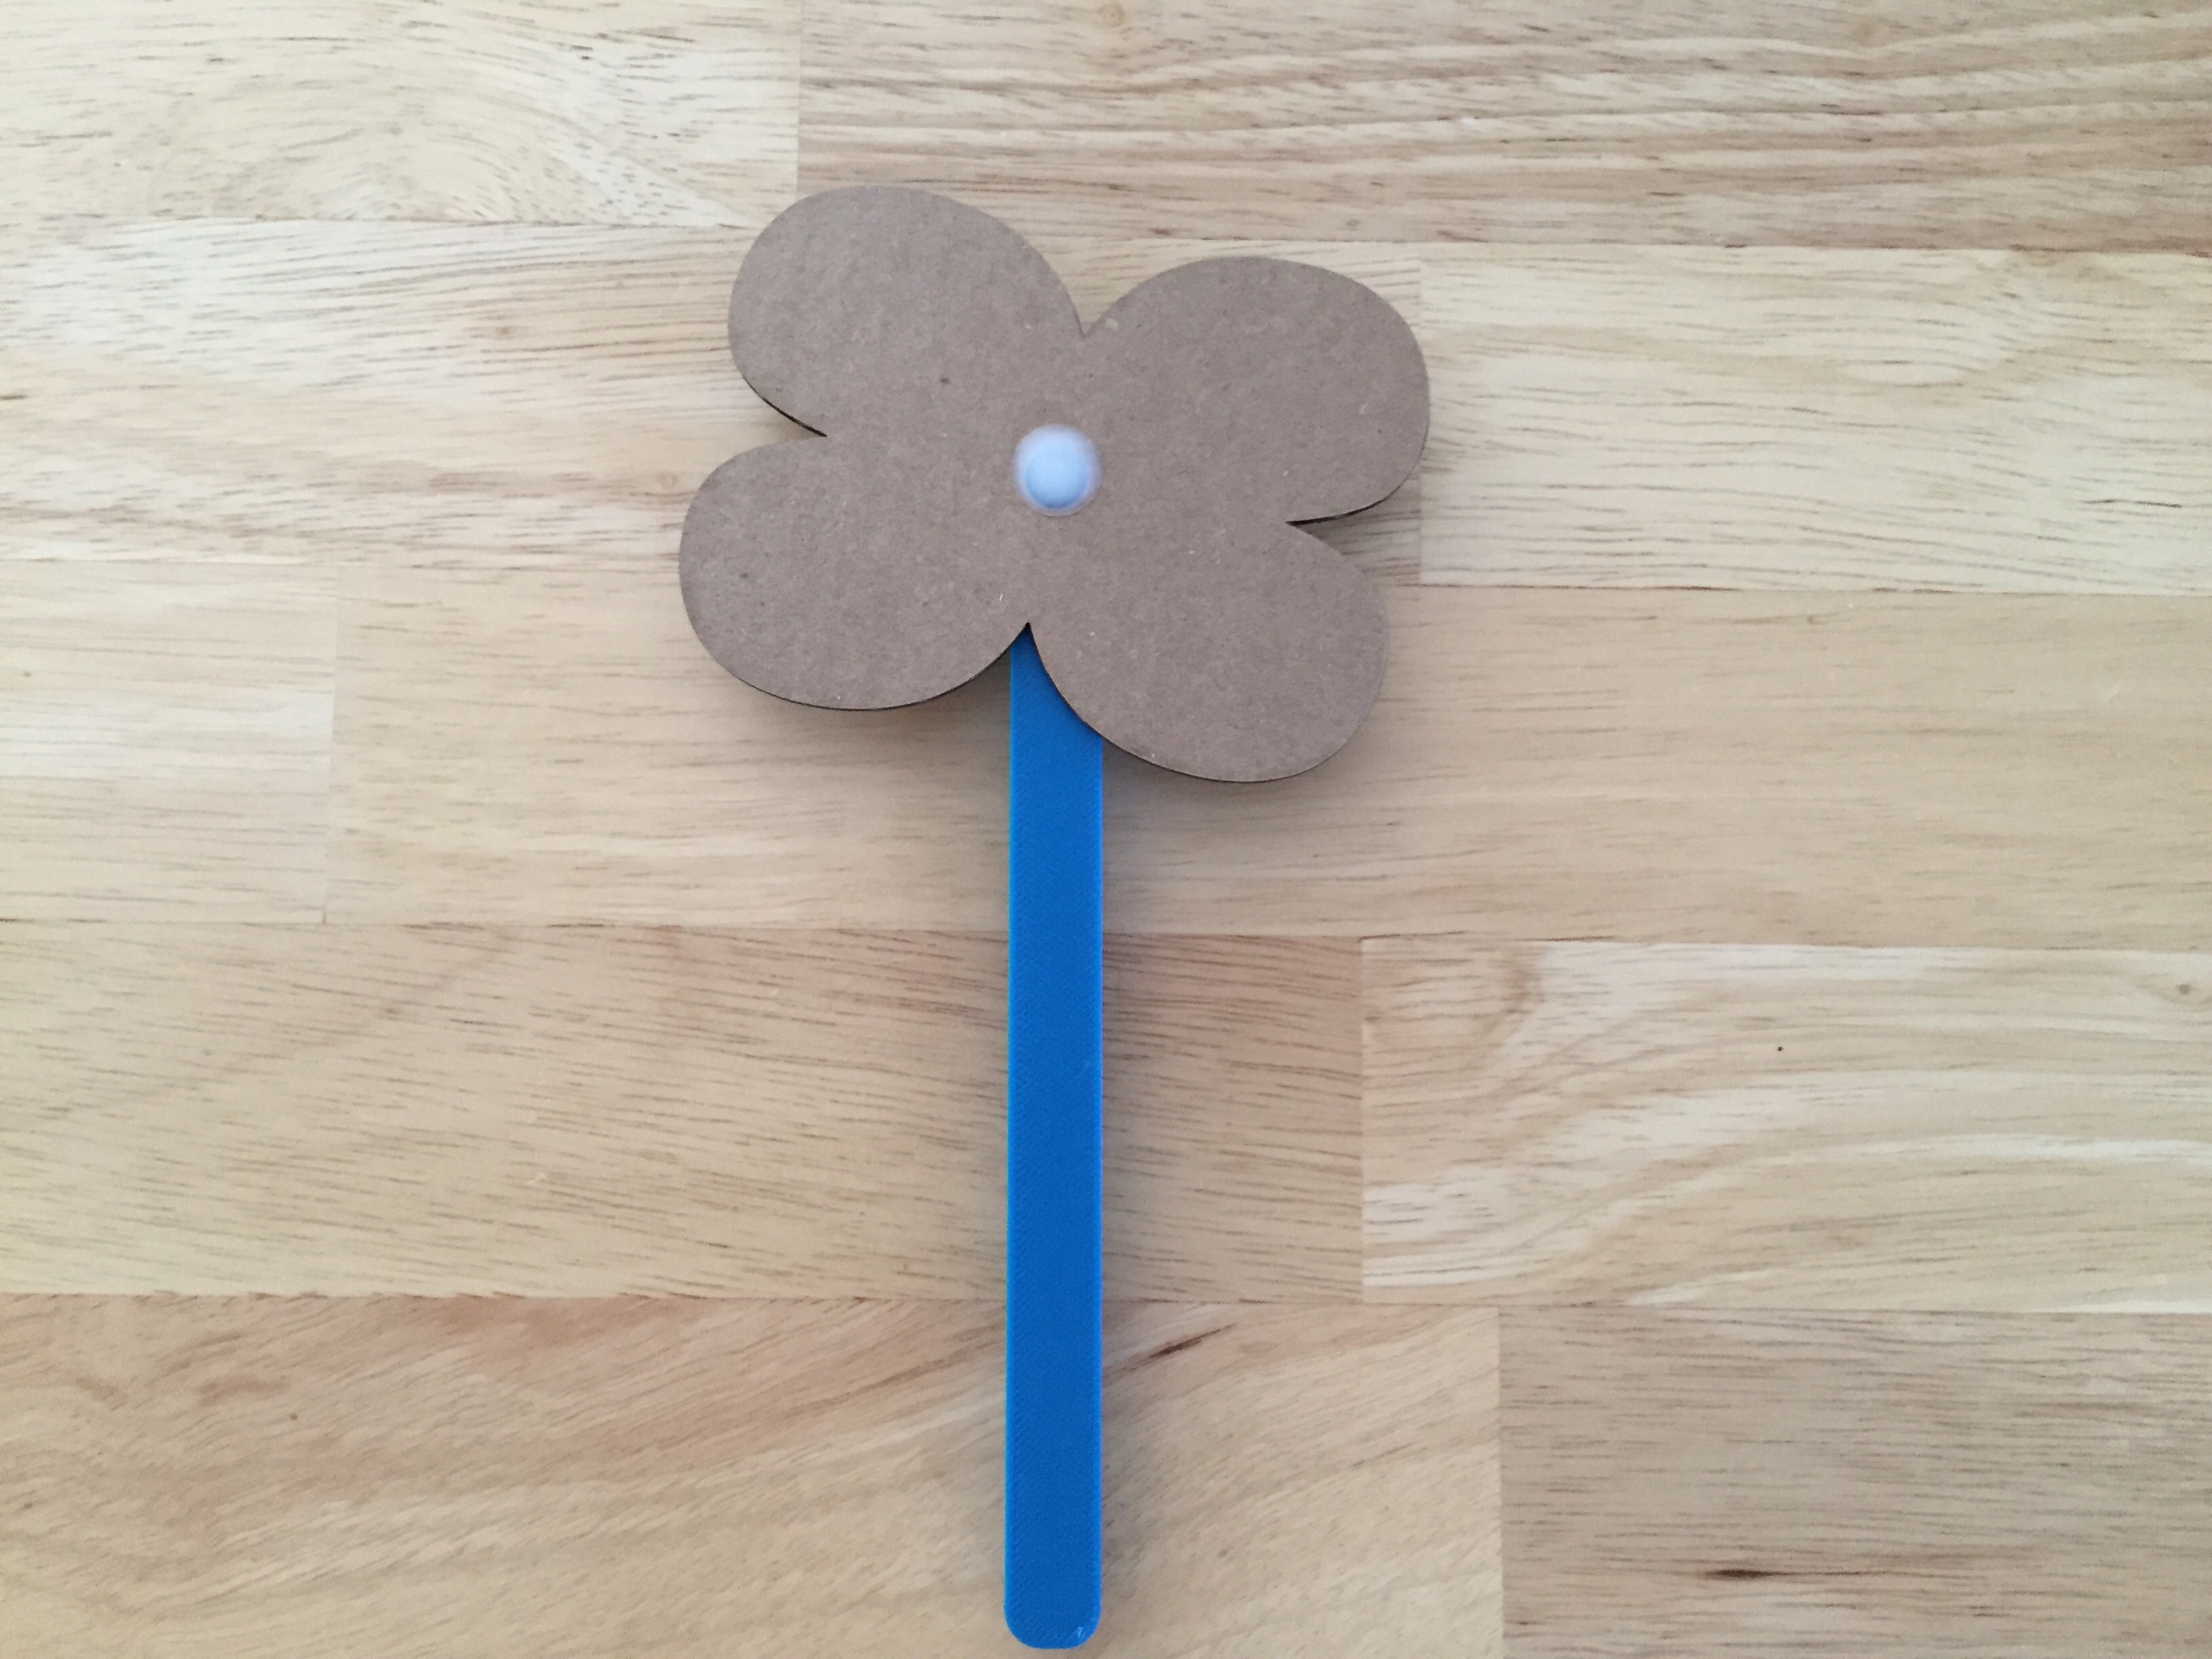
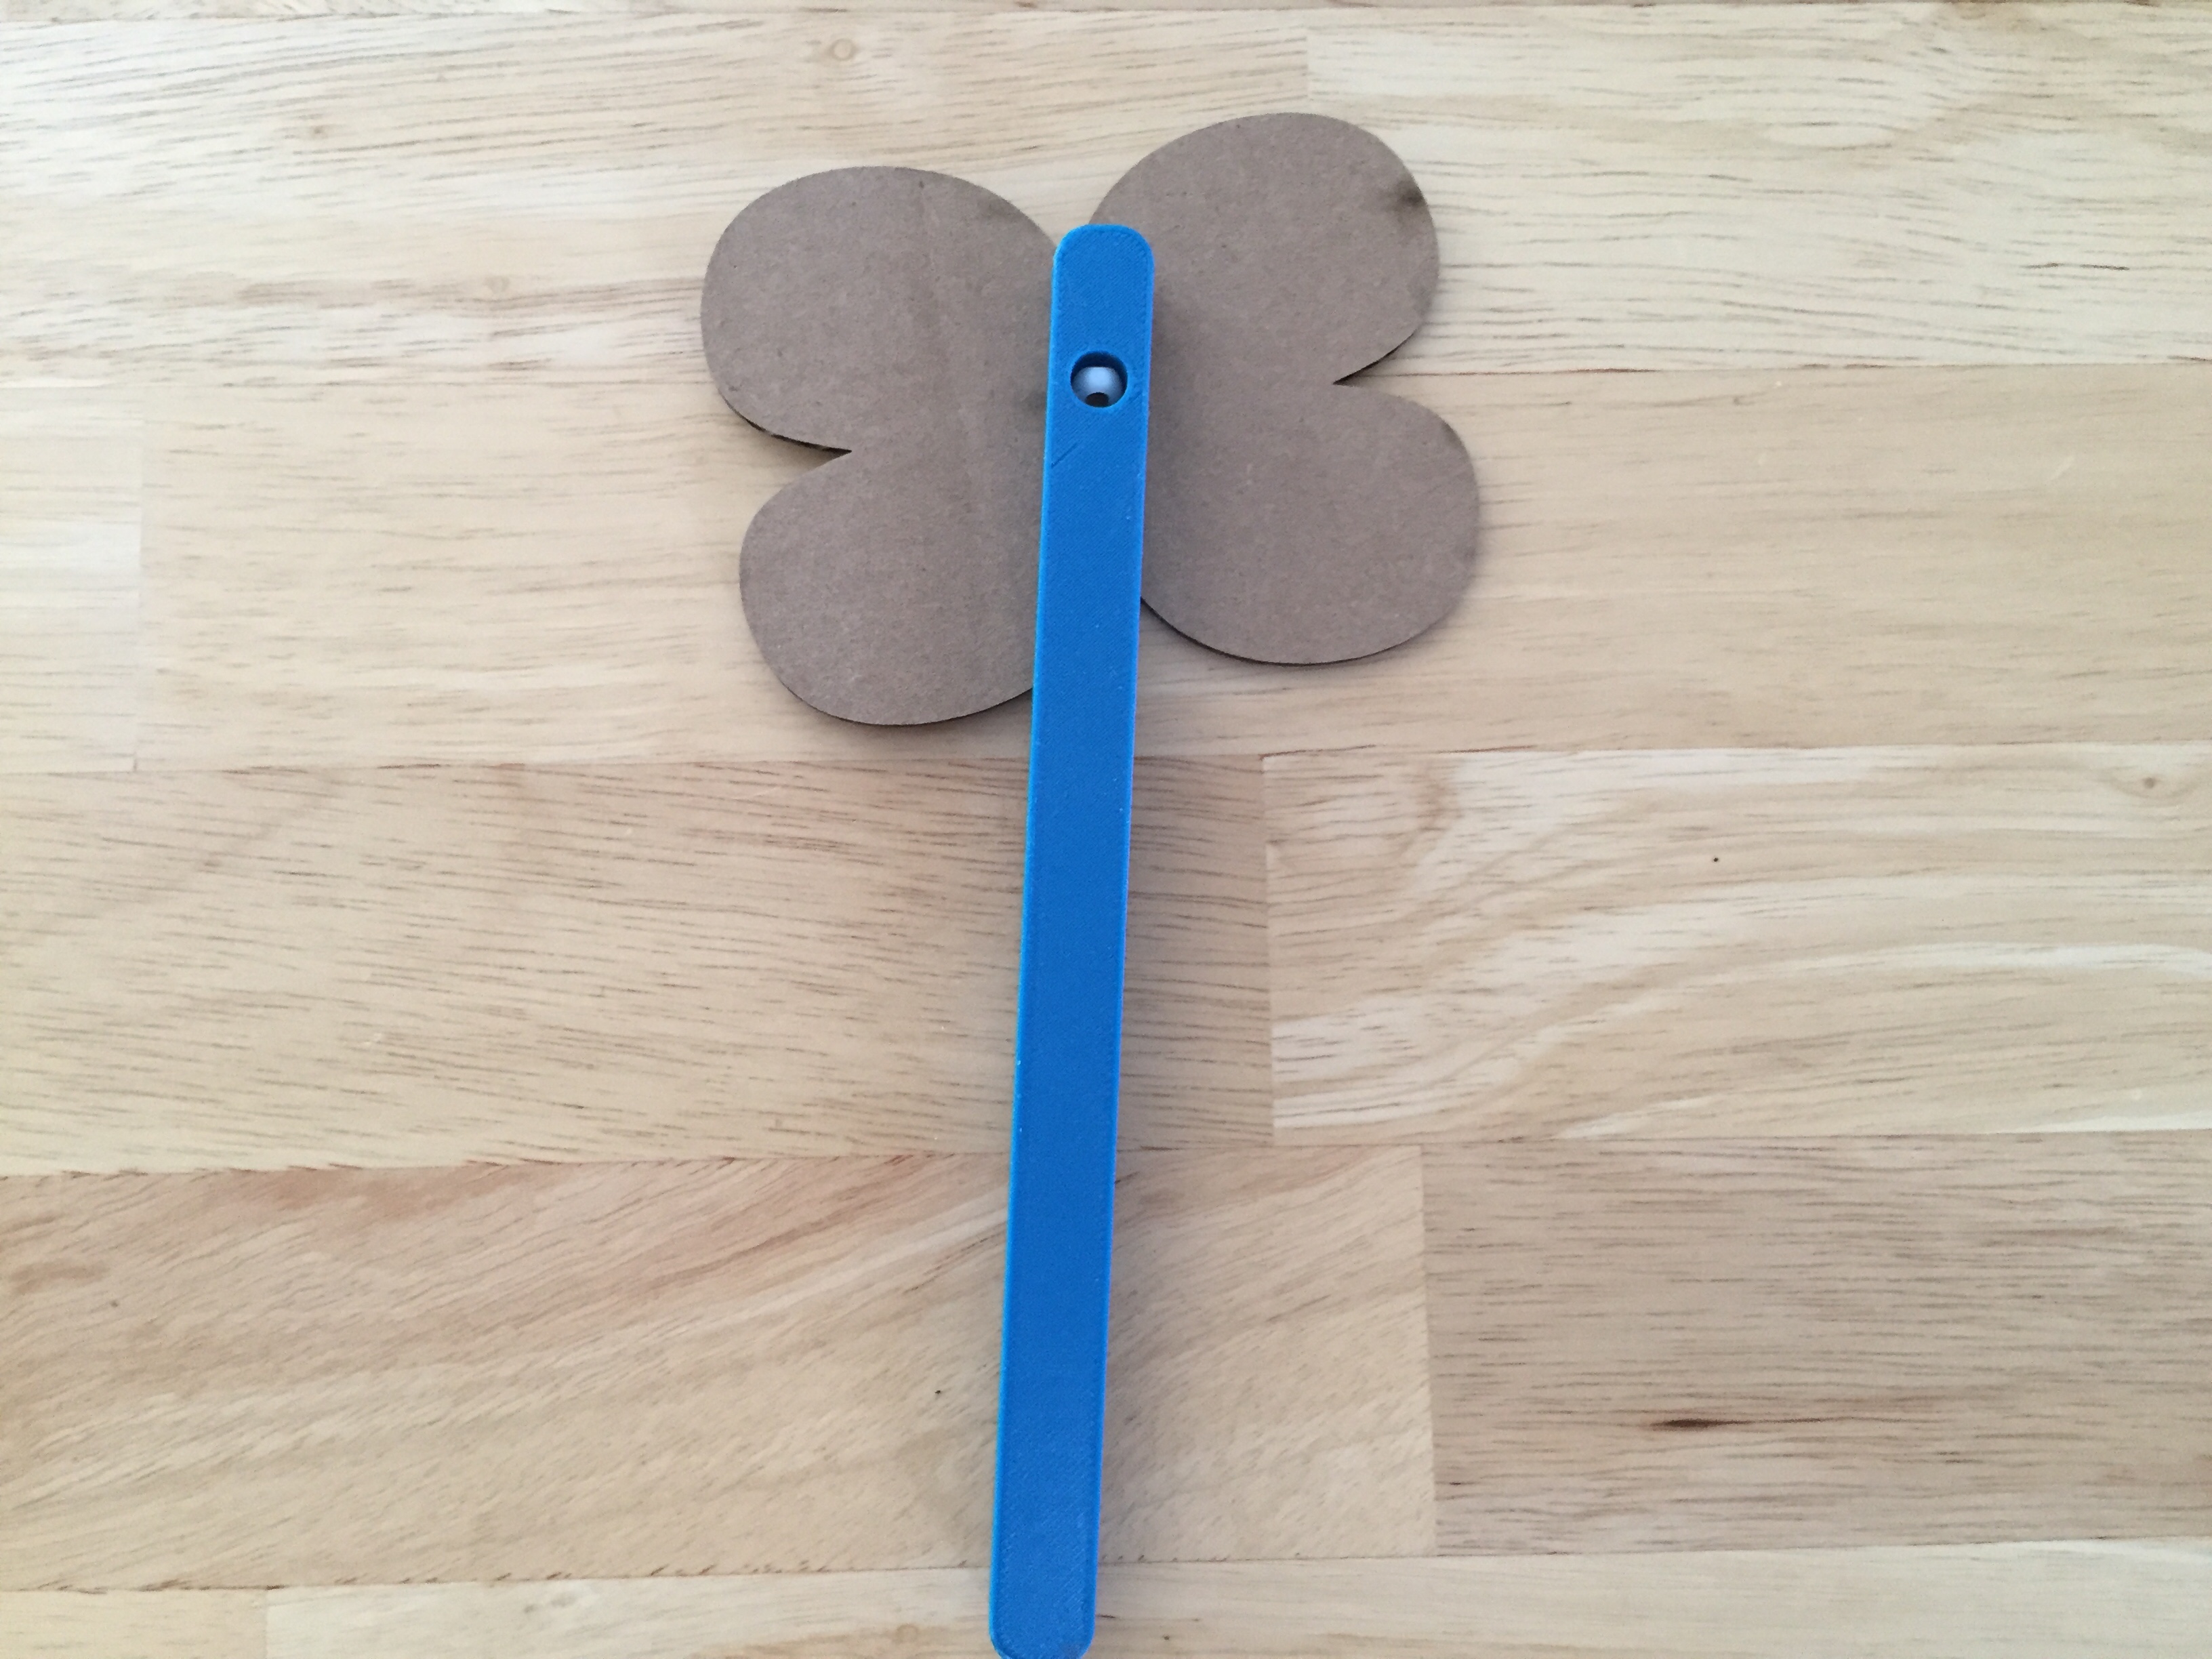
Now that the flower had been laser cut, it was time to put together! I put the flower part on top of the stick, lining up the holes then put the rivet through. I spun the flower, and ta-da! It was a success!
Parts assembled!
Additional Sources: I used Joshua's OnShape file for the plastic rivet for the assembly.
